Part of the Lekhak guide.
Organise your book
The binder
Folders, documents and their types
Lekhak does not insist on a shape for your project. It contains folders and document files that can be dressed up to suit what you want to create. You may be writing a book, and put your chapters as files in it without any folders. You may be writing a series, and have folders for books and even chapters, with each chapter containing a few scene documents. You could be writing a recipe book, with some documents as chapters with regular text, while others are recipes that need specific formatting.
That’s why we have types and templates. There are no default types. By default, folders are folder and documents are documents – these types are the bare minimum and baked into Lekhak, even if you never use them.
Simply put, a type is a role a folder or document plays. Lekhak tracks types for folders and documents separately, as they are inherently different and not interchangeable. A folder type "book" can be applied to other folders, but not to documents. A document type recipe could be applied to other documents, but not folders. A project could contain only standalone flashfiction stories if you wish. You decide what you’re writing and how you organise it.
Types can be set in the metadata on the right where the collapsible menu says "Formatting related". A dropdown offers you the types that have been created in the document and next to it, a text box allows you to add a type. If the type exists for what you intend to do, you should select it rather than create a new one, as it will keep your templates manageable.
To style types, so that they can serve their intended purpose, you should use templates. A template document with the same name as the type will be selected by default and you don’t need to do anything further. If there is no template that matches the type, and the metadata for a folder or document also doesn’t assign one in the metabox, the folder and document templates are used by default.
The Type field is protected: you change it deliberately, and templates and the UI read it rather than anything else. A document that should not appear in an export at all can be given the no-export template (or the no-export set), which prints nothing — without a separate kind to choose by mistake.
A row in the binder is moved by dragging it: drop it between two rows to place it exactly there, or onto a folder to put it inside. If a move cannot happen — usually because the destination already holds a file of that name — nothing is written and the binder is put back the way the files are. Lekhak would rather say no than quietly rename something you made.
You can find out more about templates later.
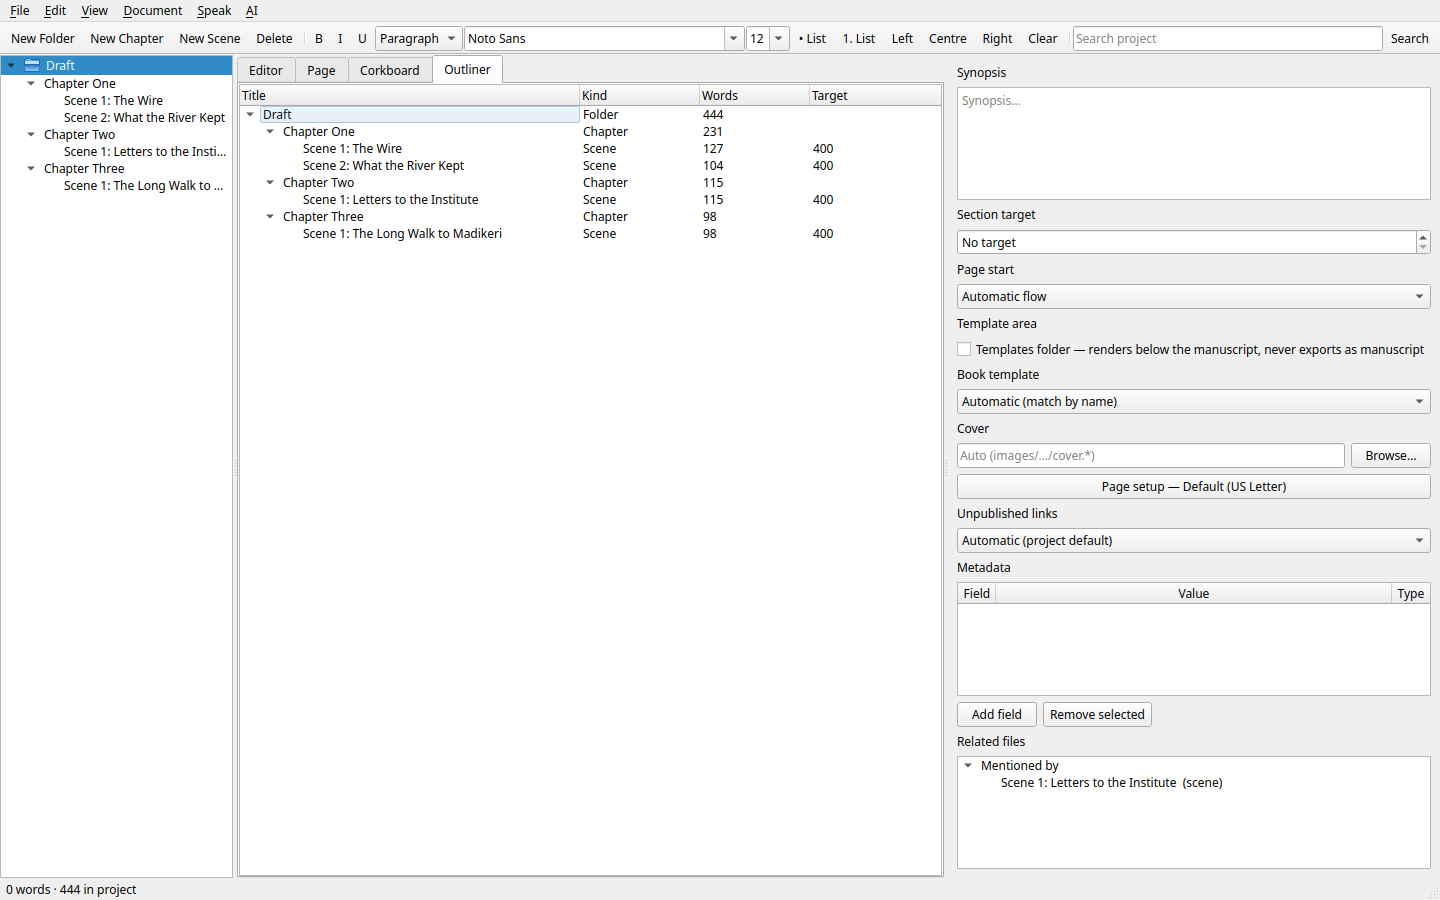
The outliner
View → Outliner (or the tab beside the binder) shows your book as a table: title, type, word count, and whatever metadata columns you have asked for. It is the same book, read as a list — useful when you want to see the shape of a folder’s documents rather than its sentences.
Document → Outliner Columns… chooses the columns. The list is taken from your own project: the four the table always has, and every metadata field your documents actually carry, so what you can add is what your book has rather than a fixed set. A column shows the value a document has, including one it inherits from the folder above it.
Select more than one row and Bulk Edit… appears above the table: change the Type or the metadata of everything selected at once, which is the quick way to mark a run of documents as done, or to give them all the same point of view.
Expand all / Collapse all in the outliner opens or closes the whole tree at once. Quick Open (Ctrl+Shift+P) jumps to any document by title across the project.
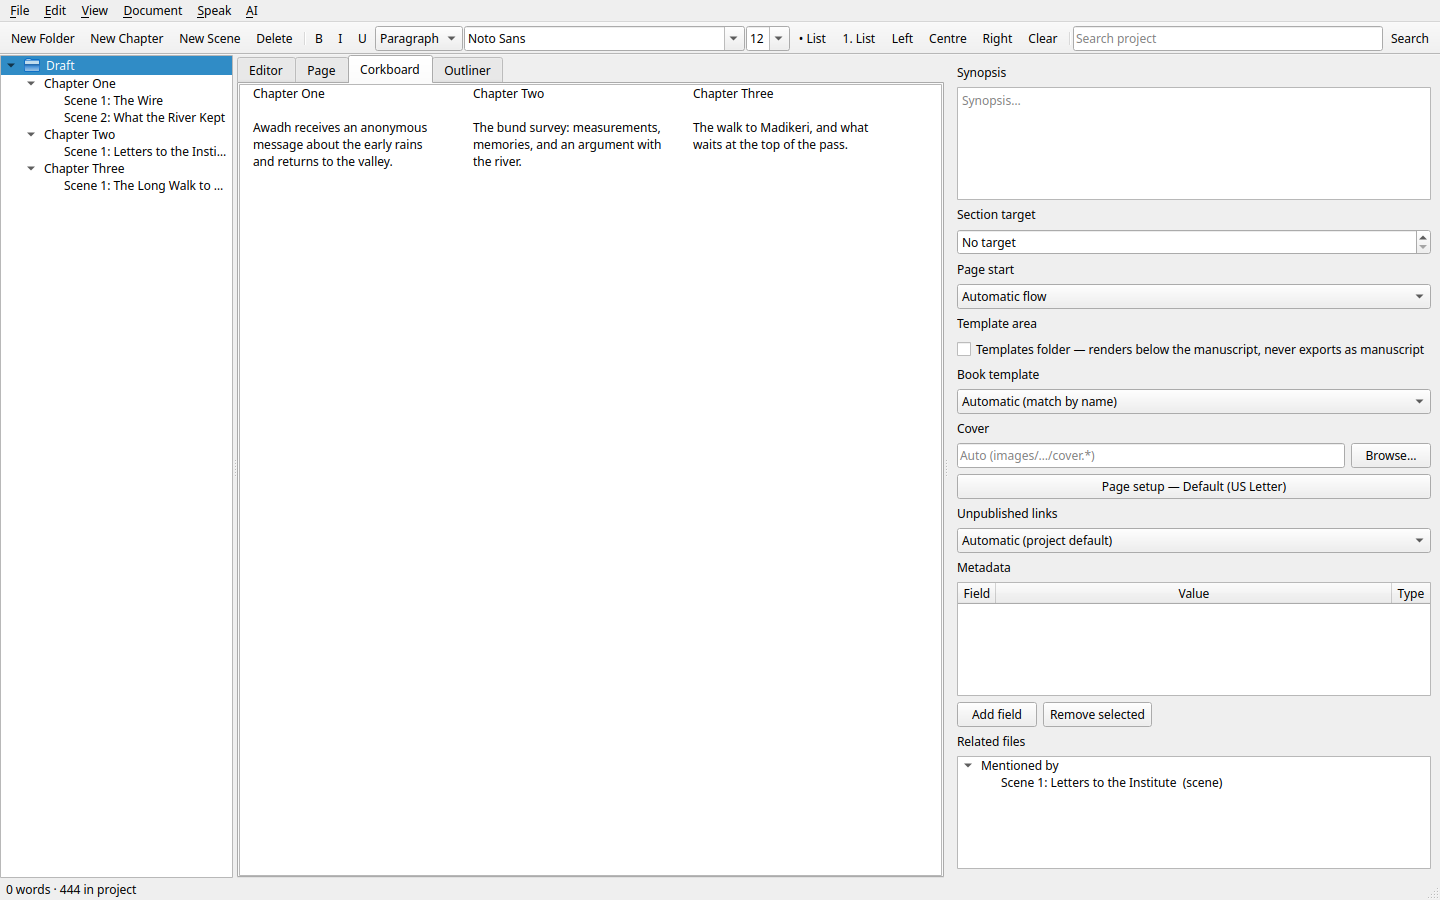
The corkboard
The corkboard is one card per document, laid out under the folder you selected. Each card carries the title, the synopsis, and the word count.
It is for seeing a book as a set of pieces: which scenes are done, which are stubs, which two say the same thing.
A single click on a card opens its synopsis, so you can write the one-line account of a scene without leaving the board. A double click opens the document itself.
The cards sit in the binder’s order. To move one, drag it in the binder: the corkboard is a way of seeing the book, not a second place to rearrange it.
Types
Every document has a Type: Folder, Document, or a name you make up (Leaf, Poem, Interview, Chapter, Scene — whatever suits your book). The Type is what templates dress and what you filter by.
If you have selected a folder or document, the dropdown will offer types applicable to it. Using existing types and creating new ones only when you need new kind of formatting helps keep the export formatting manageable. By default there is one type for folders (Folder) and one for documents (Document). If your text is straightforward and does not need custom formatting of different types, you can simply customise the folder and document templates – this is great, because it removes the need to assign types and templates.
You can use the text box to add a new type. Once a type is created for a folder, it will show up for all future folders. And the same with documents.
To apply templates to types automatically, your template should have the same name as the type. For example, if you have a type called "recipe" and your template contains a template formatting document called recipe.html – it will automatically be used to format exports for the recipe documents.
You can override this assignment by explicitly selecting a desired template in a document’s metadata. For example, if you have most recipes formatted in a certain way, but one needs to be handled differently, you can select a different template for it in its metadata and it will override the automatic selection for that document.
A document that should not appear in an export at all can be given the no-export template (or the no-export set), which prints nothing — without a separate kind to choose by mistake.
Metadata
Fields and values
Metadata is the information about a document: its status, whose point of view it is, when it happens, whether you have finished it. Lekhak keeps it in a small table under the text, and you decide what the fields are.
To add a field: select the document, and in the inspector’s Metadata panel press Add. Type a name — Status, POV, Date, Word target, Location, anything — and it becomes a field of that kind of document. Every other document of that kind now offers the same field, empty, waiting.
These fields can be used as placeholders in templates by wrapping them in curly brackets and prepending with "$". So, if your metadata has a field called PoV and its value is "My Awesome Hero", you could use the field to create your title in the template. For example: <h3>$${PoV}</h3> and the exported file will have the title "My Awesome Hero". If another scene has the PoV: "Villain guy" the title for that scene will become "Villain Guy" – these replacements are only done during the export and within the software itself, you will see fields and values in the metadata, and placeholders in the templates.
Project metadata
With nothing selected — or with a folder selected — the inspector shows the whole-project fields: the Author, the synopsis of the book, and anything else you add. Every document can read them, and a document’s own value wins over the project’s.
This is where Author lives, which is why a title page can print it without every chapter having to carry it.
This is the place to add project-wide metadata: anything you add here becomes a placeholder available in every template, under its own name and as Metadata.<name>.
The Type field
One field is protected: Type. It is the document’s role (Folder, Document, or a name of your own), and it is what templates dress. It cannot be edited away by accident, and it is never exported as ordinary metadata — it is the book’s structure.
Metadata is managed by type. Create a field on one document of a type and it becomes available on every document of that type, empty and waiting. A Recipes type with an Ingredients field shows that field on every recipe document, and a recipe template can read it; a plain document with no type never shows it and never uses it. So the type you give a document decides which fields belong to it.
What metadata is for
Mostly three things:
- Keeping track. A Status field with Draft, Revising, Done turns the binder into a progress report.
- Printing. A template can ask for any field, so an epigraph, a point of view, a date or a quotation can appear on the page without being typed into the prose.
- Finding. The project-wide search covers metadata as well as prose, so POV: Jack finds every scene that is his.
The content of a book can use metadata and placeholders too. If you haven’t named your villain, you could write your story with $${Villain} and when you decide on the name, add the field “Villain” to the project-wide metadata and it will be replaced during export. If you want the replacement to happen in the project text, you will have to use search and replace.
Or, if you want to use tags on a scene and then print them in the text, you could do that. Field called “tags” in the metadata, placeholder $${tags} in the document. Just remember that placeholders are processed during export.
Metadata applies to a type of document. So if you add a metadata “PoV” to a scene type document and “Plant” to a nursery document, the nursery document will not show PoV and the scene won’t show plant, but all nursery type documents will have an empty field for plant until you fill it. And all scene type documents will have “PoV” fields.
Edit Metadata (Document menu) opens the full metadata editor for the selected document. Known fields are remembered per group (folder or document type), so a field you create shows up on other documents of that group. Outliner Columns (Document menu / outliner) lets you show metadata columns in the outliner to scan by status, POV or any metadata field.
Media (inspector) lets you attach images to a document; they are copied into the project and shown as thumbnails. Cover can be set on folders in the inspector (auto-detects images/<folder_id>/cover.* if left empty).