Update after a long time

For all my good intentions, this blog got ignored. Much has happened since. My father had an accident and my parents have moved  in with me as they no longer can manage independently.

My one room and kitchen was not enough space and we moved into a two bedroom apartment  in same complex. Similar feel, similar view, only more space, more people, more balconies.

Will update more regularly, but for now, here are photos of us.

image

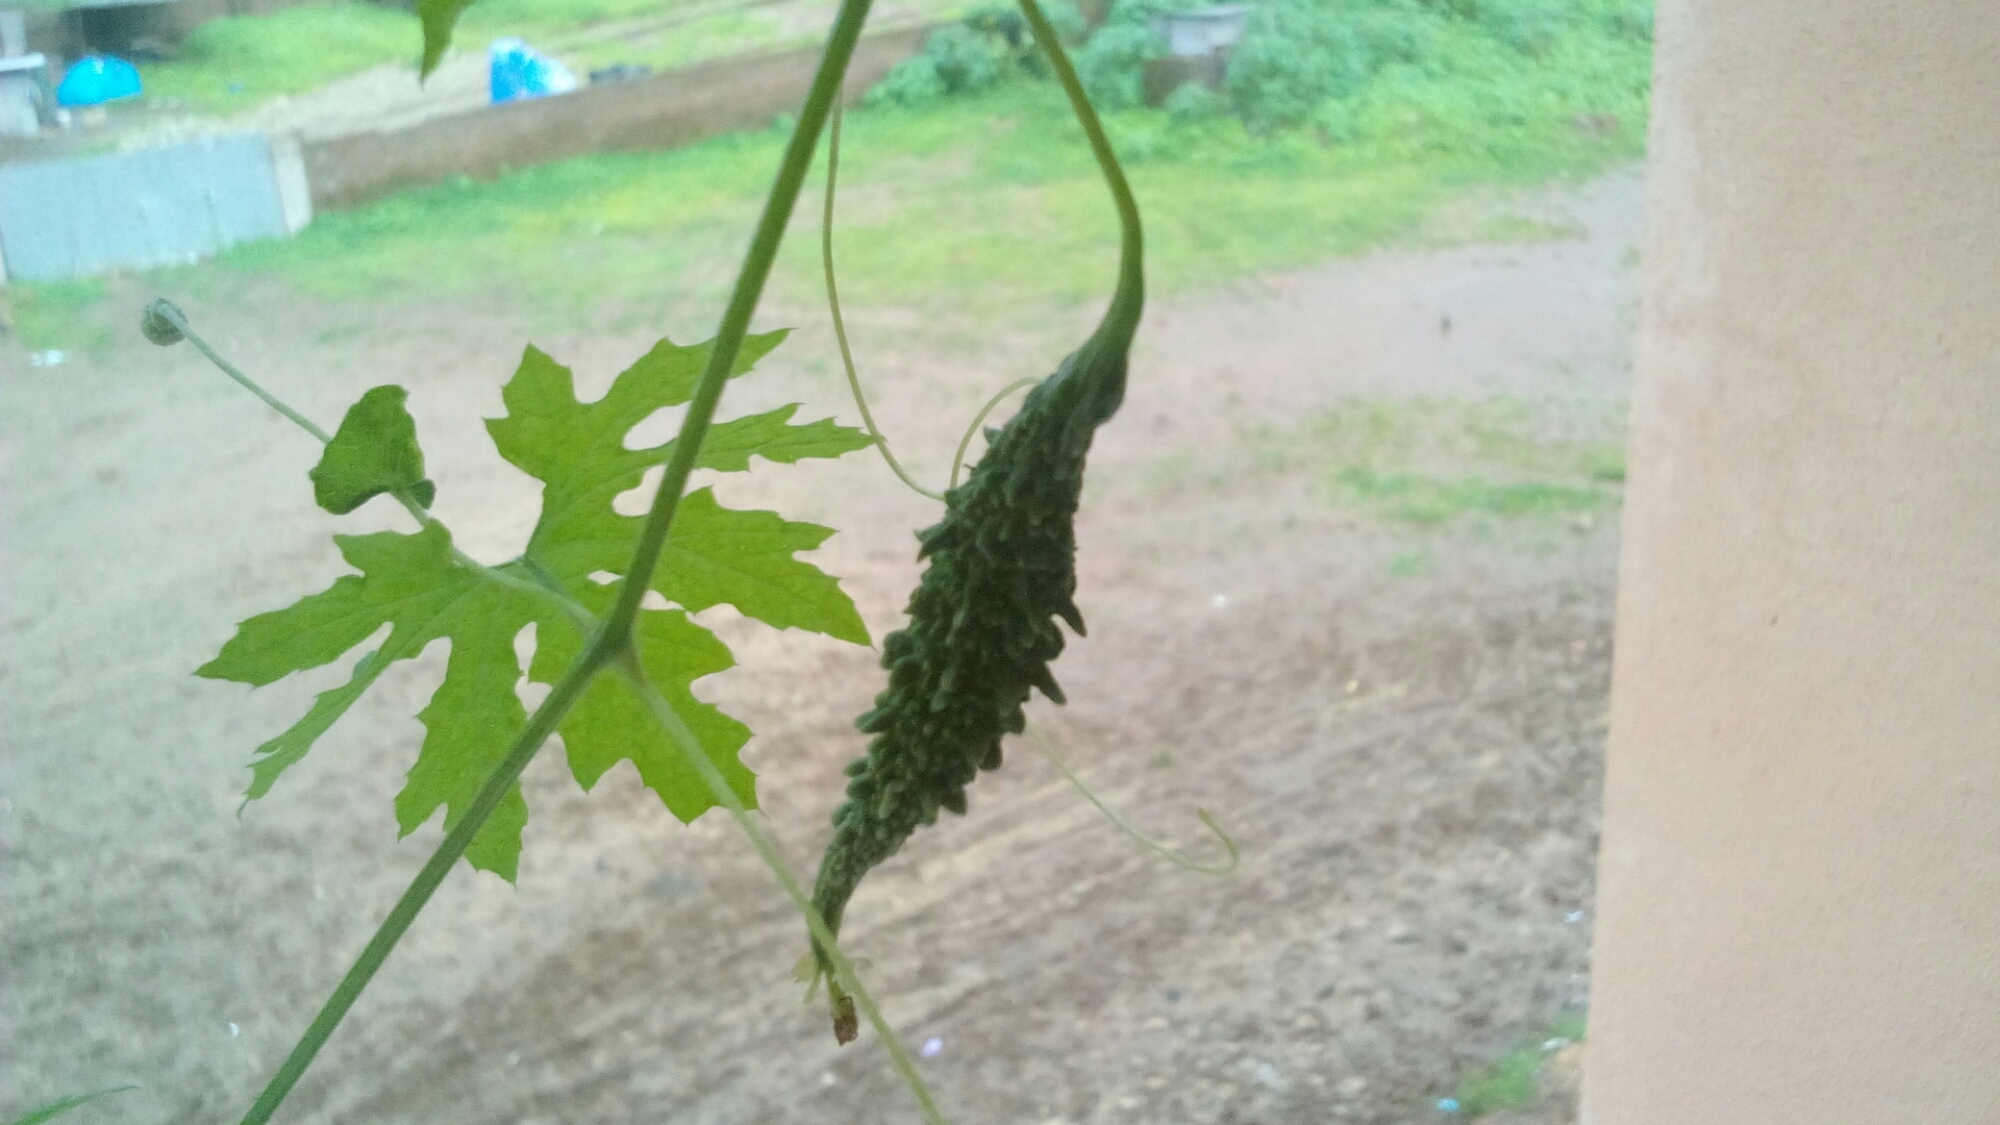
Karela or bitter gourd growing in balcony

image

First tomato of this season

image

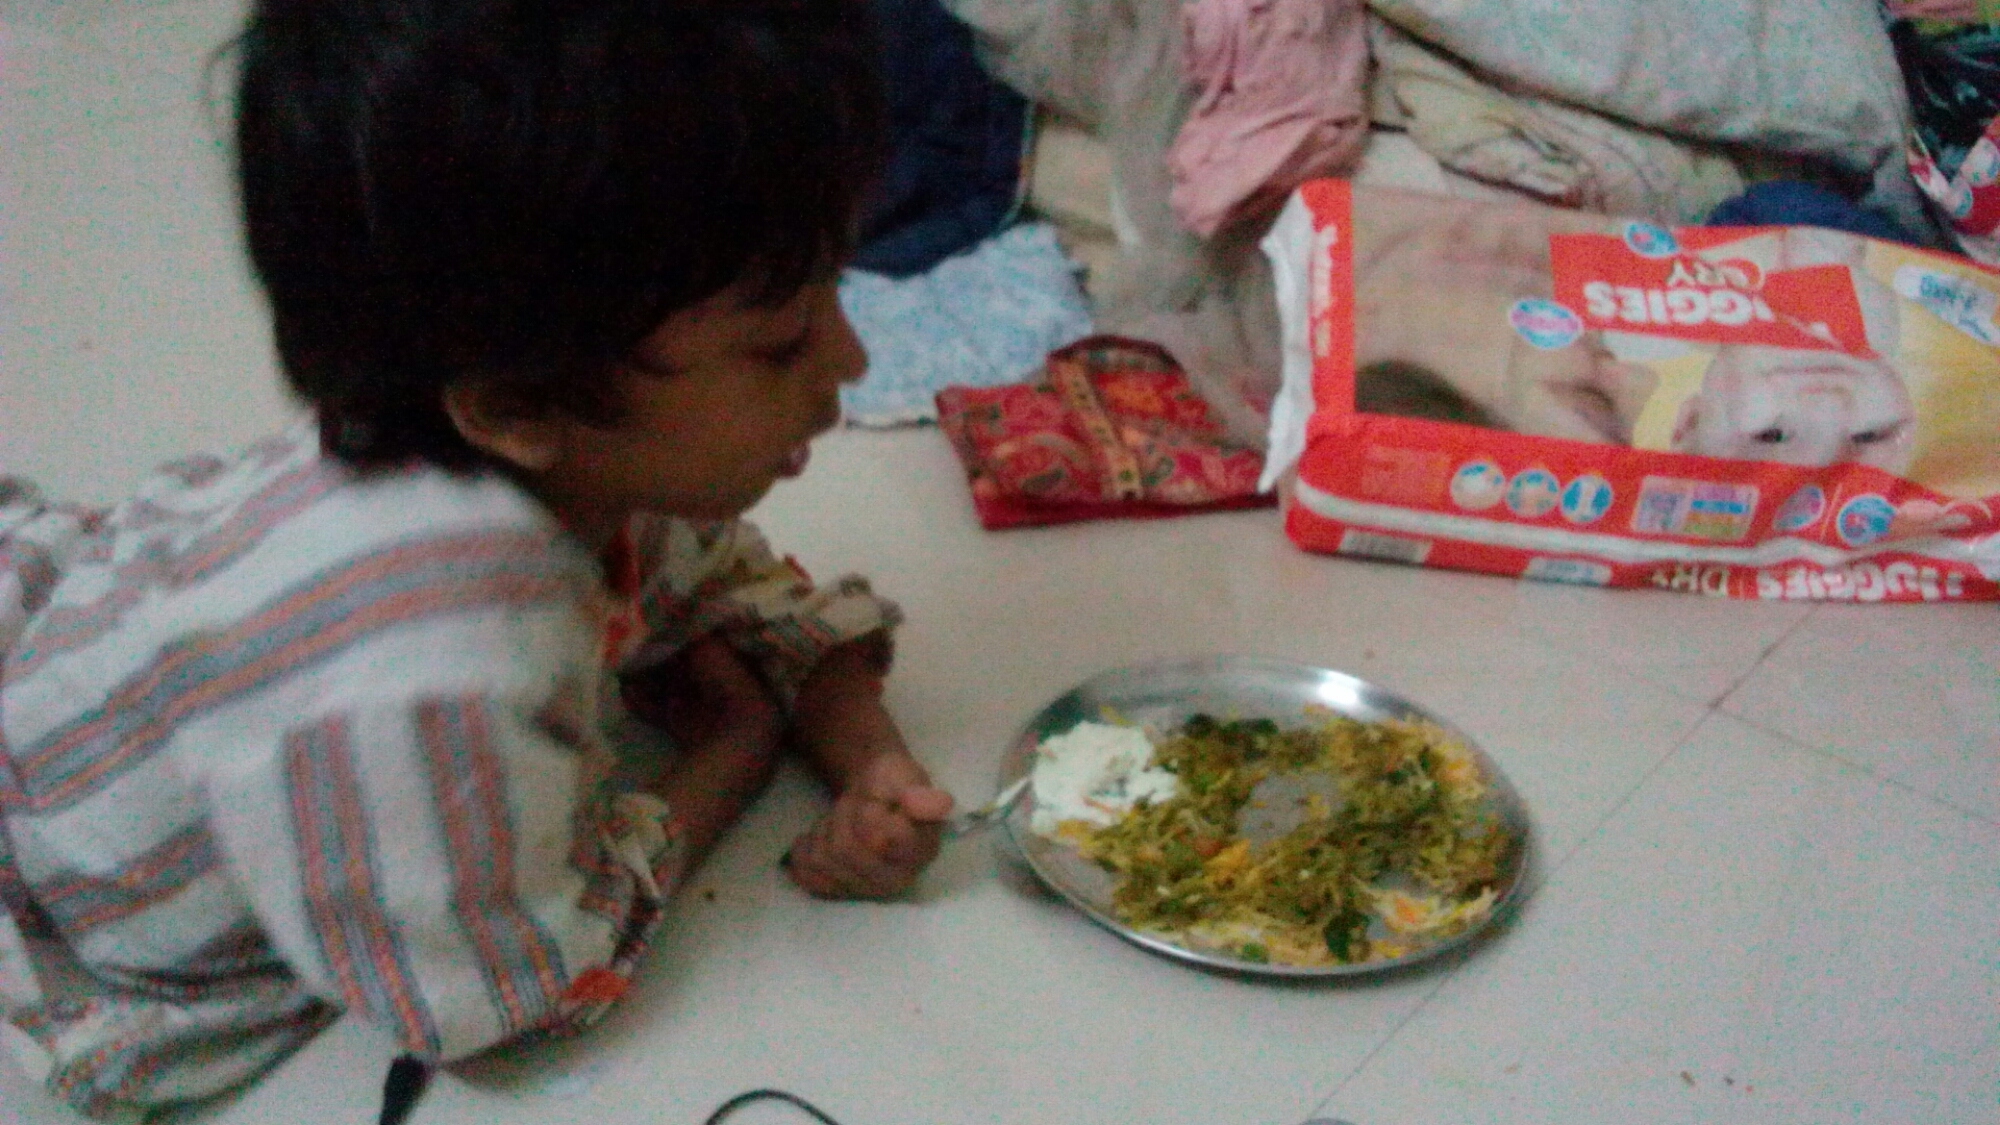
Nisarga having lunch on his own.

image

Blue moon flirting with clouds behind cucumber plant

image

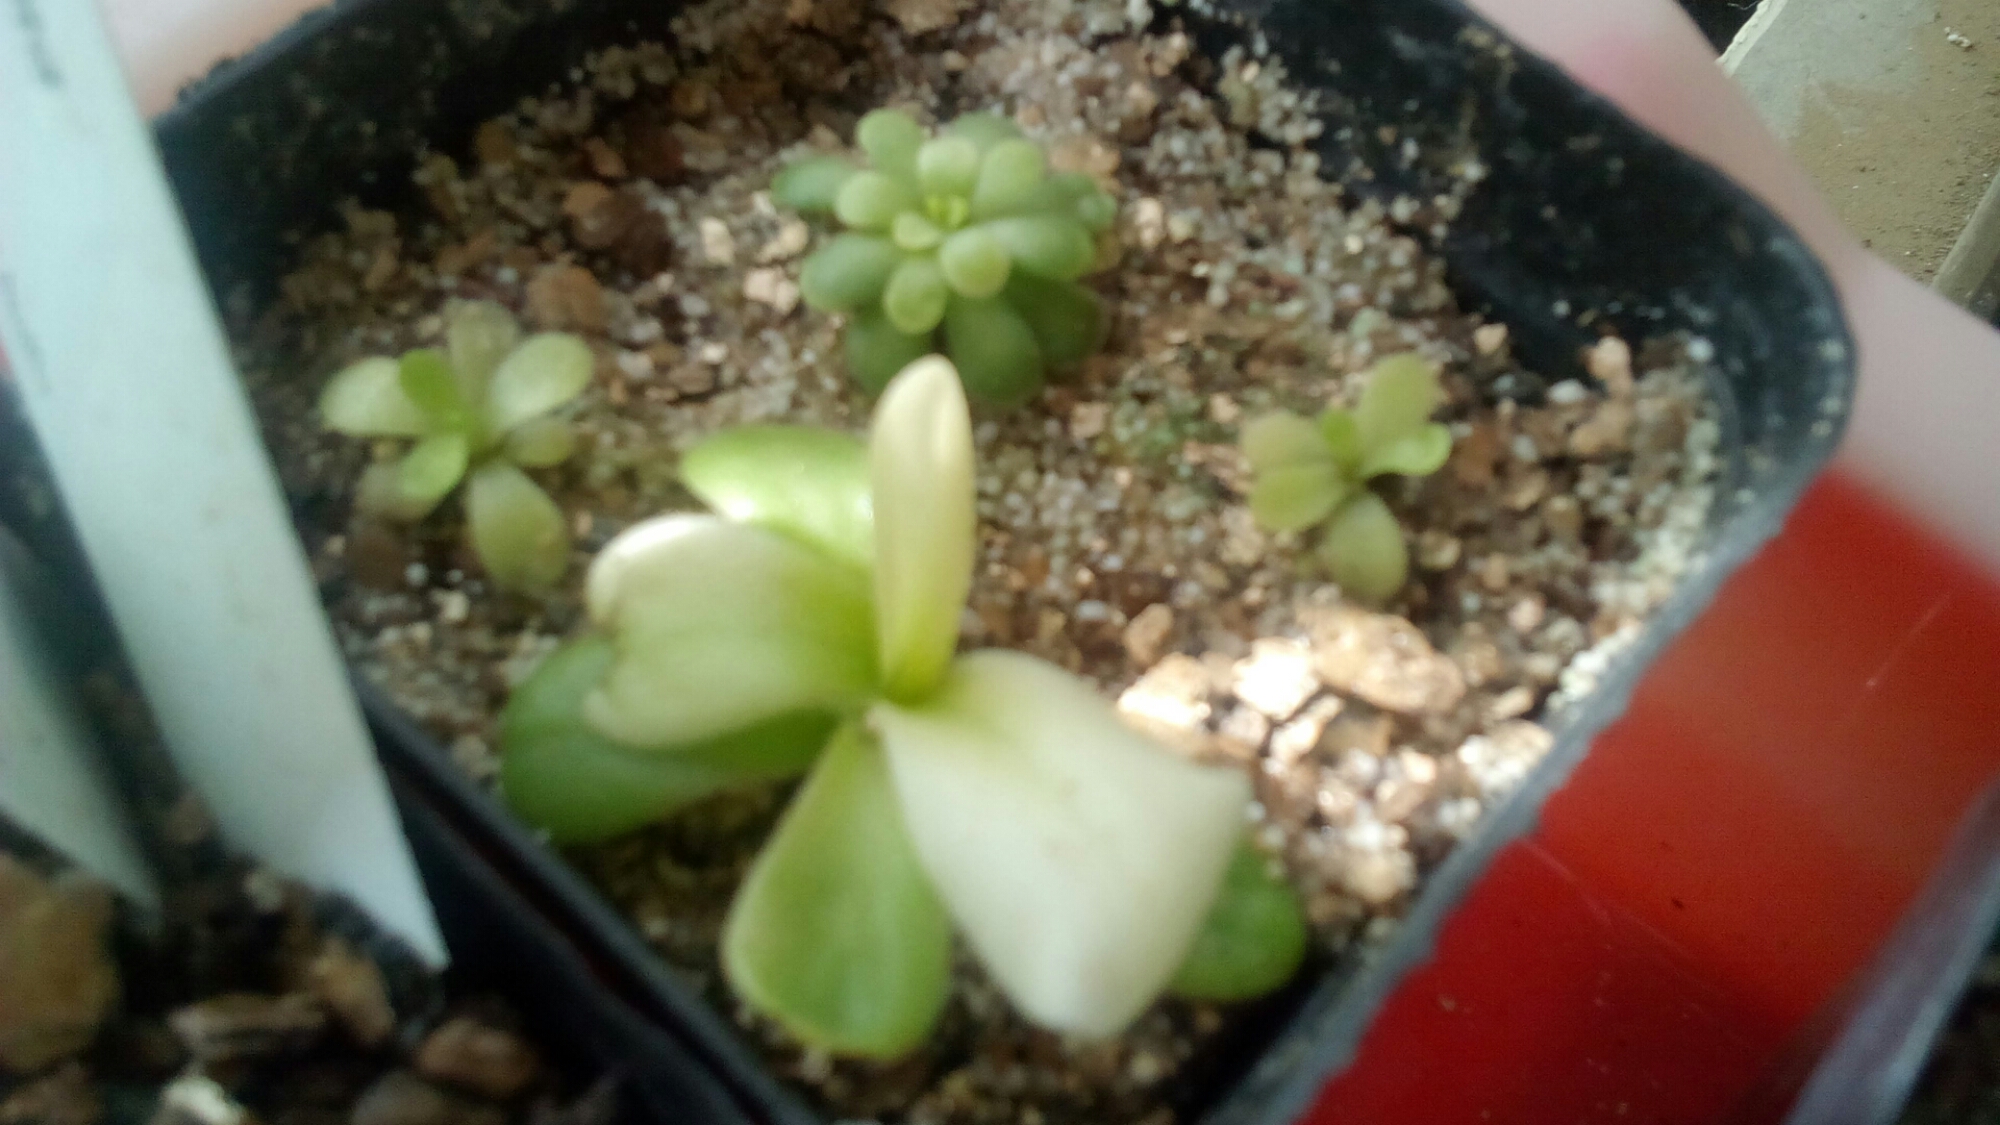
Some of my pinguicula collection

image

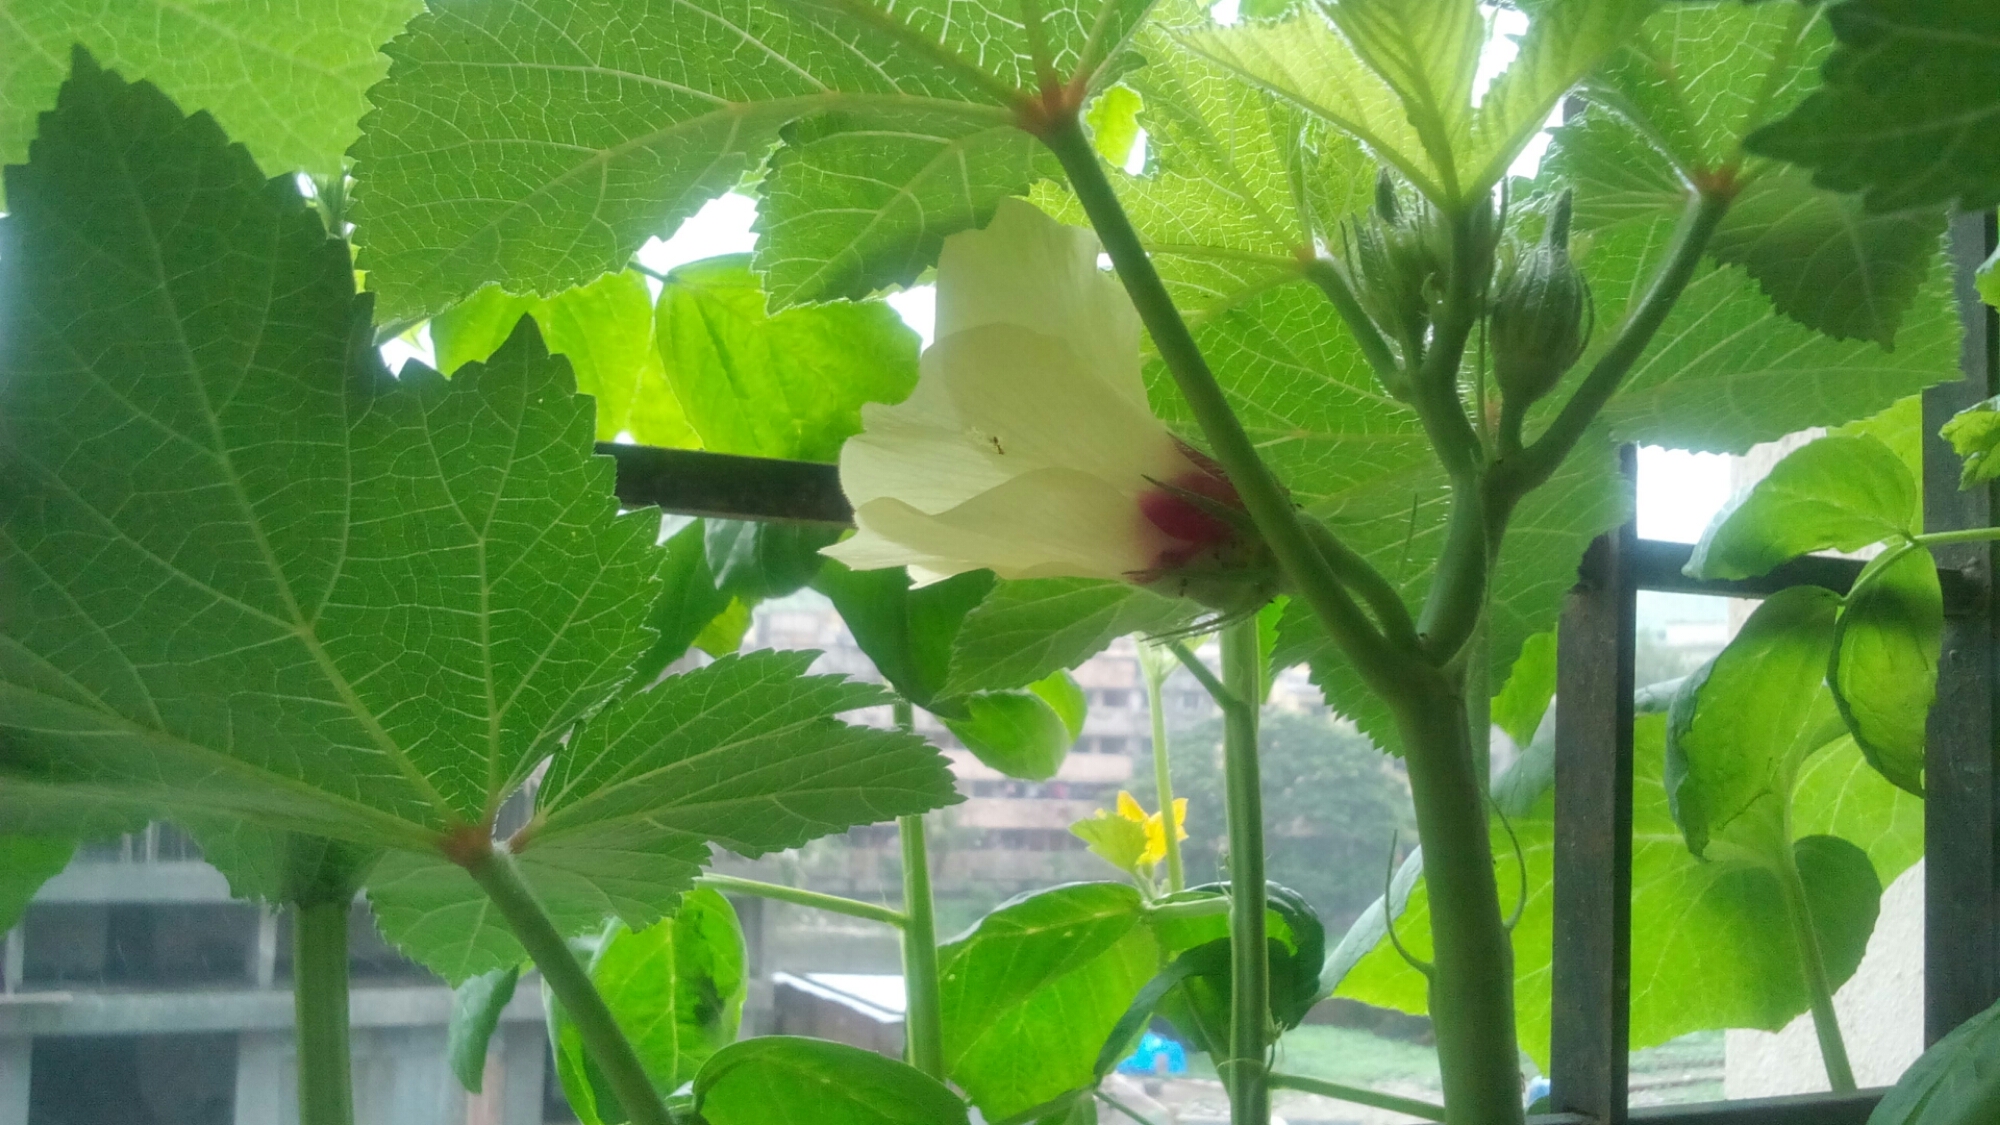
First flower on the okra aka ladyfinger aka bhindi

image

image

image

Parents enjoying their grandson soon after moving here

image

I look like this these days

Drosera seeds germinating 1

Drosera seeds germinating

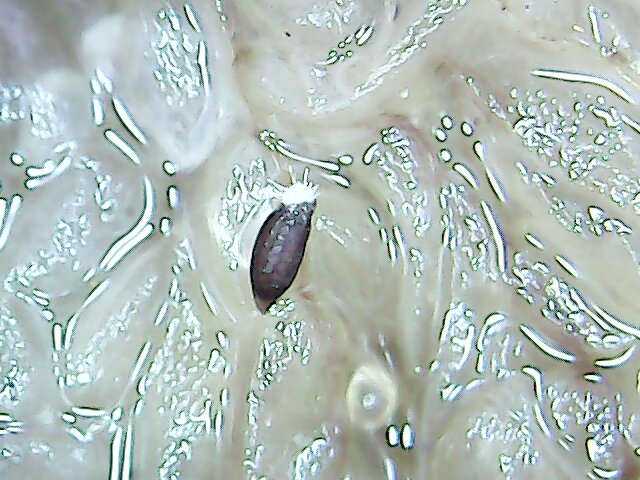
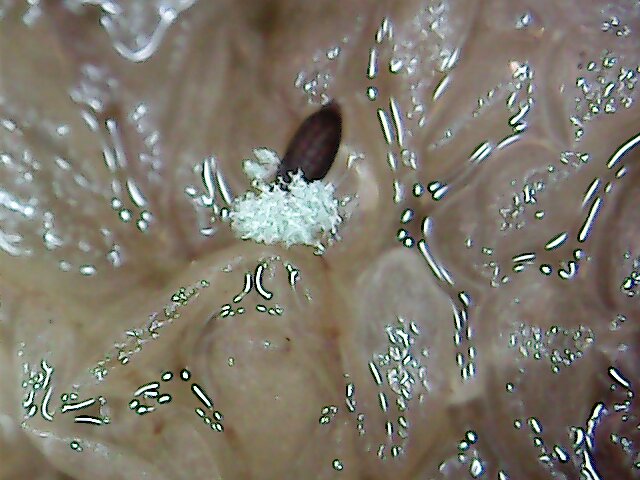
Adding to my carnivorous plants collection are the germinating drosera seeds. They are too tiny to see with the naked eye, but magnified, you can see the tiny green sprouts.

I have these growing on wet dry sphagnum (as in dry sphagnum with water added :p) in small plastic cups, so the light gets reflected and the digital camera makes for rather poor pictures. I’m experimenting with ways to get a better image, but this is it for now.

Drosera Spatulata seed germinating - Day 2. You can't see much other than some white with spiky stuff sticking out, but under a small microscope, this is green and the white is tiny fragile hair.

Drosera Spatulata seed germinating – Day 2. You can’t see much other than some white with spiky stuff sticking out, but under a small microscope, this is green and the white is tiny fragile hair.

Drosera Spatulata seed germinating - Day 4. You can't see much other than some white with spiky stuff sticking out, but under a small microscope, there are two green leaf-blobs and the white is tiny fragile hair.

Drosera Spatulata seed germinating – Day 4. You can’t see much other than some white with spiky stuff sticking out, but under a small microscope, there are two green leaf-blobs and the white is tiny fragile hair.

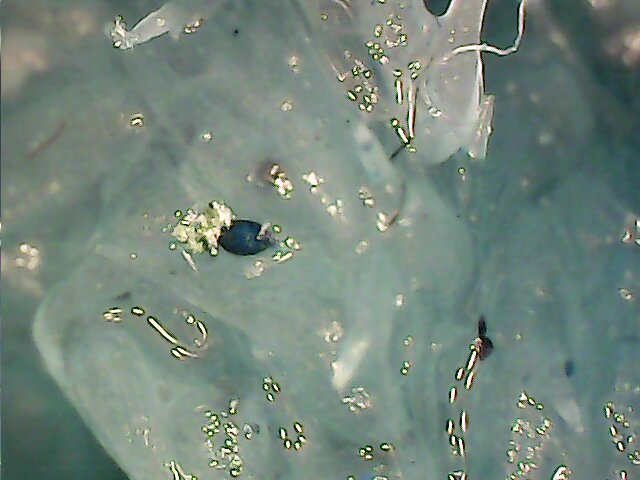
drosera madagascarensis seed germinating

Drosera Madagascarensis germination – Day 7 When watching through an optical microscope, you can see tiny, tiny leaves.

Substrate: Sphagnum moss.

Method: Rinse sphagnum moss really, really well, put in small plastic cups, sprinkle seeds on top. RO water initially, but any water that needs to be added further is distilled (to avoid salt build up). The cups are small, sit on window sill or shelf with lots of bright light without being in direct sunlight. I am not using a plastic cover, for these and they seem to be doing fine, but the others I’m growing on tissue paper had to be covered.

At the moment the cups neither have drainage nor sit in a tray of water, but once the plants grow a bit and water requirements go higher, I’ll be transplanting them to their real pots, or punching holes in the bottom to sit in tray. To add water without displacing seeds, I drizzle it down the side of the cup instead of pouring on substrate.

None of these sprouts is larger than 1mm yet.

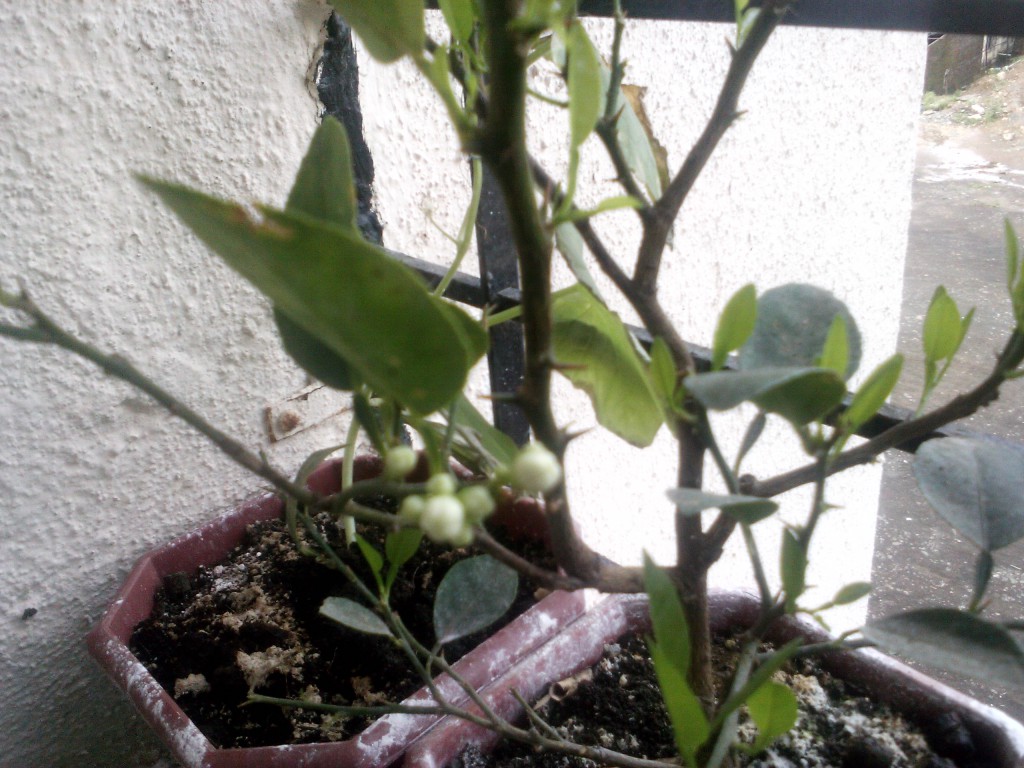
Small potted lemon tree flowering

First flowers in my balcony

The rewards of my labour of love. The lemon tree and rajma are flowering.

Small potted lemon tree flowering

Small potted lemon tree flowering

If you go really close, there buds have a wonderful citrus fragrance. Can’t wait for them to flower so that the scent can waft through the home with the breeze.

The lemon plant had been doing rather poorly on arrival. It arrived in good shape, but lost the lemon it had growing in travel. Then it started losing leaves. Then there was trouble with root rot. All through this time and till I had all that sorted, the leaves were dropping steadily till only a dozen or two remained. Frankly, I’d given up on the plant surviving, when it suddenly shed almost all its remaining leaves over a day or two and rapidly started putting out new foliage and buds. The new leaves are almost the size of the old ones now, and there are ten or so buds showing. Amazing.

The rajma is flowering as well. It has been growing so well, that it is on my “grow again” list as soon as I’m done with the plants I have started now.

Container grown rajma flowering

Container grown rajma flowering

Given the trouble I had with inadequate drainage and fungal gnats, I’m quite astonished that these two plants are doing so well. I’d thought I’d got an evil black thumb.

The brahmi plant has one small purple flower as well, but it is sort of underneath the leaves, and I’m trying to figure out how to get a good photo. I’m not particularly interested in the Brahmi flowering for now, as I was hoping to eat the leaves and I’m not sure how good the taste is when it flowers…

Maybe they are very forgiving..

The balcony garden strategy - more edible plants in small space 2

The balcony garden strategy – more edible plants in small space

So I now have a strategy for maximizing the use of space in my small balcony garden in order to get the most crops.

Beginning from having no plants….

Sow some quick gratification
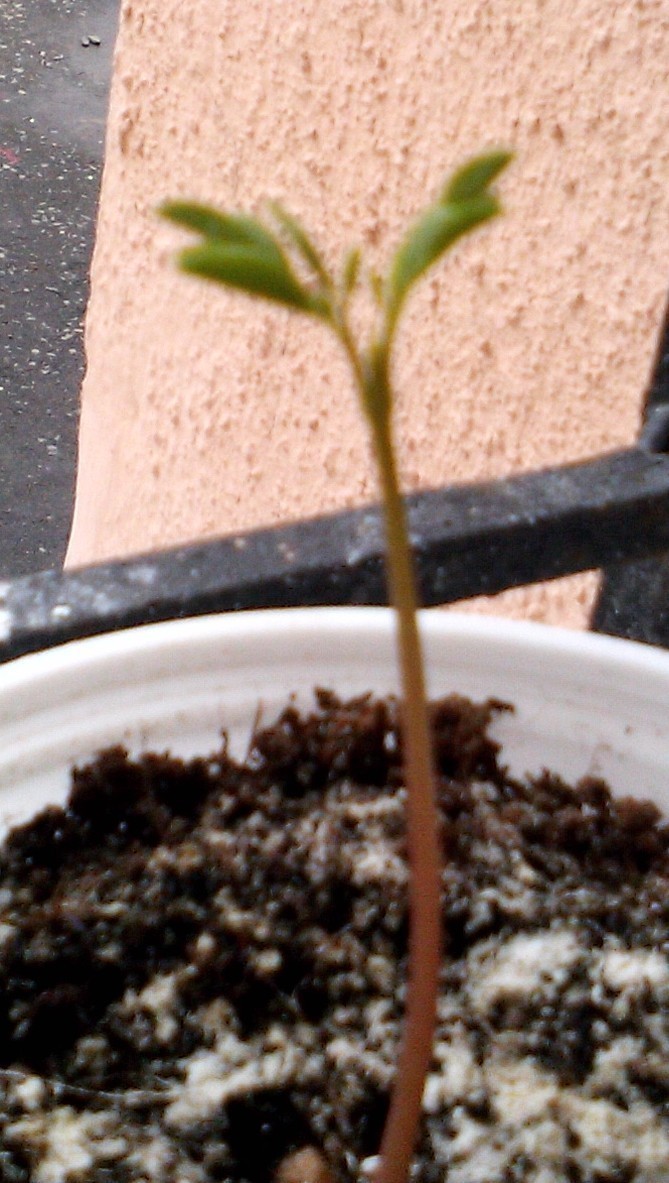
drumstick seedling moringa

Drumstick seedling at two days old

Every new gardener is excitedly awaiting results and plants will grow at the speed they will, but why not plant some early rewards while you go about learning to create your edible garden? Planting lettuce, carrots and drumsticks will give you some harvest very fast. Lettuce can be picked in small amounts within a couple of weeks. Even more so if you choose an early variety. Carrots can simply be pulled up earlier if you get desperate to see some result and they will taste tender and refreshing even if not at expected size. Drumstick trees grow so fast that if you grow them in a container, expect to be pruning them routinely to keep them from heading for the sky. This means a lot of edible, highly nutritious leaves that can be cooked like spinach. Mustard and fenugreek also come up fast and can be sown for greens.

Or hunt for more ideas. I like the thought of working hard to get a basic garden established in a couple of weeks and being able to watch it daily and be able to occasionally harvest something while you wait for your bigger crops to come to fruit.

Watering

DON’T WATER TOO MUCH. It will cause more problems than it will help. Young seedlings need very little water. By the time they grow, you’ll have learned to recognize when they need water. Your container should have plenty of holes in the bottom – you should be able to pour water in and see it come out from the bottom. A common mistake of the new gardener is to imagine that the container must hold water. IT MUST NOT. You water a plant to soak the soil.

Excess water will harm your plant and starve roots of oxygen and rot its roots and create problems with fungus gnats. GUARANTEED. Aim to water once a week at best. You don’t need to water at all till you see soil drying in the container. For seedlings, it is trickier. They must not be allowed to dry out, so you can water at the first sign of drying on the top. Larger pots with plants can be watered when you can poke your finger in to the second knuckle and the soil is dry. Soak well till water drains from the bottom and ignore till it is dry again – however long that is. This varies. With some plants you’ll need to water often, others will seem fine for ages. Generally, more sunlight, larger plant, more holes in container, dry or desert climate and water loving plants like tomato or cucumber will be factors needing more frequent watering.  Even daily or twice a day. Particularly once the fruit is set. A shady balcony without too much wind and a newly started garden will be fine for a week at least without watering.

I repeat DO NOT WATER MORE THAN YOUR PLANT NEEDS. The objective is not to fill the container with water, but to moisten the soil.

Selecting containers

I began with very small containers, imagining that I would pot up as the plants grew. It seems a bit instinctive for someone who wants to grow a lot in a small space, but I have fast learned that even for small spaces, large containers are better. Get the largest that make sense for the space. It is better to grow multiple crops in one pot than have many small pots – plants thrive better. Also what most people (read “me”) don’t realize easily is that the balcony space is limited in terms of area, not height, so one large container instead of three small ones gives you more depth and continuous volume of soil without taking up more floor space.

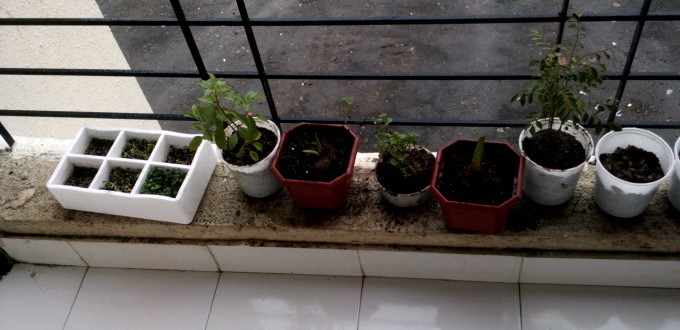
What to do with the small pots you instinctively hoarded? Use them to start seedlings and grow herbs and lettuce and other things that aren’t fussy.

Direct seeding vegetables go into a container first
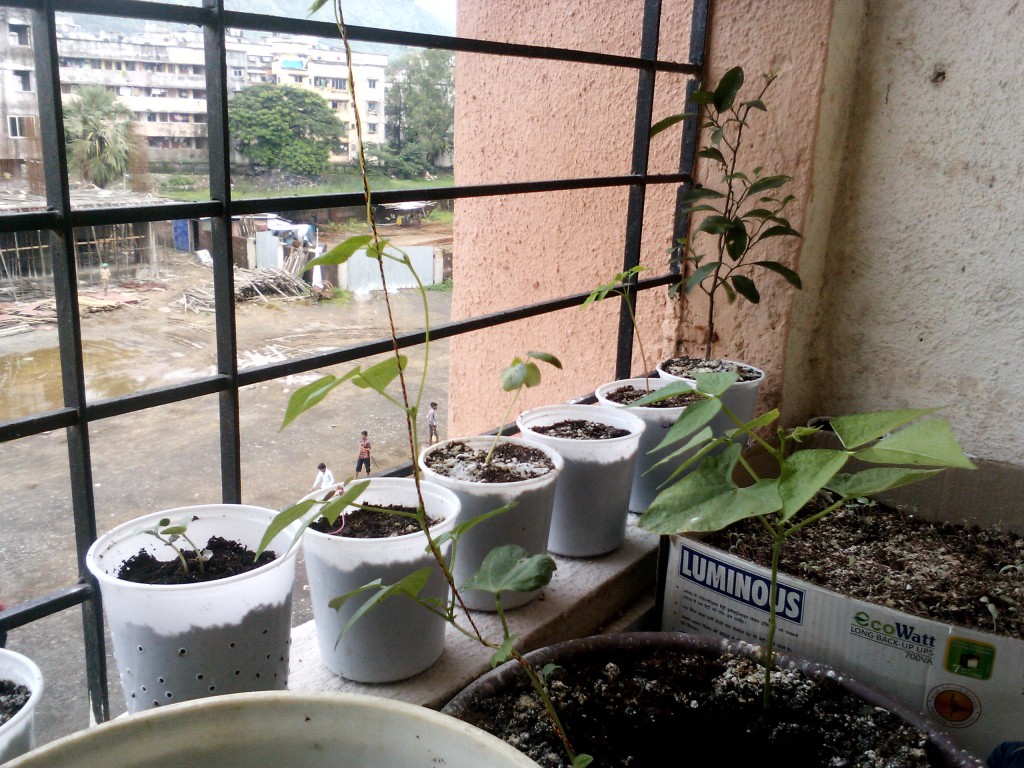
seedlings plants beans orange okra small space container gardening

seedlings and plants in balcony container garden

This means that you start your carrots, turnips, raddishes, beans, peas and more in some of the biggest pots you have, while your seedlings grow. I have learned from experience that seedlings grow nowhere near as fast as it seems in “how to grow container vegetables” information found on the internet. From putting the seed into the soil to being ready for transplant, it can take from a month or even two if your small containers are generous enough. Keep a few large containers free for seedlings that are ready fast. By the time your seedlings are ready for more pots, your early vegetables (baby carrots and lettuce in particular) will have vacated their spaces, ready for you to plant your seedlings.

Start seeds in small containers

Seeds and seedlings don’t need much space, and no matter how much you love them, they will be happy enough (indeed at less risk of overwatering) in small containers. I often pick up used disposable plastic tea cups outside tea stalls. I have used empty eggshells as well.

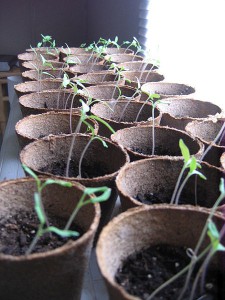
Start the seeds, and once they start showing true leaves (this can be a couple of weeks), plant them into individual small containers so that they don’t grow up tangling their roots with their neighbours and remain easy to transplant.

If you plan this well, a square foot of space can contain all the seeds you are planning to plant in your balcony (and some to spare). Line up the small seedling pots along window sills or poke holes under their rims and hang them from somewhere suitable to save space if needed.

Plan your large containers
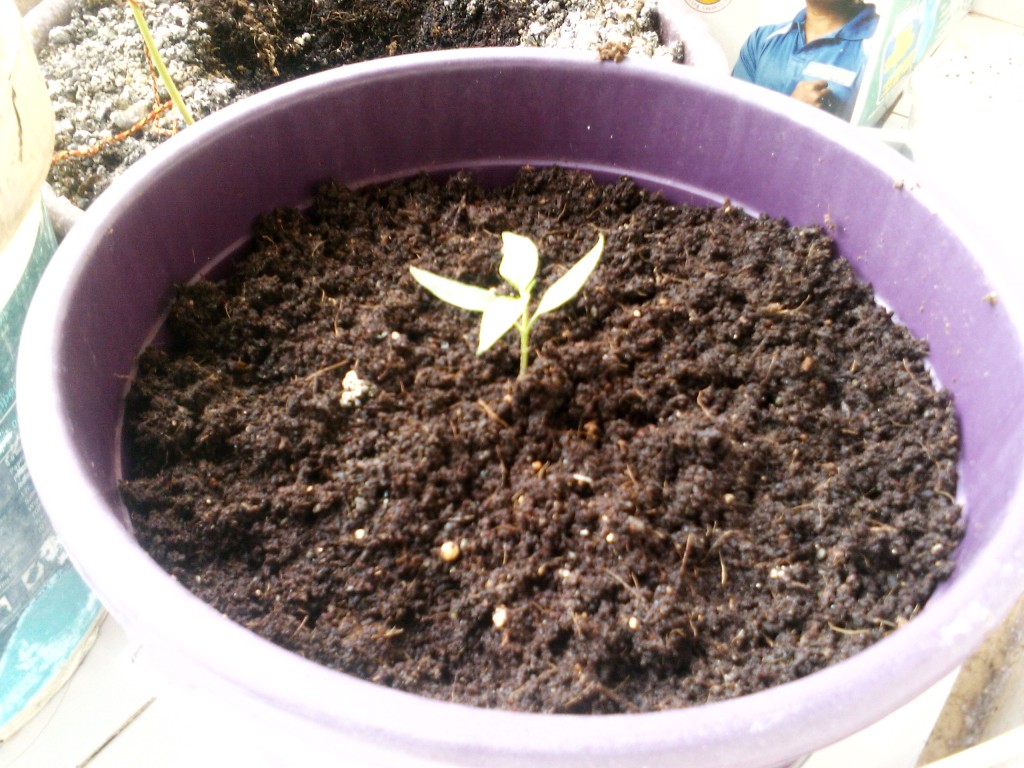
Chilly seedling in bucket with small and early Little Finger carrot seeds sown around it.

Chilly seedling in bucket with small and early Little Finger carrot seeds sown around it.

As your seedlings come up, it is time to plan your large containers to use space the best. A big bucket will hold one tomato plant, but you can easily plant basil or mint around it. Once your peas have come up a bit, plant your spinach or lettuce around them. Train your cucumbers and beans to climb up the grill or lean a stick against the wall to keep them off the ground (not just saving space, but less risk of disease and better shape). Beans and tomatoes work well in one container too. As long as I watch the plants well and make sure they have plenty of water, they don’t seem to mind the slight crowding so far. I will update as the season progresses.

One smaller bucket has peppers in the middle surrounded by “Little Finger” carrots.

Arrange plants to maximize sunlight
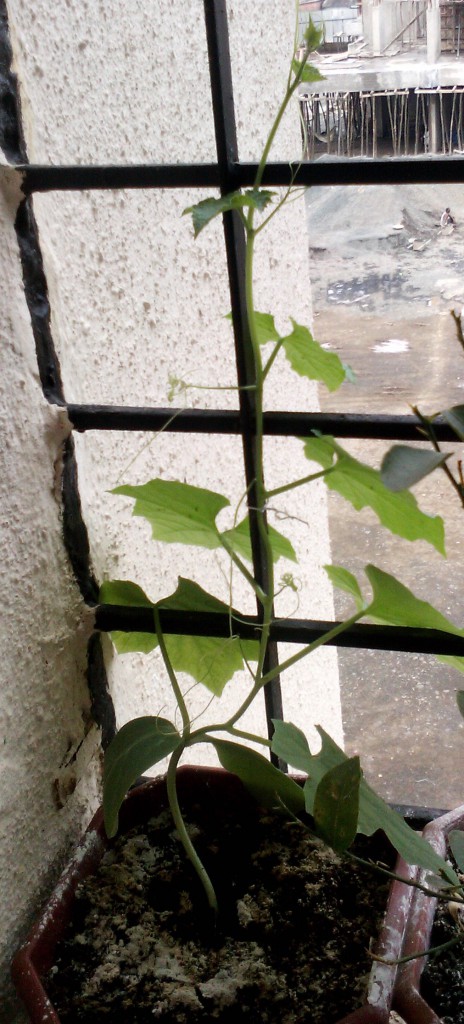
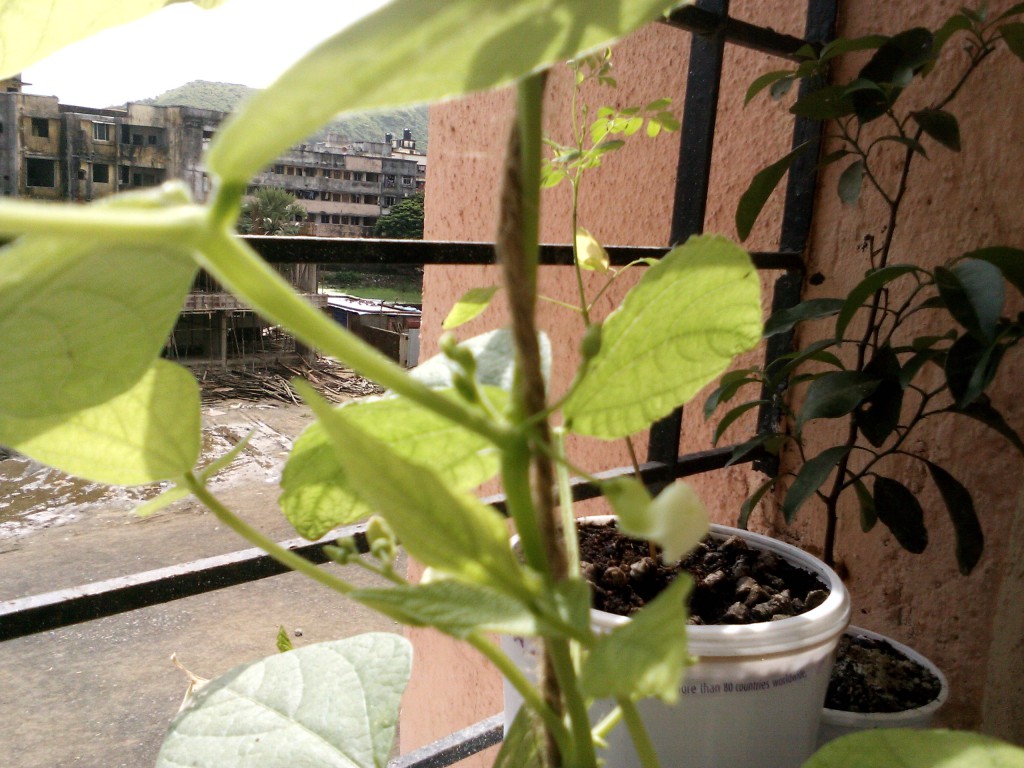
Gourd vine climbing up from a corner of the balcony grill

Gourd vine climbing up from a corner of the balcony grill

If you are planting in a balcony, at best you’ll have sunlight for part of the day. Arrange your containers so that plants get the most sunlight possible. I use hanging containers along the grill of the balcony so that the space is vertically used.

Relocate the greens to under larger plants

Once your seedlings are ready to transplant, plant greens around them. so that the pots you planted greens in earlier can be freed for more seedlings as they become ready. Mint, catnip, garlic and more can repel pests from plants and help protect them as well.

Use vertical spaces

It may mean simply hanging containers from the walls or ceilings to grab the light available in those spaces or it can mean elaborate designs for form or function, but just remember, for the space starved gardener, one direction to expand in is “up”.

This is it, I guess. My plan for starting container gardens in balconies. Hopefully if I ever need to do this again, I’ll be able to read this and not repeat mistakes 😀
Air beds and air sofas available in India – comparisons and which to buy

When I moved into this place, I decided to buy an air sofa, because I didn’t want to spend too much on mattresses, and with my mom coming over often, I’d need something for her to sit on as well, as she can’t sit on the floor. I ended up buying several inflatable products (for myself and others who saw mine). Here are my experiences with them.

“5-in-1″Air sofas

Bestway 5-in-1 air sofa

Bestway 5-in-1 air sofa is a disappointment to use and developed puncture and tear in less than a month

The “5-in-1” type products where the sofa can be converted into a lounger and bed by folding out its bottom mattress layer. My experience with two of these is that they are a waste of money. The “Bestway” ones are bright with attractive pictures and almost completely useless. The sofas are wobbly to sit on, leading to a rather insecure feeling while sitting in particular and you will not feel comfortable when your guests act wary of it even if you get used to it. There is a rather heavy tilt if you sit on one side instead of the middle. I have tried this with less air filled and more air filled. The lesser the air, the worse it gets (naturally).

If you really fill it as full as you can (ignoring the warning to not overfill), it gets more stable, but it is still a precarious experience for sitting. For sleeping, the two mattresses have a gap between them that is most uncomfortable to sleep on, and the width of the sofa isn’t enough to sleep horizontally using the two pieces like separate mattresses. For sleeping, I found that less filled air was more comfortable, almost cocoonish, but turning becomes tougher.

In terms of quality, mine developed a puncture with relatively very mild use and no sharp objects around within 20 days of use. A puncture kit is not provided. The rubber flap connecting the two pieces of the “bed” started tearing within that period making the pieces move even further away from each other when used as a bed.

Don’t buy. You will regret.

Intex Air Mattress

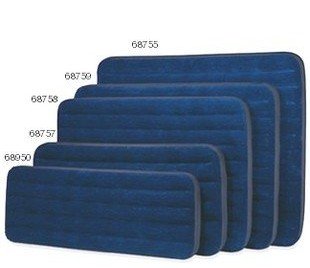
Intex mattress sizes

Intex mattress sizes

Excellent products. Superb convenience for inflating as well as deflating with the design of its valve. Robust, very stable using experience. I have used only the single camping mattress, but there doesn’t seem to be any difference in quality among the various products and the difference is mainly in various sizes (single, twin, queen size, king size, etc).

Intex Air Sofa

Intex inflatabe sofa and pull out mattress

Intex inflatabe sofa and pull out mattress

If you want an air sofa, buy this one. Rugged to use, good looking, extremely convenient to inflate, deflate, pull out into bed or put back up as sofa. Feel while using is near identical to any normal sofa, and in fact more comfortable than many conventional sofas. It is wide enough to take a comfortable nap on without opening to bed (at least if you aren’t very tall).

Cons: The one I have opens out to a king size bed. It may be difficult to open and use as a bed if your room is small. I don’t know if there is a smaller size. Check dimensions and be sure you have that kind of space. It is also slightly more expensive than the other one, which isn’t a surprise. It is offered in one (dark grey-blue) color. So if you want a sofa to match your red curtains, this may be a problem, though the color is quite attractive.

Overall, I found Intex products to be very well designed and excellent to use when inflated. Very little wobbling and such.

Air Pillows

INTEX Air Pillow

INTEX Air Pillow

They are convenient to inflate and use, but rather light and they have a tendency to “float” away from under your head while you are turning on your side. The ones I have have the velvet flocking only on one side of the pillow. No idea if there are pillows with flocking on both sides which may provide some friction and prevent the pillow from wandering away.

All in all, very comfortable if you don’t mind adjusting your pillow or at least holding on to it when you move on the bed or you’re going to have an unpleasant time.

5 steps to get rid of fungus gnats 3

5 steps to get rid of fungus gnats

As I learned the hard way, compost can sometimes go horribly wrong and bring guests to your plants you never wanted to see. If you’ve reached here reeling in horror after seeing your precious potted plant wilting even as maggots crawl in its soil, it is not so difficult to fix this.

Stop watering the plant infected by fungus gnat larvae

You want the top layer to dry out. Fungus gnat larvae are delicate for all the havoc they wreak and die easily in dry soil. The maggots complete their life cycle outside the soil, as the fungus gnats. Dry soil does not appear to be a good place to lay eggs to the adults. Don’t worry, a few days without water ewon’t kill your plant. This will prevent more eggs from being deposited, and prepare your container for the next step.

Water with diluted hydrogen peroxide

A week after you have stopped watering your plants (or less, if your soil goes dry before that – but not just looks dry, actually feels dry at least a 4-5 inches in), dilute hydrogen peroxide with three times the quantity in water. So for a cup of hydrogen peroxide, you want three cups of water. Use this to water your now dry container plant. The hydrogen peroxide will fizzle and degrade into oxygen and water – both of them not harmful to your plant, but will kill the maggots on contact.

Repeat the above two steps

Repeat the above two steps till you no longer find maggots. You can also test for the maggots by putting half a potato face down in the container (no need to bury). If there are maggots, you’ll find them at the potato in a few hours. Dispose of the potato and repeat the above two steps. If you don’t find the lrvae, you are home free.

Add gravel or sand as a top layer in your container.

Add a layer of gravel or sand on top of your potting soil/mix to prevent the gnats from seeing the container as a suitable breeding ground to begin with. Also be sure to replace the (removed) gravel or sand after adding compost or fertilizer to make sure the compost doesn’t attract flies.

Use fly traps

Trap fungus gnats with some yellow sticky paper or bowl with apple cider vinegar or any other fly trap to prevent infections. Catching houseflies too will prevent their infestations.

Call it a lesson learned – Avoid bone meal or some other fertilizers

Some fertilizers attract flies more than others. If after exposing it to air, you have a buzz of interested flies instantly, last thing you want is to put it in your container. Bone meal in particular seems to attract flies a lot.

This should be it.

Starting my window ledge garden 4

Starting my window ledge garden

Second day in this home, the first day waking up here and the amazing energy to do something beautiful continues, so today, I spent some time planting the beginnings of my window ledge garden.

I got some seedlings, seeds, pots and lots of old home delivery plastic boxes I’d been saving. Nisarga is in diapers still, so I decided to use some ideas from some wise people and mixed in the inside of his used diapers (pee only) with the potting soil, which is a mix of some commercial soil that came with some seeds I had purchased, river sand, from this construction outside my window (conveniently drenched by pure rainwater), and vermicompost.

This big ugly construction site that my son adores because of the JCB moving sand.


building construction site in India

Building construction outside my window

There was not much rocket science to it other than wetting the diapers thoroughly t-h-o-r-o-u-g-h-ly till they became a sort of slurry, then mixing in the rest till it resembled wet soil. The seeds I planted into this, the seedlings I put in with the original mud block they came with and surrounded with this.

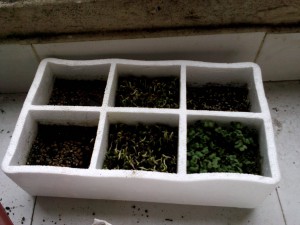
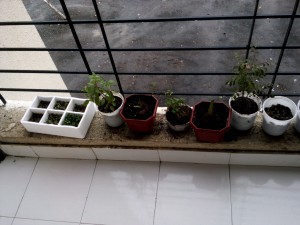
I repurposed the packing of a set of six cups which had nice compartments to seed a small segmented pot of greens. Coriander, fenugreek and mustard – in two compartments each – for now. Realized too late that the coriander should have been spinach, and a separate bowl for the coriander, since it would be used longer. Oh well, next time.

six compartment planter

Six compartment planter for greens repurposed from packaging of a set of mugs

No point getting into the details of it, but this is what the effort looked like by the time I washed my hands.

Window ledge garden

earthworm in vermicompost worm bin bedding

Starting a vermicompost bin without worms

I have always been interested in composting and having my own home now allows me the freedom to get into all these whims and ambitions. There are plenty of tutorials on starting a worm bin. All of them assume you have the worms. But what if you don’t?

I didn’t.

I could probably go to the city and find some vermicomposter and buy worms, but I don’t have the time for that at this stage and traveling with Nisarga is complicated at the best of times. I was not willing to wait (good things happen to those who DON’T wait long enough to lose a dream).

One thing was certain, given enough time, compostable materials will compost. No matter how well or badly I do it. Complete disasters can always be trashed.

First I made the worm bin.

worm bin with pedal lifting lid

These plastic waste buckets are pretty easy to get and cost under a hundred rupees.

I too a garbage bin with the kind of lid that raises when a foot pedal is pressed. Cheap and convenient, though I guess any could be used. The dark shadow in the bottom is some cardboard.

I have punched holes in the bottom and sides of this bin for drainage and ventilation. I found it easier to do by heating a thick needle – the kind you use to sew jute sacks, particularly since I don’t have a drill.

worm bin drainage holes

Punched holes in bottom for drainage. I used a thick needle and heated it up to easily poke holes.

Then I put some wet cardboard in. (I took the photos at this stage, which is why you see the cardboard in previous photos).

Now was the tricky part. This had actually happened while I was living in my husband’s home and dreaming of this place. I was planning a bin and had started a very small one in a small plastic box using “wild” earthworms.

I didn’t have any worms, there were no easy places to get worms nearby, there are no suppliers selling online to deliver in India, and the few vermicompost sellers I could convince wanted a thousand rupees for a kilo of worms. No can do. It would completely defeat the purpose of composting, if composting at home was more expensive than purchasing several years supply of vermicompost.

So, in the great Indian tradition of jugaad (closest meaning being creative solutions), I tried alternatives. I had vermicompost that I had purchased. I threw in a handful. Then I tried to identify and specifically pick out cocoons from it to add. Then the other good news is that it is monsoon here, and the first really serious showers had just happened. There were earthworms on the road waiting for me to rescue them from cruel cars.

The rescued earthworms are not necessarily a perfect solution, given that they probably burrow deeper into the ground and my bin may not give them enough comfort. But hey, earthworms are earthworms, and it was something to start off with till the cocoons hatch. IF the cocoons hatch.

If the cocoons hatch, it will be very good. The assumption being that cocoons found in professionally sold vermicompost will come from critters that eat and poop efficiently enough to have quantities that can be sold.

So I had this box of “worms” ready for this environment.

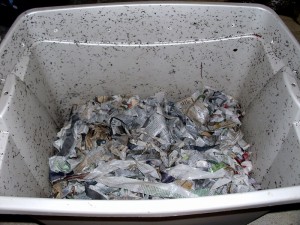
Normally, I’d have prefered to let my worm bin settle and let some food rot in it in some place before I put the worms in, but this was the celebratory first day, so something suitably momentous had to be done. So, I dumped my small worm bin into this larger one – in one place, so that the comfortable ingredients were all in one place in a “comfort zone” for the worms that was already comfortable, while the rest of the bin aged a bit. Then I covered it up with shredded cardboard and newspaper.

earthworm in vermicompost worm bin bedding

This earthworm tried to escape the bin but readily returned after some encouragement.

Then I put in more shredded newspaper and cardboard till the bin was almost full to deter pests from finding the earthworm food.

I have no idea what is going on in the bin at this point. It is tempting to keep checking, but I guess when they say keep the worm bin safe from pests, they also mean me. So I satisfied my itch by reading up on vermicomposting, and writing this post and letting the earthworms do their thing.

I will update when there is anything to update, but the hope is that the cocoons hatch and/or the local earthworms settle and reproduce.

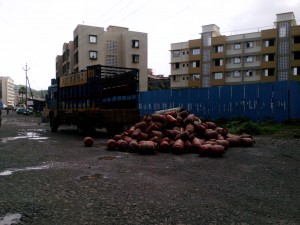
Bharat Gas cylinder heap on the road near the delivery truck

Got the cooking gas working

Short update.

Went to the place where the Bharat Gas truck stops, and got the two cylinders that come with my gas connection. Erm…. this is the collection point, and these are the cylinders. I took two of these (with due procedure).

Bharat Gas cylinder heap on the road near the delivery truck

Bharat Gas cylinder heap on the road near the delivery truck

Hired a rickshaw, brought them home, lift wasn’t working because powercut. So I kept them safely and headed out to get a stove and a man to connect the whole thing. Also got some very basic utensils. Then we waited until evening for the electricity to resume and took the cylinders up, and got the gas working. Finally!

This means we can move into our home any time. Probably tomorrow. I’d like to move today, but there is still some luggage left and Nisarga will have to be carried, and I’ve run out of my he-man tendencies for the day with those two cylinders.

Note: If you are getting a new Bharat Gas connection, beware. They try to sell you an exorbitant gas stove that more than doubles the cost of the connection. More on this later.

Frugal living: Setting up my new home

In the days since the last post, I’ve been busy. I have moved most of my belongings to my new home and am ready to move as soon as I have cooking gas (most likely tomorrow).

empty apartment

This is the empty version of the new place I rented. It is already filling up with my belongings.

Some of the choices I have made in this new start – with many priorities ranging from health to finances in mind are already seeded to flourish as we grow into them.

Living Frugal

Gabe G., Mary H.

Rug made from old discarded clothing. Image:

This is a commitment to myself. I have enough on my plate trying to make ends meet to add the burden of making ends that are wider apart meet. I already live pretty frugal – used clothes, cheap purchases, DIY, improvised uses for many things… and many of the choices below also include this as an important factor.

Growing my own food

organic brandywine tomatoes heirloom seeds

Organic Brandywine tomatoes, Heirloom seeds growing in front of a bright window in an apartment. Image: Rennaux

This one answers many of my wishes. The main one is possibly less noble than the others. I want to get back in touch with that part of me that was in tune with nature when I lived as a nomad, and growing food seems to be something I can do while city bound and parenting a fragile child. It has the added bonus of healthier food habits, since in my experience, self-grown food always tastes better, just like our own child is always more charming 😉 This is will also reduce chemicals in our diet and hopefully get my weight to levels where I recognize myself (food was often the only comfort I used in an increasingly long and miserable marriage). More importantly, a healthier and diverse diet will do wonders for Nisarga – this is my gut feel.

Composting my waste

vermicompost earthworm composting bin

Vermicompost earthworm composting bin. Image: Quadell

I am planning on composting my own waste as vermicompost mainly but I haven’t given up on the idea of regular compost, though I can’t figure out where I can do a three foot cube of trash …. yet. I am also interested in trying out black soldier fly larvae if I can tempt some home. This is two-fold. The first, obviously is why spend on fertilizer if I can make it? The second is some recently discovered guilt over throwing too much trash on this planet.

Seeking seconds

garage sale

Garage sales don’t happen in India, but there are many places used and cheap stuff is available. Image: ResaJoan

What I need, I’m asking around if someone has to spare. If not, buying second hand, leaving only the unavoidable expensive purchases. Will keep my wallet happier. Besides, working from home, it isn’t like I need a fancy wardrobe (and you won’t believe the stunning clothes friends who do need good wardrobes hand down). But it isn’t only clothes. Now, as I need many things for the new home, I am requesting gifts of household necessities as well, pots and pans, cutlery, utensils, even garden pots and hanging baskets if anyone has them lying around close to where I live. Some is available. I can buy the rest.

Batch cooking

Farsan - Indian mixture

Farsan – Indian mixture. Image: Aravind Sivaraj

Since I don’t have a fridge yet, I don’t mean it in the Western sense of cooking many meals and freezing them, but there are other ways of keeping stuff to eat ready. Making large batches of healthy dry snacks that will last a long time will help me prevent ordering food from out when I am hungry and tired. This has been becoming a huge bill these days, with the husband criticizing anything I make, and me preferring to order food to avoid at least that spate of ugly words. But both Nisarga and I enjoy the food I make, and no reason why we can’t eat homemade snacks and meals all the time now. Particularly if they are ready on hand to be eaten at whim.

DIY – Do It Yourself

I confess, I enjoy DIY because it is fun. I am a maker at heart. I like making things, solving problems, rigging something to work. It doesn’t hurt that DIY saves money and improves the mind.

Doing ATM lessons

While I have been learning the Feldenkrais Method to teach Nisarga to move better, I have been neglecting myself horribly and weight gain and stiffness have turned me into a person I don’t recognize. Doing the ATM (Awareness Through Movement) lessons will not only let me reclaim my body, it will provide me with insights for movements to try with Nisarga.

Blogging our journey

I think the new things I am doing will be of interest to many who would like to live more simple, frugal and organic and blogging it will share the information. More importantly committing to blogging about these things will keep me on track on days I feel motivated (and I have been depressed a lot in the last few years, though feeling better these last few weeks). It will also help me see how far I have come when my self esteem is low.