Some drosera photos:
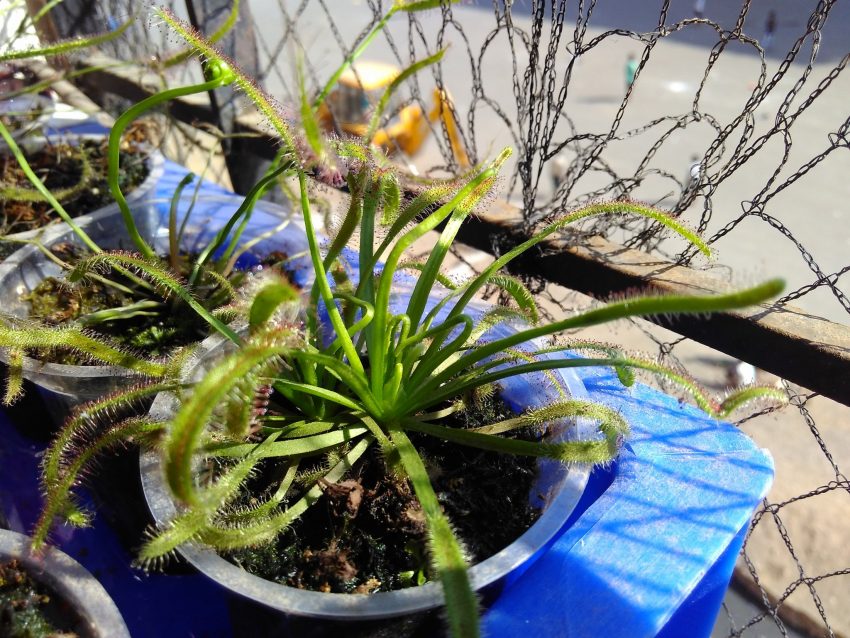
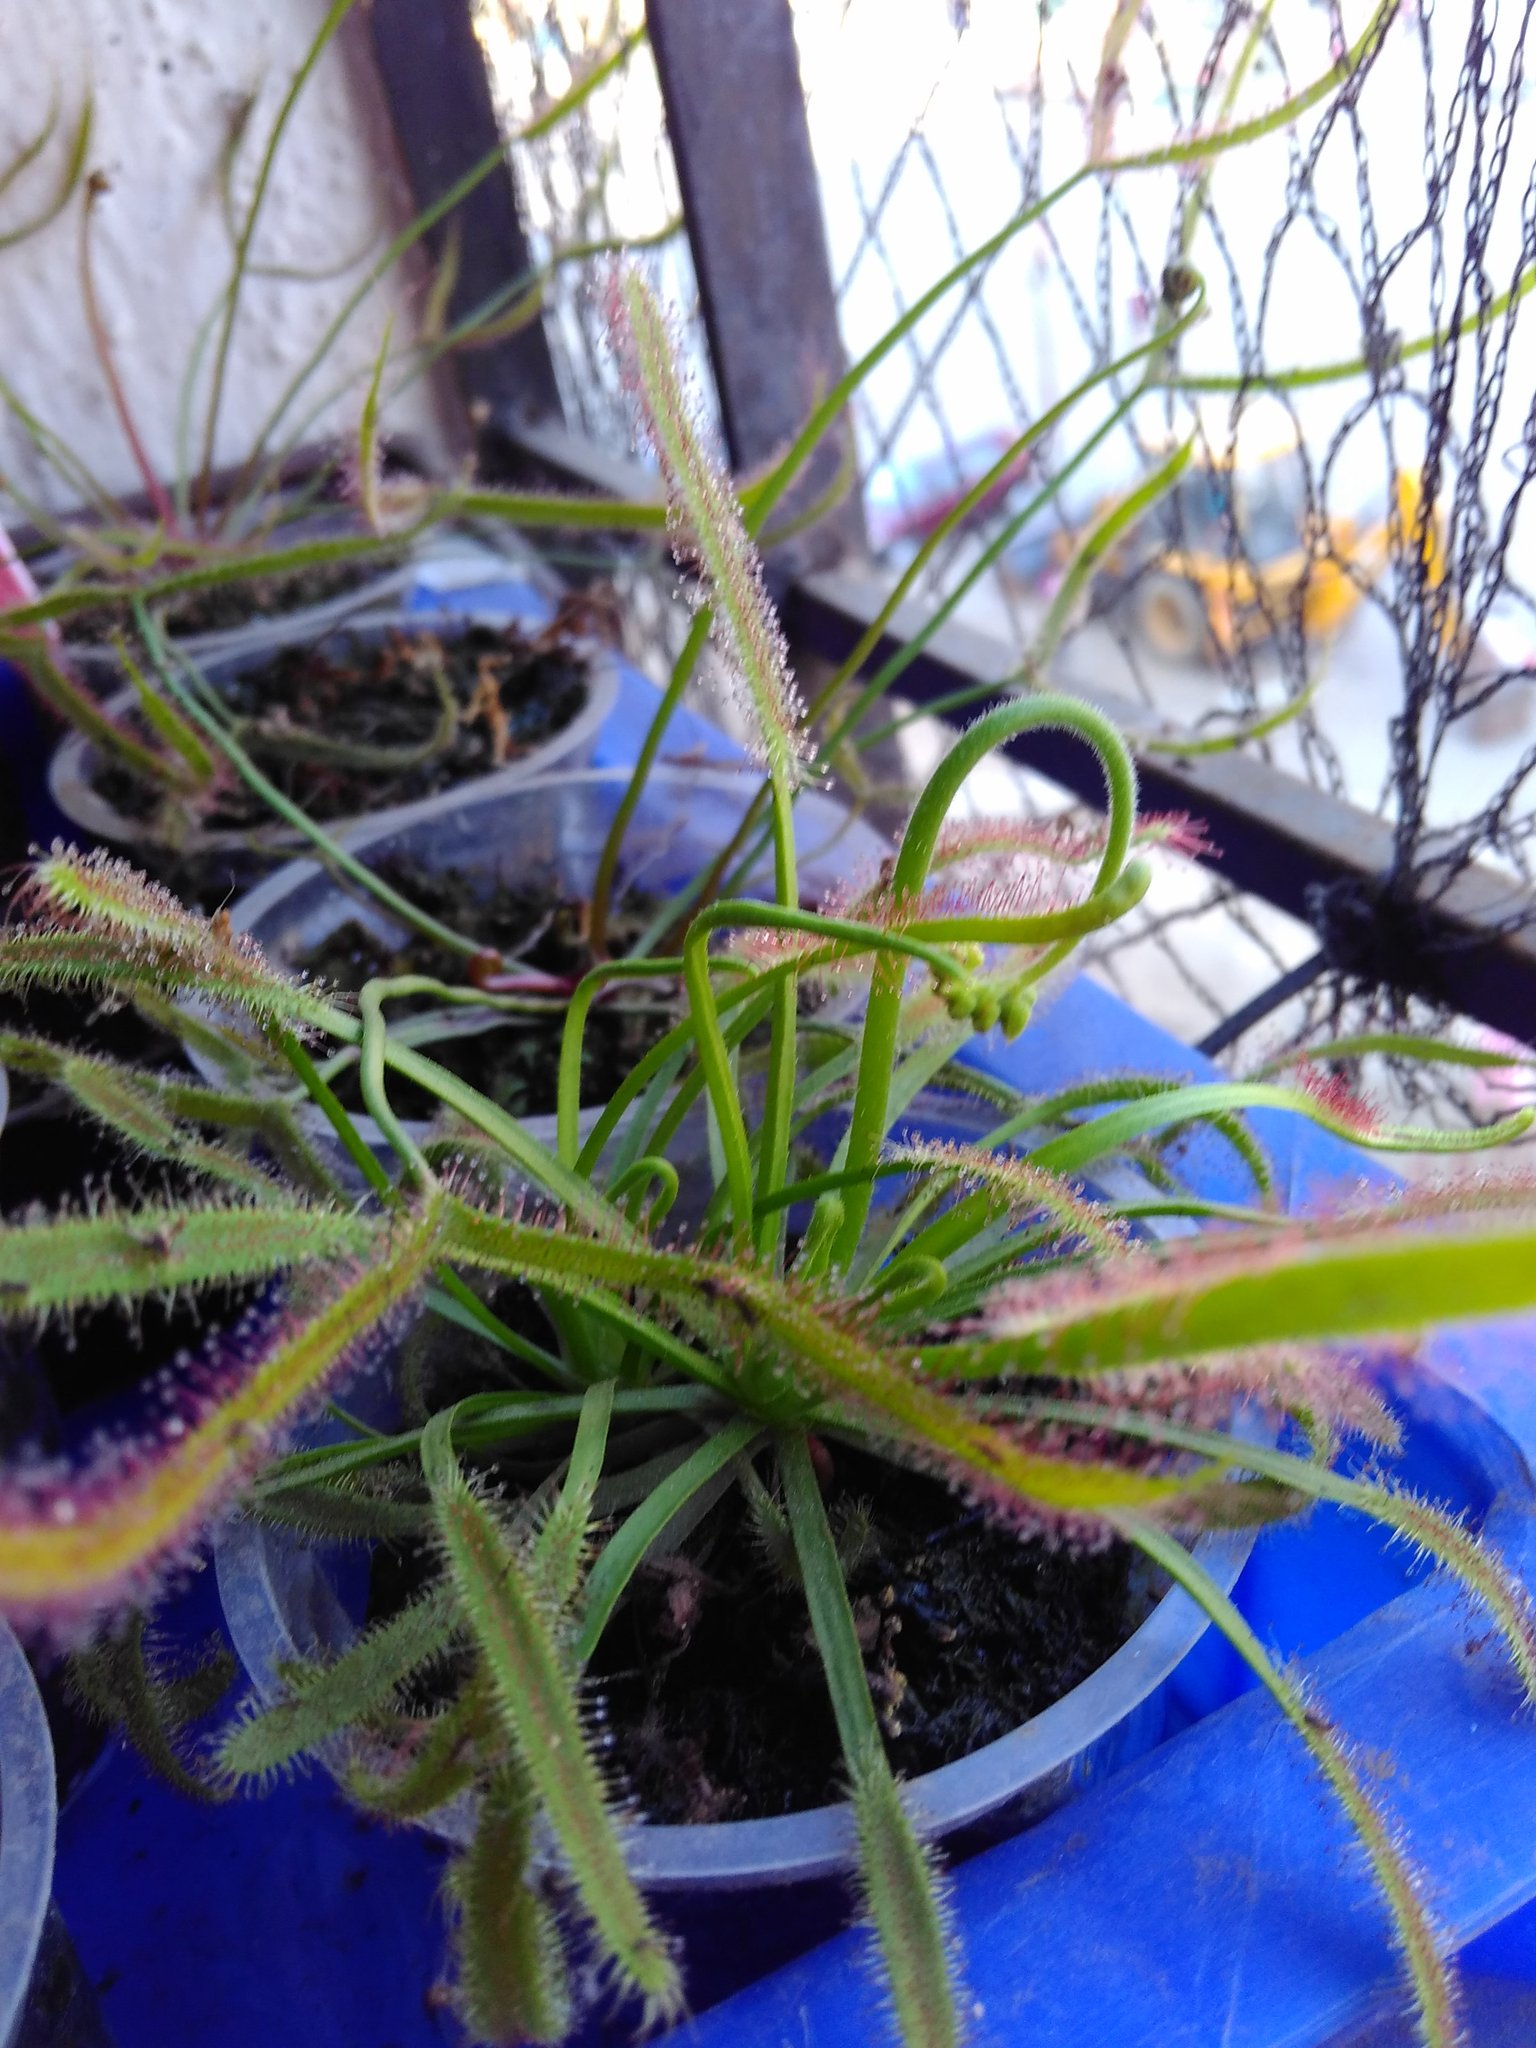
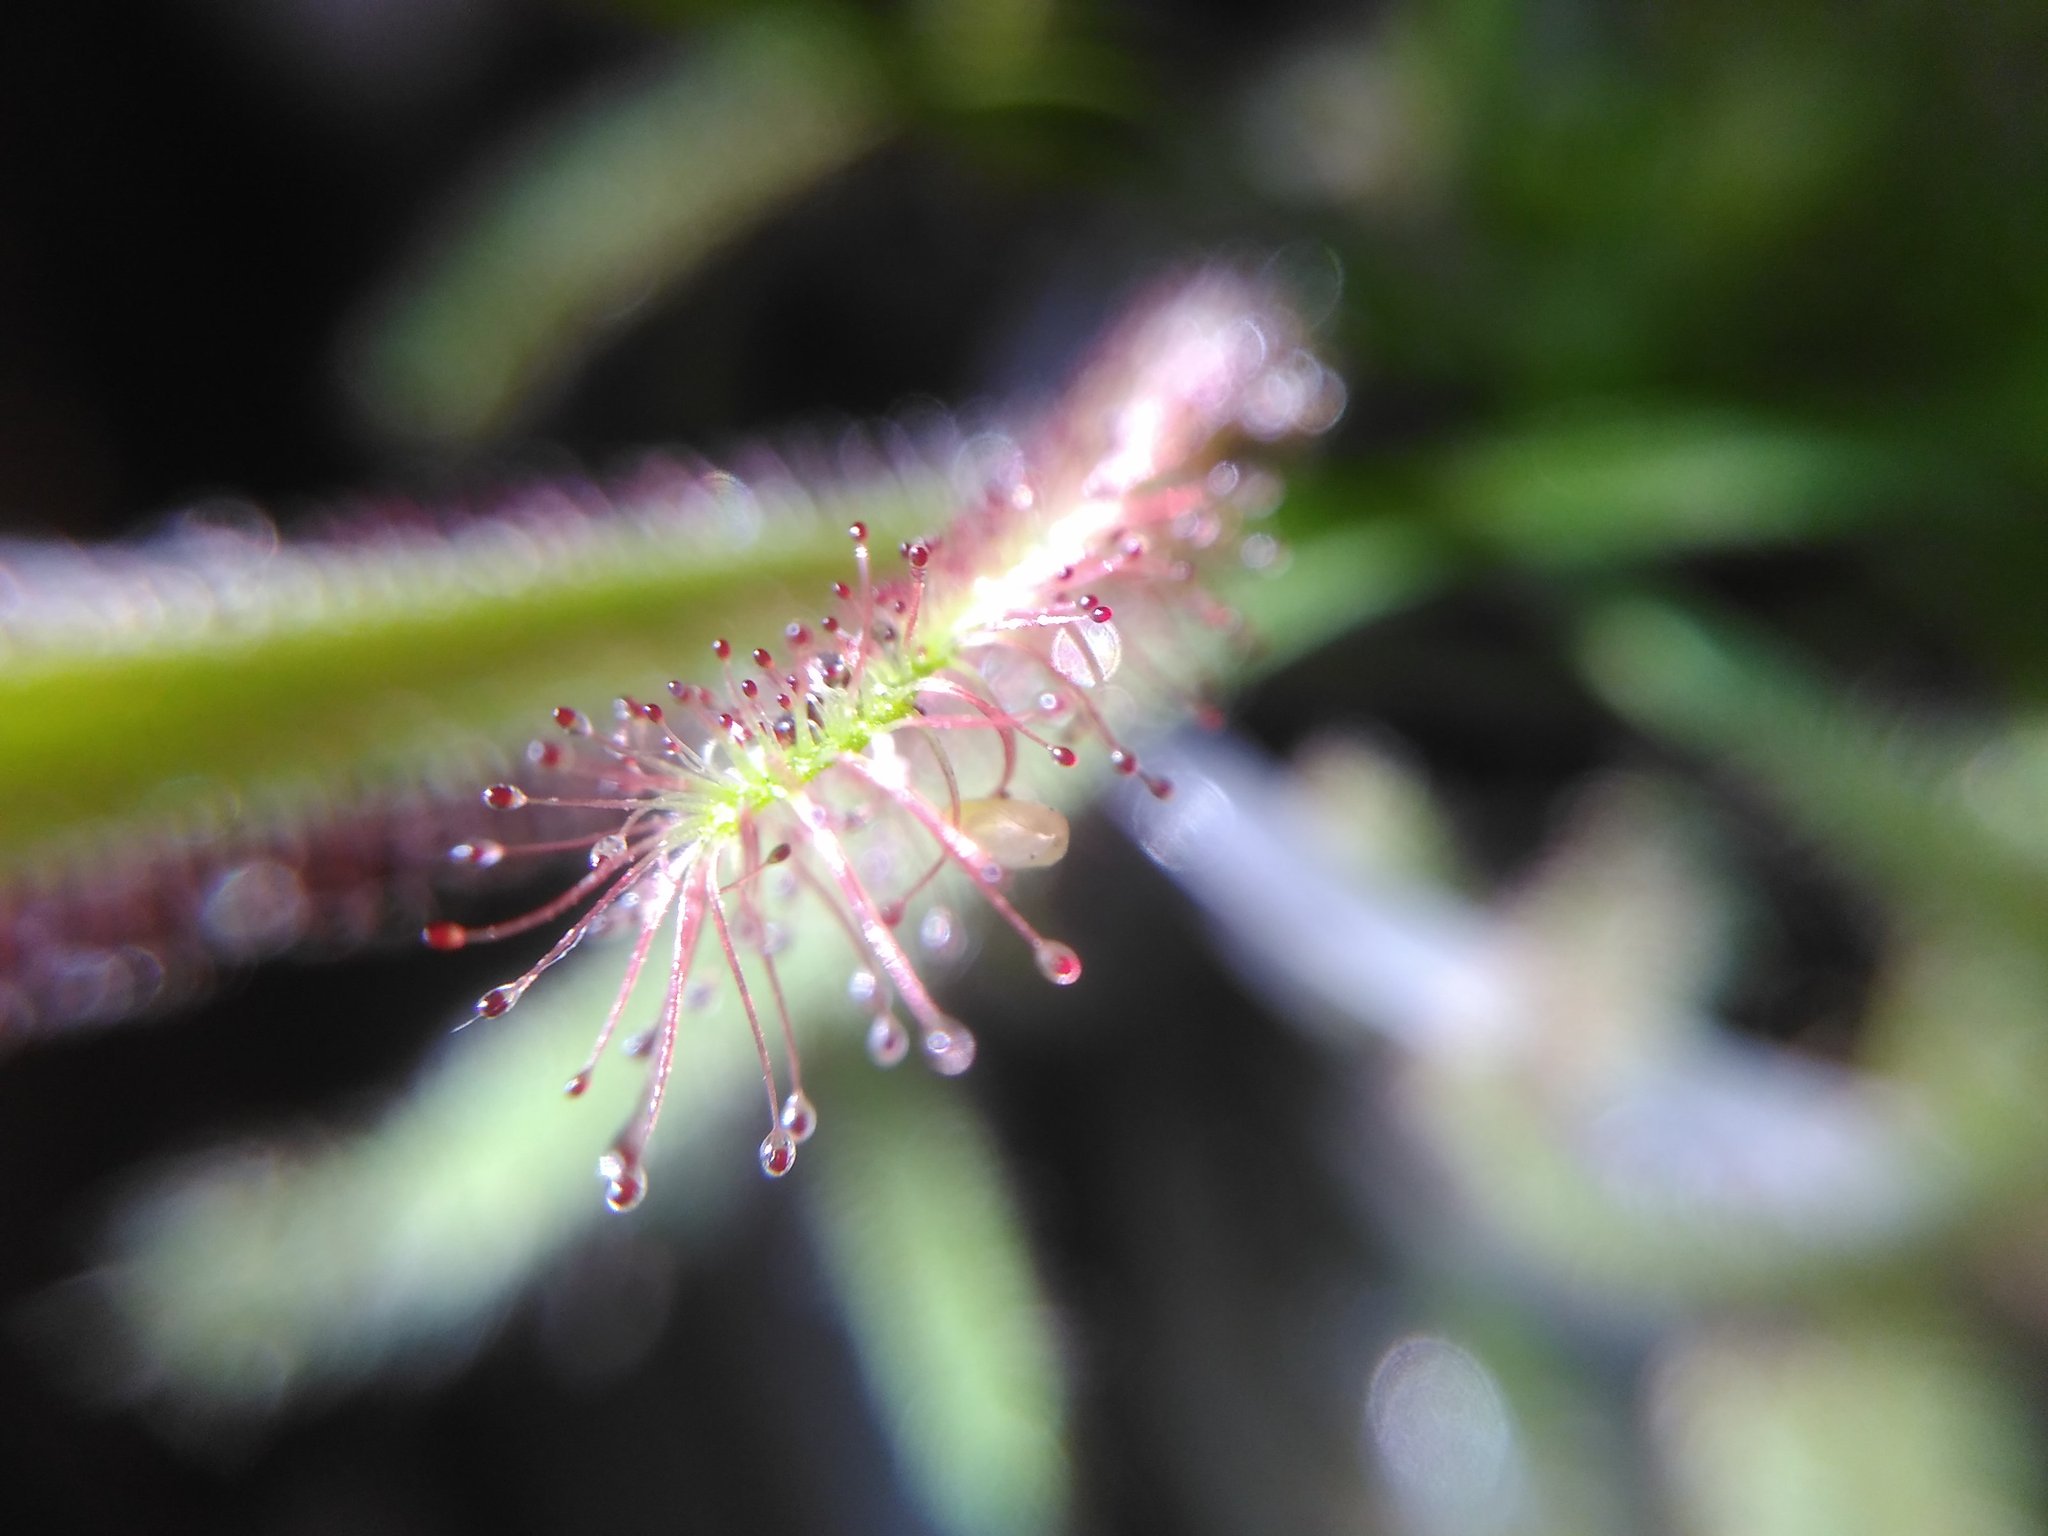
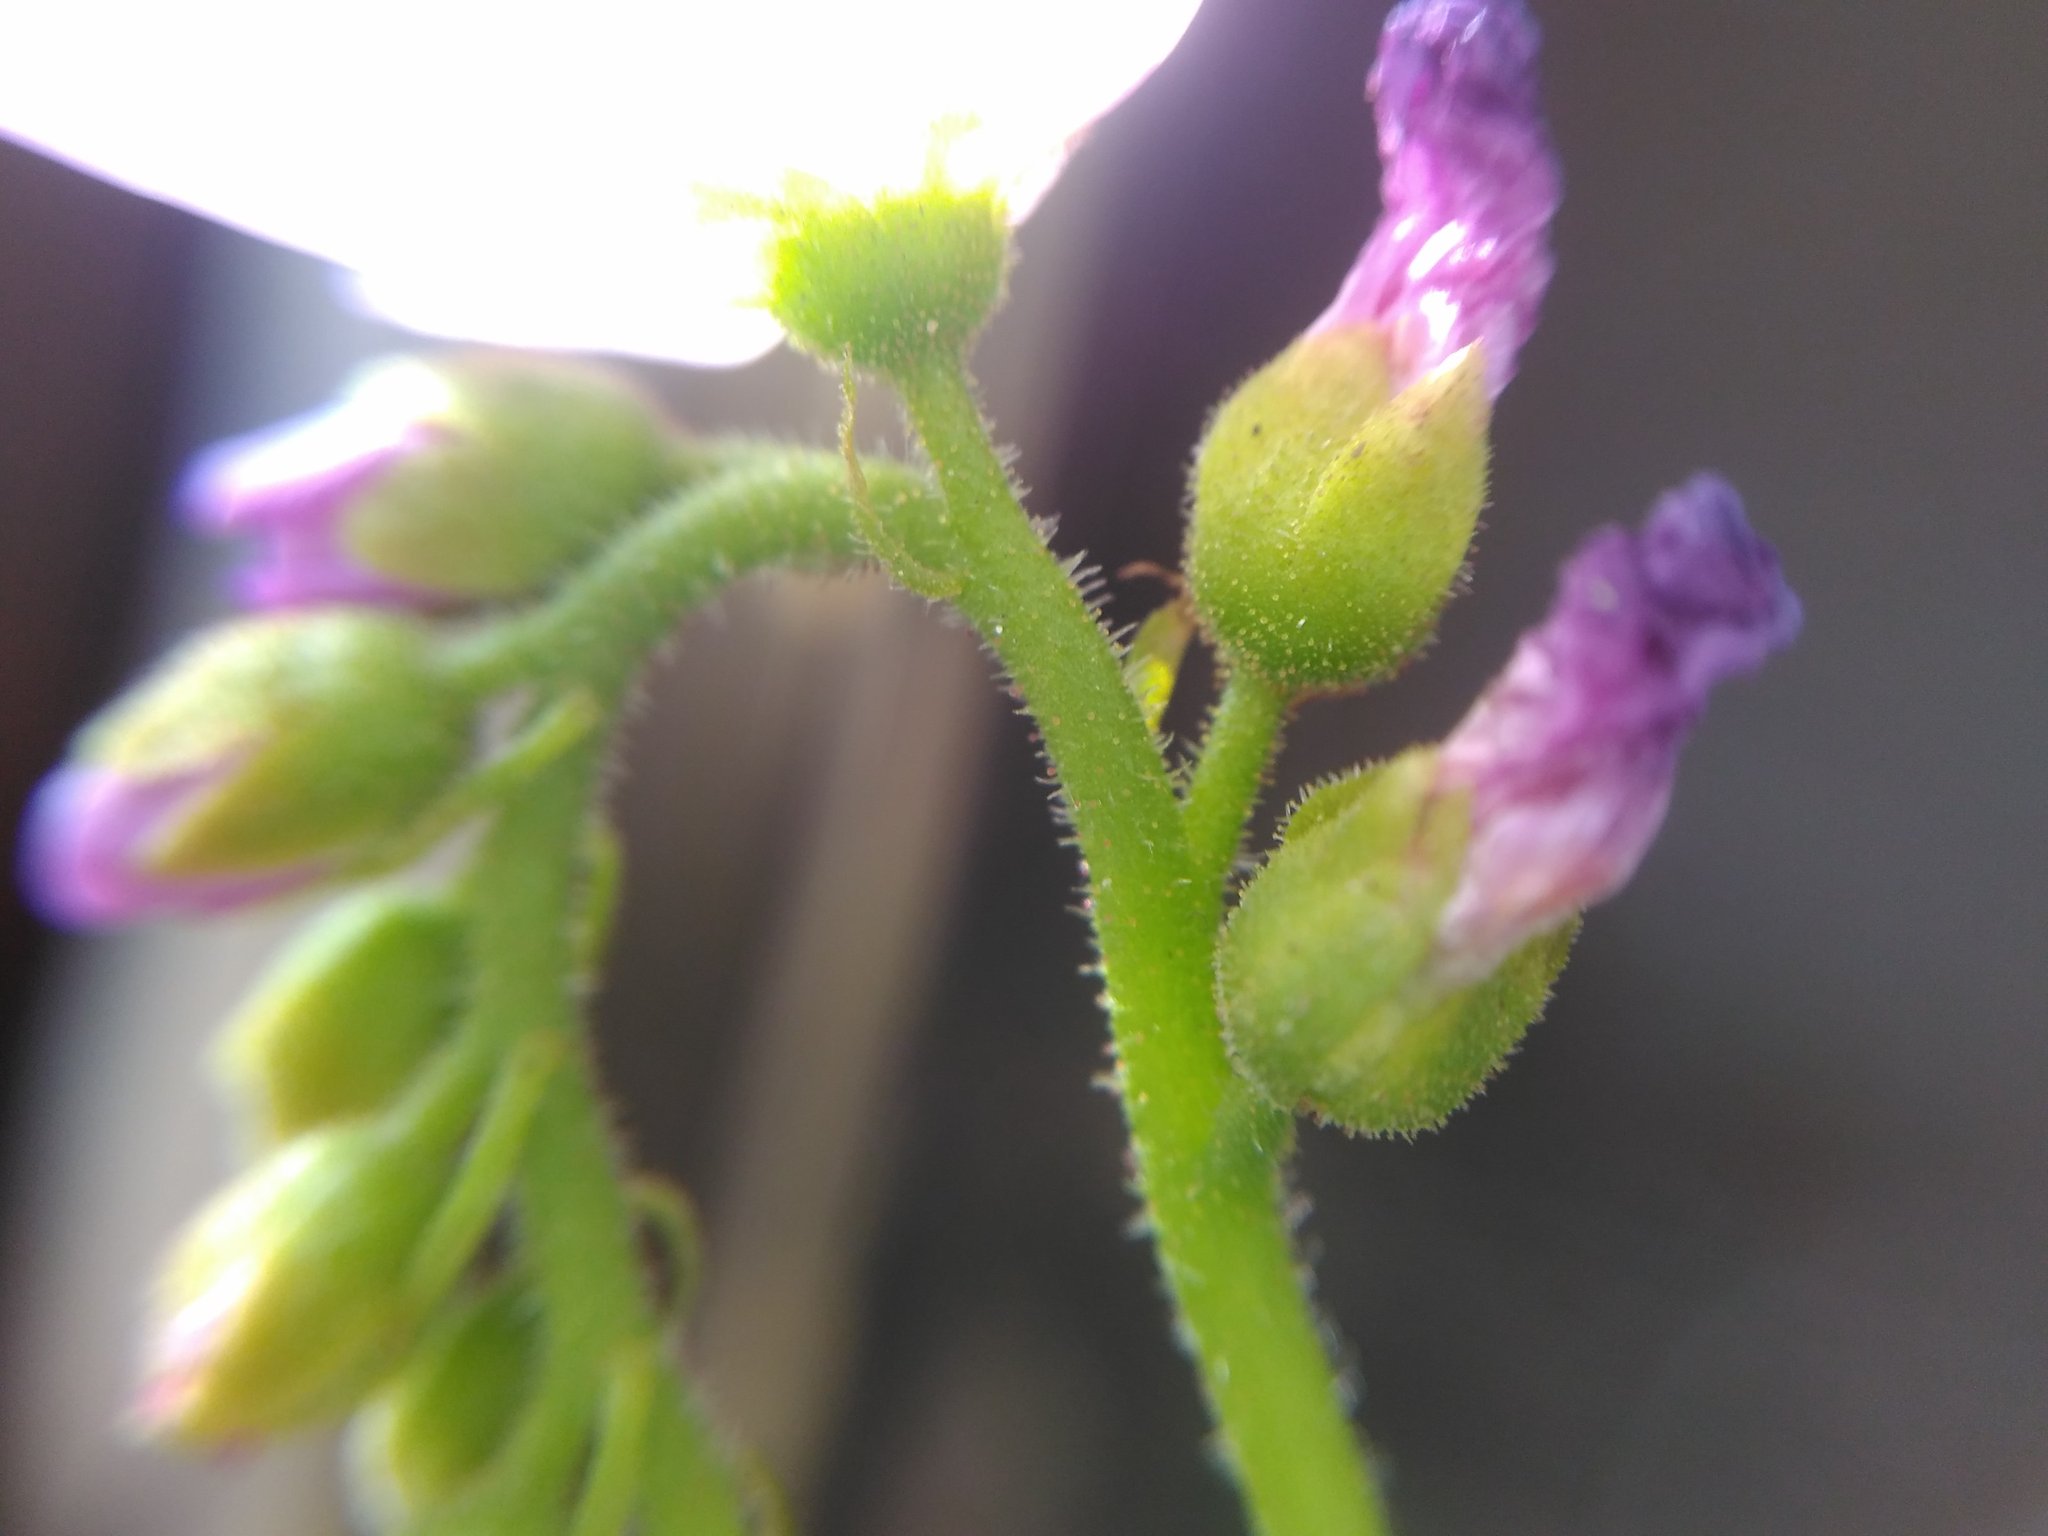

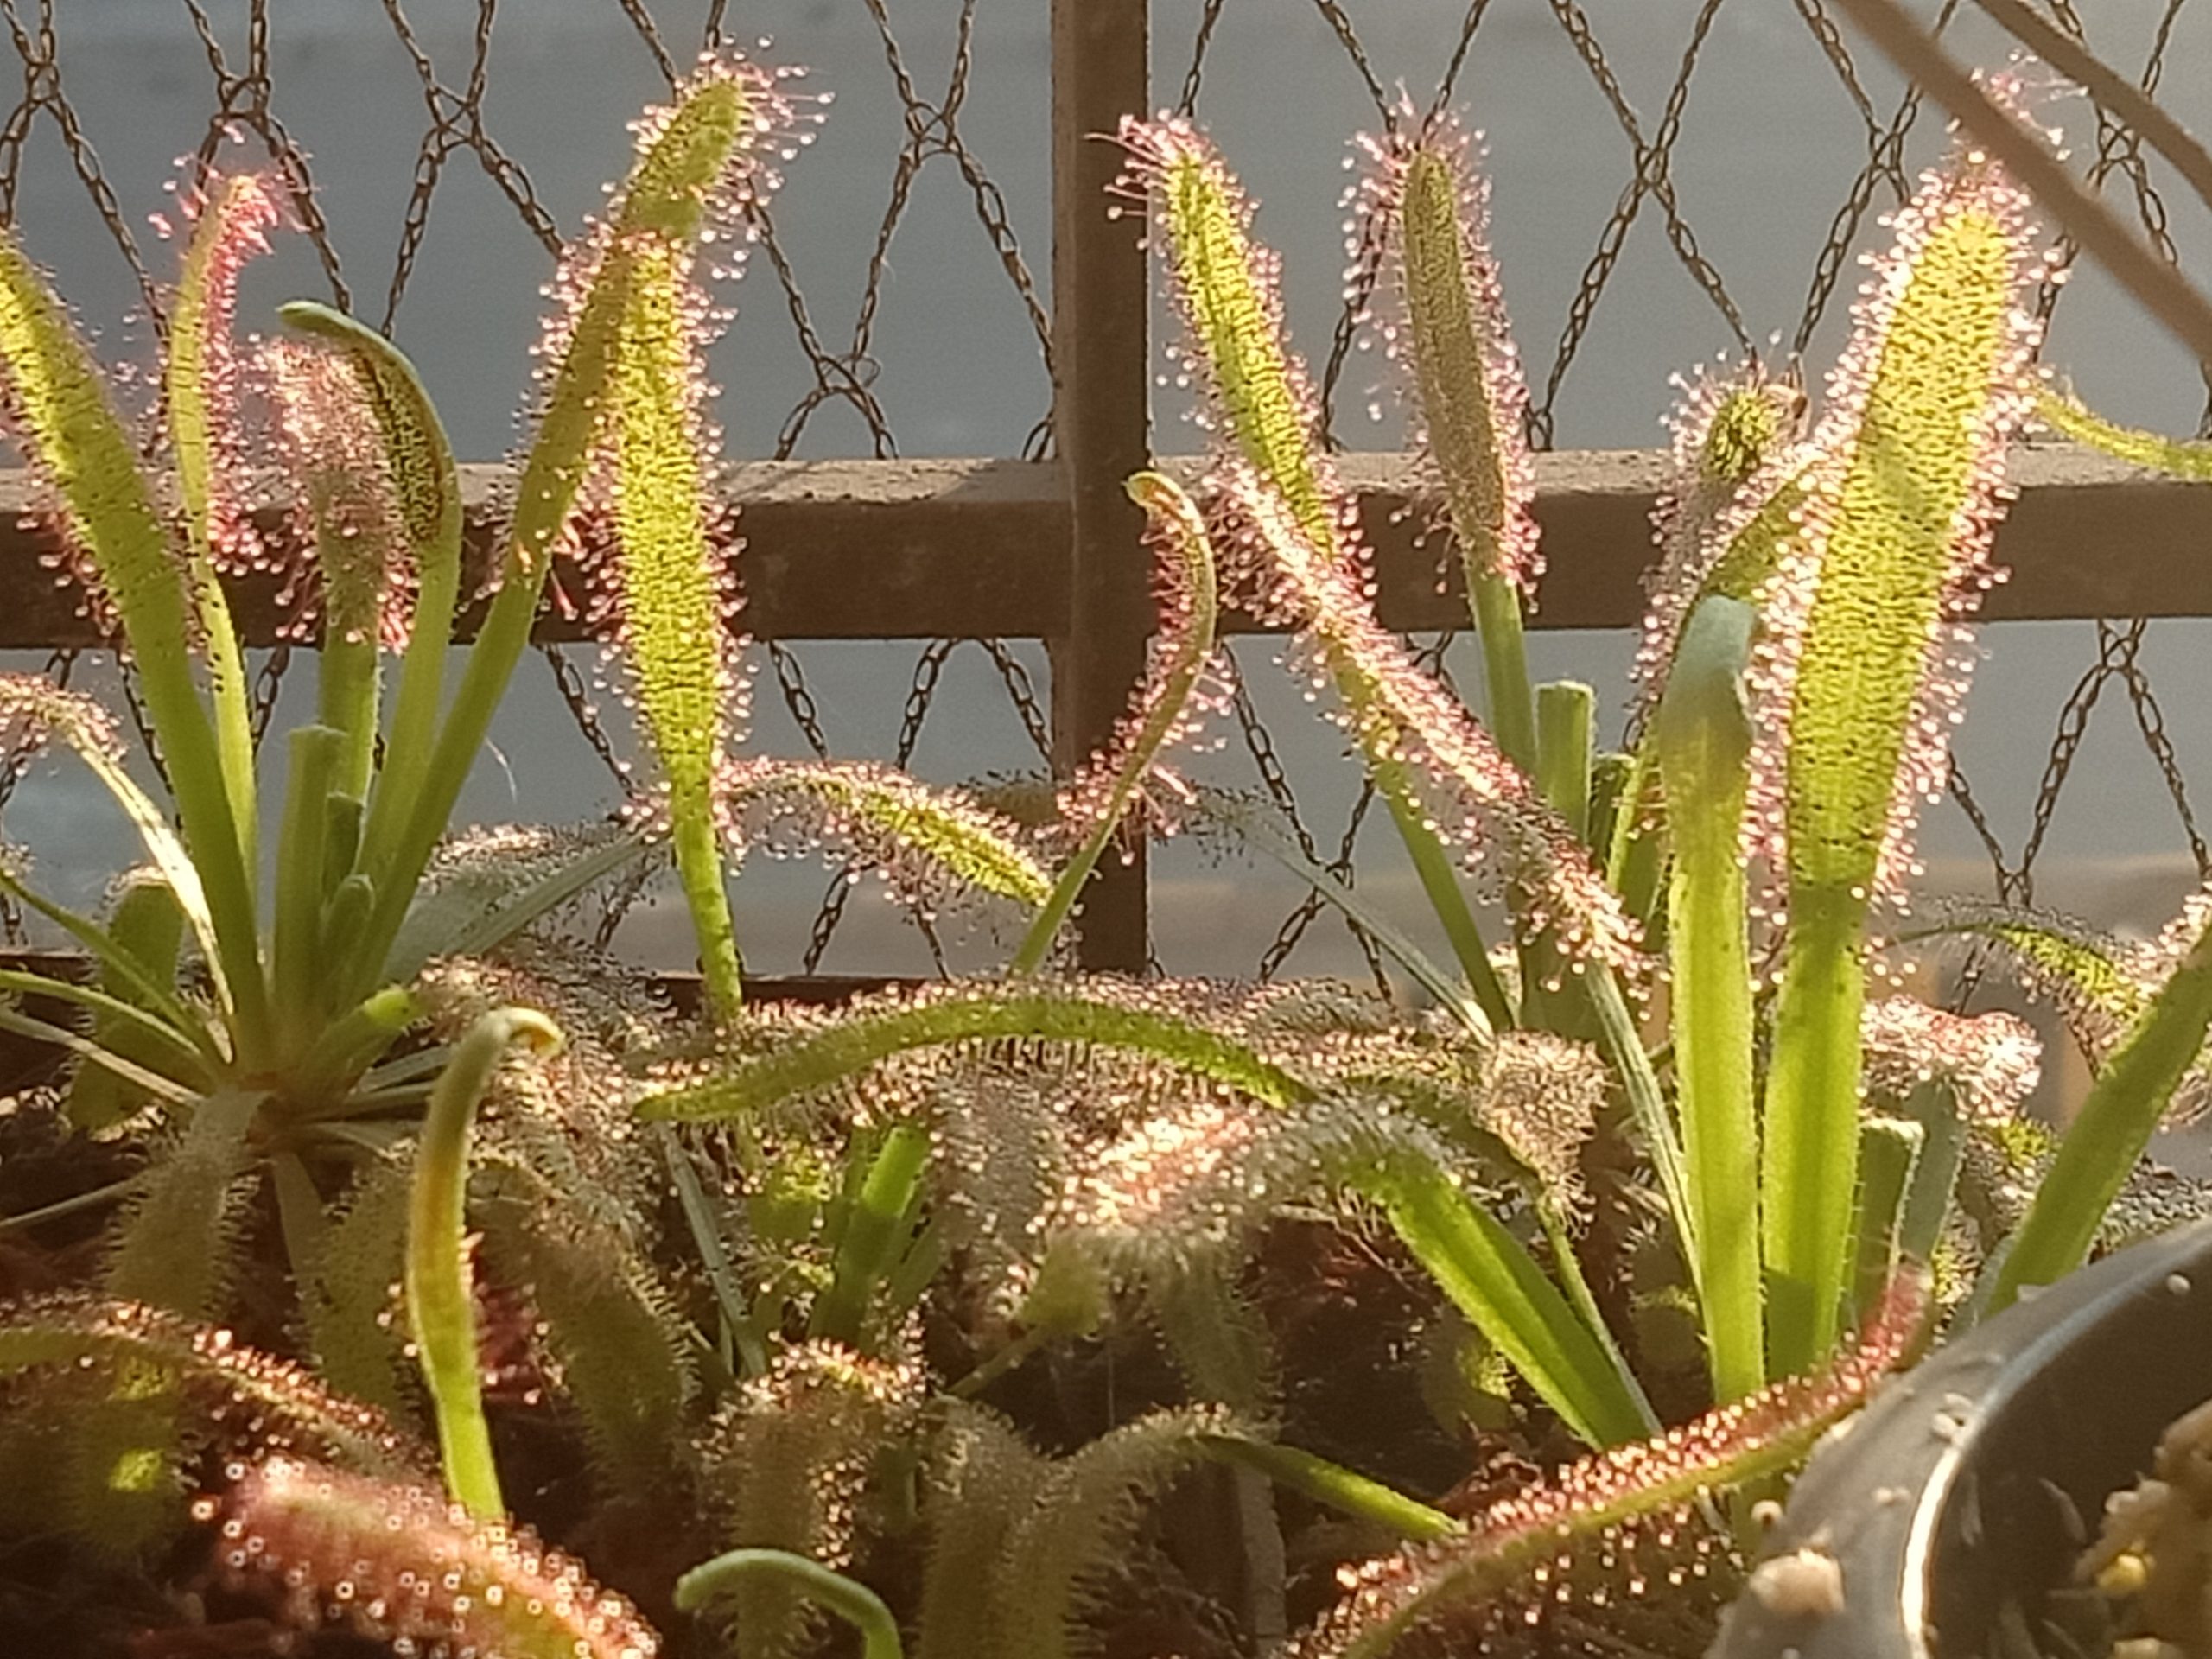
Some drosera photos:
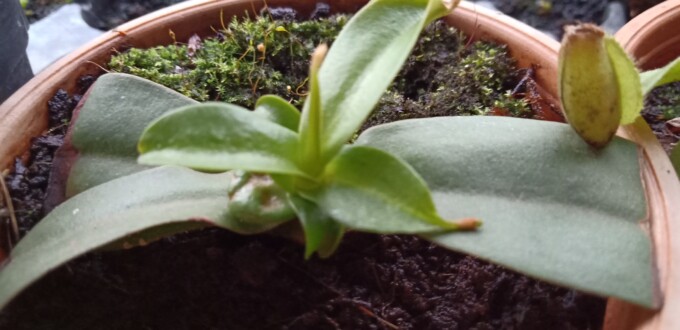
I am going to try and add photos to give a visual idea later, but frankly, I don’t usually take pics while working with plants, so it may be a bit of a struggle to find the right ones. So it may have to wait till the next time I do cuttings.
Right at the start – I have not had good success with rooting hormones. Others may have had, and they have their methods, of course, but mine no longer uses rooting hormones.
For cuttings of species that root readily. Mirabilis, ventrata, and such… there isn’t a lot to say. I cut up the vine and put it in soil under intermittent misting and am done. Maybe peel or split a bit of the bottom of the stem to expose the cambium.
The following is a more… elaborate process that I use with plants that don’t root as easily or more expensive plants, where I can’t afford failed cuttings.

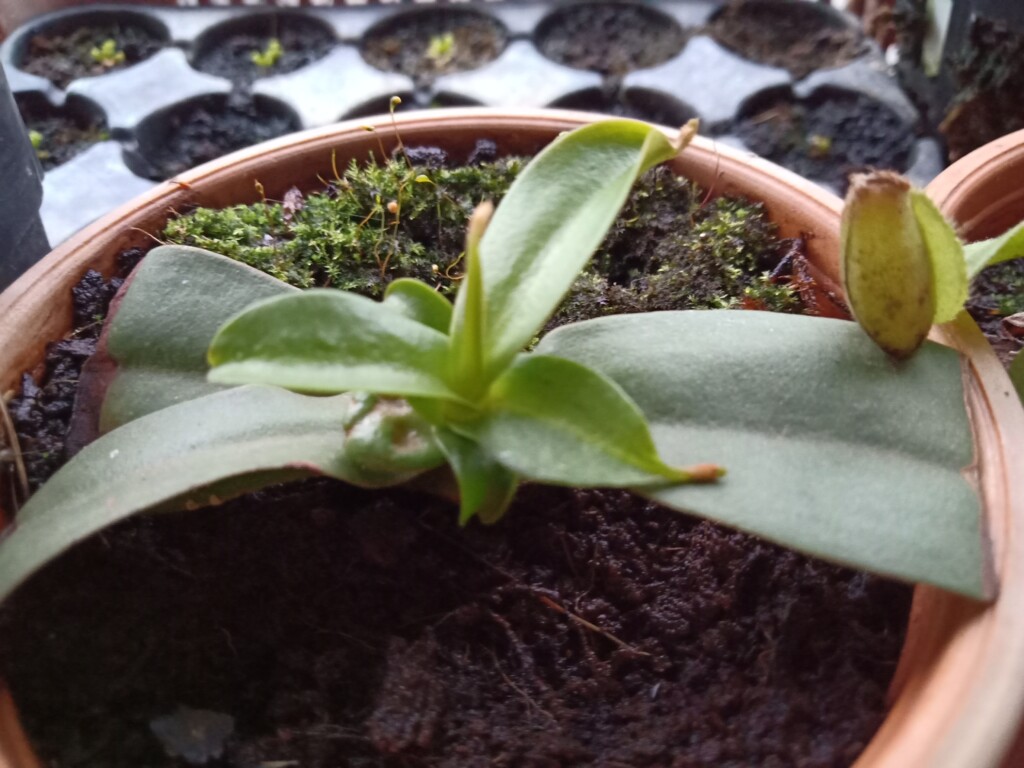 In three months or so, you should be seeing the first pitchers.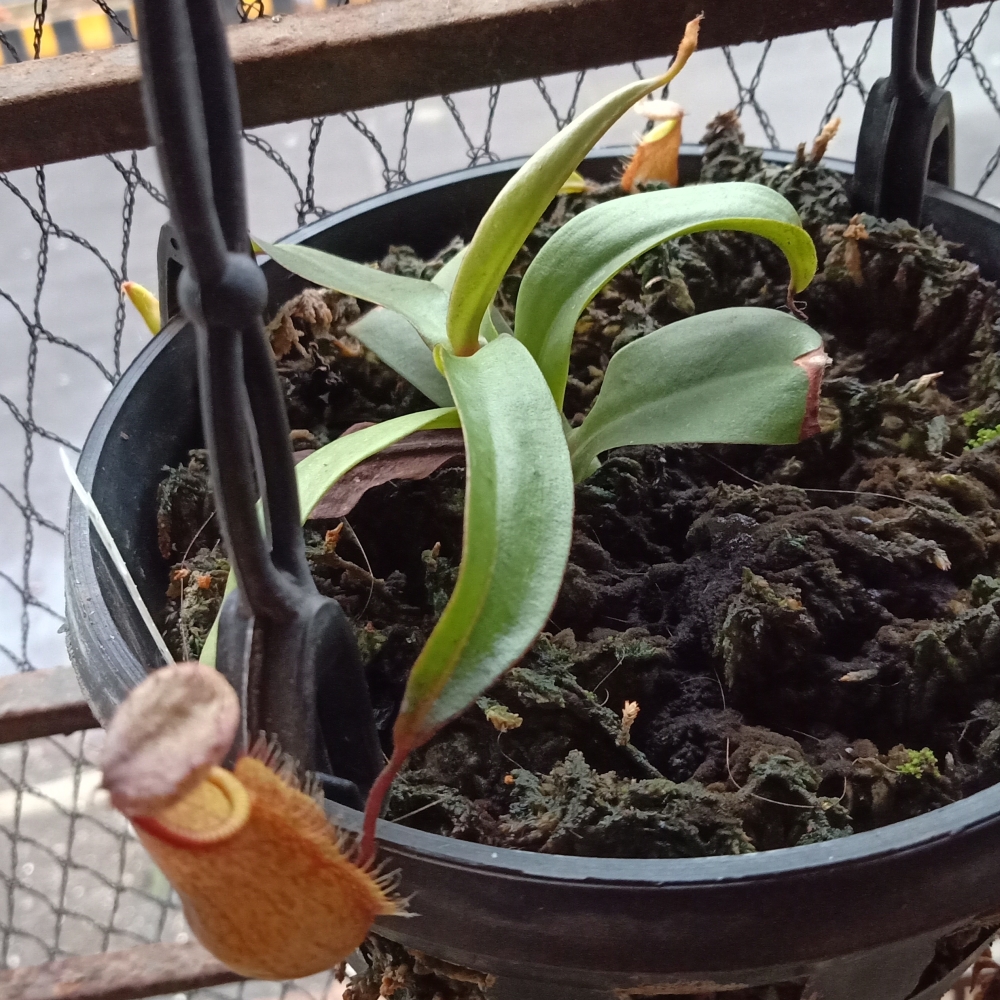
That is it, I think. Will add anything else I can think of here, or ask away. Share your method for making cuttings too.
(Edited to add some details)
Many people have asked me this over the years, so I thought I would share it here.
I don’t have a specific method or medium I prefer, but I find that the most common recommended way, with sterilized medium and covered pots does not work for me in my climate, where the temperatures are usually hot. Any covered pot gets fungus here very easily.
Instead, what I do is:
Rinse the medium out thoroughly with as much low TDS water as my budget and patience allows. Medium is usually either very good quality NZ sphagnum with a top layer of finely chopped sphagnum or very well rinsed cocopeat. I don’t heat sterilize it in any way. Depending on weather conditions and if my collection has any plants with fungal problems, I may add some trichoderma to the final rinse.
If I have used trichoderma, I fill the seedling pots and let them sit for a day or two before sowing seeds – lets the trichoderma get a bit of a headstart (or at least in my imagination). Alternatively I may use a fungicide. Neither is necessary if your growing conditions are healthy and you aren’t seeing any fungal issues around.
I sprinkle the seeds on top of the growing medium and give them a good misting down, so that they stick well to the medium. If I have time, I may go over the pot with a magnifying glass to look out for any seeds stuck up in the air without contact with the medium and just press them down. (nothing esoteric, plain logic)
I usually place the pots where they get misted on from the misting system. Alternatively, I may spray them down if they start to look dry-ish. This can be irritatingly often in hot/dry weather, so misting system is better. I also have small bottles with nozzles for when they aren’t under the misting system and I lack the patience to keep spraying. Whatever you use, do it carefully enough that you aren’t washing the seeds into the growing medium – they need to sit on top.
I don’t stand seedling pots in water. I find this encourages algae.
I don’t cover the seeds to maintain humidity, which is usually adequate due to the misting system (I don’t cover them even if the misting system is switched off). Personally, I have not found high humidity to be a big deal for germination, as long as the medium is moist enough.
Sometimes nepenthes seeds do get fungus and it is not on the medium – it is on the seed itself. I am not sure what this is, but I suspect it grows on seeds that are already dead and does not appear to spread to other seeds. If paranoid, maybe spray diluted hydrogen peroxide on the seeds that seem to have the fungus – I have done this, and I have not done this and I can’t honestly say the results were much different beyond the fungus not bothering me visibly when I did.
If you cover seeds and get fungal problems, in my view, not covering them is better. If you MUST cover them for whatever reason (I’ve had problems with byblis liniflora seeds crowding out neps, which could have been prevented by covering), I would suggest leaving the cover at least slightly open for ventilation.
Doing this or similar usually leads to germination any time between two weeks and a month. Some seeds take longer. Maybe 2-3 months. It is very rare for me to have seeds germinate after that. If seeds have not germinated in three months, I usually wait for a season change to see if that does the trick. If it doesn’t, I throw them out.
It is quite common for nepenthes seeds to be unviable and if your seeds appear to be pest/contamination free, but still not germinating…. sometimes it is not your fault. Generally, if you see the seeds clearly, it is worth a shot to keep giving them good conditions and waiting.
Newly germinated seeds are usually tiny and crowded in the pot. I avoid transplanting them for as long as I can. At least a year if possible. If they are very crowded, this may not be possible, in which case, I think it is better to transplant them as soon as possible – before the first two true leaves and while they barely have any roots to prevent root damage.
Overall, for seedlings, I think they grow just fine crowded up unless it is too crowded and there isn’t space to grow or some seedlings start getting stunted because of bigger ones covering them. Apart from that, simply being close to each other does not hurt them. In fact, I think it helps them maintain a microclimate better.
The big fertilizer question: I fertilize seedlings. I use orchid fertilizer. Too much is bad news. The seedlings are tiny. They don’t need a lot. Very little (1/4 of recommended strength) and as often as once or twice a week is better than more concentrated. If in doubt, don’t.
Also one BIG DRAWBACK of fertilizing seedlings: Fertilizer will encourage algae. This will reduce germination in seeds that have not yet germinated. Unless you transplant seedlings into separate pots for growing after they germinate, fertilizing may decrease your overall germination if algae cover up the ungerminated seeds.
This is a rather spontaneous post, so if there is something I have missed, do feel free to ask. Or better still, share how you germinate nepenthes seeds.
(adsbygoogle = window.adsbygoogle || []).push({});
I’ve faced this problem several times, where it is not possible to install 32 bit Wine on Ubuntu (and possibly Debian). In each case, the problem has been packages installed from Ondrej Sury’s repository (for installing php7 in my case). It may be a different repository in your case, but the reason could be the same – it did not install 32 bit packages.
Try to install 32 bit Wine. It is better to use the official repository, so:
sudo dpkg --add-architecture i386
wget -nc https://dl.winehq.org/wine-builds/winehq.key
sudo apt-key add winehq.key
sudo apt-add-repository 'deb https://dl.winehq.org/wine-builds/ubuntu/ eoan main'
sudo apt update
sudo apt install --install-recommends winehq-staging
Or you can simply add from the available repositories. Which one is not the issue, but if the packages are broken, you will not be able to install 32 bit Wine using any of the methods. It isn’t helpful that usual methods to fix it like “apt install -f” don’t show broken packages. The packages aren’t broken unless you need to install the equivalent i386 versions.
Then this happens.
$sudo # apt install wine32
Reading package lists... Done
Building dependency tree
Reading state information... Done
Some packages could not be installed. This may mean that you have
requested an impossible situation or if you are using the unstable
distribution that some required packages have not yet been created
or been moved out of Incoming.
The following information may help to resolve the situation:

The following packages have unmet dependencies:
 wine32:i386 : Depends: libwine:i386 (= 4.0.2-1) but it is not going to be installed
E: Unable to correct problems, you have held broken packages.
Oops!
If you try to install the unmet dependencies by adding them to the install line (don’t reply “Y” to any of the installs, just dig into the dependencies) you get:
$ sudo apt -f install wine32 libwine:i386
Reading package lists... Done
Building dependency tree
Reading state information... Done
Some packages could not be installed. This may mean that you have
requested an impossible situation or if you are using the unstable
distribution that some required packages have not yet been created
or been moved out of Incoming.
The following information may help to resolve the situation:

The following packages have unmet dependencies:
 libwine:i386 : Depends: libglib2.0-0:i386 (>= 2.12.0) but it is not going to be installed
                Depends: libgphoto2-6:i386 (>= 2.5.10) but it is not going to be installed
                Depends: libgstreamer-plugins-base1.0-0:i386 (>= 1.0.0) but it is not going to be installed
                Depends: libgstreamer1.0-0:i386 (>= 1.4.0) but it is not going to be installed
                Depends: libldap-2.4-2:i386 (>= 2.4.7) but it is not going to be installed
                Depends: libxml2:i386 (>= 2.9.0) but it is not going to be installed
                Recommends: libcups2:i386 (>= 1.4.0) but it is not going to be installed
                Recommends: libgnutls30:i386 (>= 3.6.5) but it is not going to be installed
                Recommends: libgssapi-krb5-2:i386 (>= 1.6.dfsg.2) but it is not going to be installed
                Recommends: libkrb5-3:i386 (>= 1.6.dfsg.2) but it is not going to be installed
                Recommends: libxslt1.1:i386 (>= 1.1.25) but it is not going to be installed
E: Unable to correct problems, you have held broken packages.
Keep adding the packages to the install (I’ll spare you the boring details) to discover more dependencies. And so on, till you get lines about broken packages like so:
 libpcre2-8-0 : Breaks: libpcre2-8-0:i386 (!= 10.34-7+ubuntu19.10.1+deb.sury.org+1) but 10.32-5 is to be installed
 libpcre2-8-0:i386 : Breaks: libpcre2-8-0 (!= 10.32-5) but 10.34-7+ubuntu19.10.1+deb.sury.org+1 is to be installed
 libpcre3 : Breaks: libpcre3:i386 (!= 2:8.43-1+ubuntu19.10.1+deb.sury.org+1) but 2:8.39-12 is to be installed
 libpcre3:i386 : Breaks: libpcre3 (!= 2:8.39-12) but 2:8.43-1+ubuntu19.10.1+deb.sury.org+1 is to be installed
This gives you a hint of the problem. The packages with deb.sury.org are the ones from Ondrej Sury’s repository. I had forgotten I had installed them, some upgrade since had removed the ppa as well. But they were the culprit. I suppose you could add the ppa again (your repository may differ).
$ sudo add-apt-repository ppa:ondrej/phpIt is best you do this regardless of whether you plan to use the repository or downgrade the packages to the default ones in Ubuntu repositories. I didn’t need the repository anymore, so I downgraded the packages. There are many methods, but my idiot-proof preference is the ppa-purge package. It downgrades the packages without me needing to know too much about the process.
$ sudo apt install ppa-purge
$ sudo  ppa-purge  ppa:ondrej/php
Now, if you try to install wine32, it should work.
Note: I am at best a copy-paste hacker with some aptitude for extrapolating hacks to new situations. This is not a recommendation of best practices or anything. This blog mostly covers problems I face and their fixes, so that the next time I face them, I can refer to what made sense to me before and get things working faster.
Note1: But this did work for me.
(adsbygoogle = window.adsbygoogle || []).push({});

People often ask me for advice on gettting started making handmade soaps. Collecting some common questions and answers here.
The short answer is online. Any of the Amazon, Flipkart, Ebay type places will usually have everything you need to get started making soaps. This should be adequate if you are just curious and making as an experiment or for personal use. If you want to make soaps as a business, you should approach wholesalers – you should do your own research here. If there are specific items you find hard to procure, feel free to ping me, and I’ll share what information I have.
I get asked this question routinely and in creative ways, as though if it is asked in the magic way, the answer will be yes. Nope. No. NO. It is next to impossible to make a good cold process soap without weighing out your ingredients carefully. If you eyeball it, you will at best end up with a good soap you cannot replicate (trust me, this is not very likely) or you could end up with a soap that gives you chemical burns and is not safe to use. Less extreme options include a soap that is too oily to lather well.
Buy melt and pour soap base. Melt it, pour it, let it solidify. If you don’t have a weighing scale, don’t make cold process soap. You will regret.
Not really. If you absolutely must make soap for personal use, stick to melt and pour soaps. The kind of investment you will end up making in ingredients, colorants, oils, fragrances and so on will cost way more than cost of buying several years supply of high quality soap made by an experienced soapmaker. The quality will be better than a beginner’s learning curve. You will just end up spending on and accumulating a lot of things. At the end of the day, there’s just so much you can bathe and it isn’t so much fun to gift till you get better at it.
See if you can attend a class to learn to make them. Alternatively, you can befriend a soapmaker and ask to visit and help or observe when they make soap. You will benefit from being a part of the process by an experienced artist, as well as get exposure to a lot of ingredients and equipment you likely won’t get around to buying as a beginner. I had someone come over and learn in exchange for handling the clean up of the process (which I hate). I discussed the recipe and technique I was planning with them, then they were present and helping out during the process as per my instructions (mixing colors, etc) and were able to pour a small batch of soap for themselves after watching how I did it.
Both methods have their advantages and disadvantages. Attending a class to learn may cover the basics better. Participating in actual production of soap intended for sale is likely to result in exposure to advanced techniques. That said, this isn’t a rule. Some classes may teach different techniques or a soap batch for sale may be relatively simple to make.
Frankly, it depends on your ability to sell. If you are able to sell the soaps you make, you will be successful. Otherwise, not so much. Assuming you are able to sell, quantity will result in profits. Then there is the question of aesthetics and quality. If your soaps have a unique appeal, they will result in dedicated customers. Generally, with bulk manufactured commercial soap being inexpensive, it is difficult to justify the higher expense of handmade soap unless the buyer can immediately see the appeal and experience the quality when in use.
Another thing that leads to success is offering customization that commercial soaps can’t. I have some buyers who want vegan soaps. One specifically wants plain unscented soap – no additives. They come to me because they can specifically ask for recommendations based on their preferences, or they can ask me to make a batch of soap to their specifications.
I make artistic soaps, mostly and sell only on this site. Nowhere else. I don’t do this full time and it does not result in enough profit to make a living. This is more an artistic passion that pays for itself (rather than me). If I had to turn this into a commercial success, I’d have to ramp up production – bigger batches, more often AND I would have to either sell in bulk to other retailers or I would have to enter marketplaces with volume like Amazon or Etsy and such.
I would recommend two ways. Soap clays and melt and pour soap. First – and it is not easily available – is if you get access to soap “clay”. This is properly made soap, that is not hardened off and is the consistency of clay. You can simply shape it as you wish, let it dry and harden and use it. This is good, because you can literally do it without having any specialized equipment. This can also be fun for children to make their own soap and most clay working tools can be used to shape the soap. Downside: I don’t know anyone who sells soap clay commercially in India. I am planning to, but haven’t got around to doing it yet. Do comment if you’d like to buy some.
Melt and pour soap is soap that has been made using the hot process method and has solvents added that can make it transparent in addition to allowing it to become liquid when heat is applied. You can melt it in a double boiler or microwave and pour it into a suitable mould. Downside: creating art in such soap is pretty much limited to layers and embeds. There is limited potential to swirl colors, but you have nowhere near the control you have with cold process soap or malleability of soap clay.
Hope this helps. I’ll add more questions when I go through my emails.
[ngg src=”galleries” ids=”4″ display=”basic_thumbnail”]There is this strange phenomenon in India, where you are now expected to justify using a new social network and discontinuing with an older one.
Many Twitter users, unhappy with Twitter, have chosen to create accounts on Mastodon instances. The discontentment with Twitter is hardly a recent thing. The network has been a hotspot for hatemongering, organized trolling, fake news and more for a long time now.
The irritation in India has been long building. Lack of transparency around their allegedly discontinued verification programme, that somehow continues to verify handles with a trivial number of followers and no importance in public interest if they are adjacent to the powerful in the country is one widely cited concern.
There are others – censorship of accounts that question the state, complete inaction on incitement of hatred and violence in some cases when those flagged are supporters of the ruling BJP party, are other leading issues.
The straw that broke the camel’s back and resulted in this current exodus to Mastodon instances was the blocking of Supreme Court lawyer Sanjay Hegde’s account. This is a senior advocate, who is highly vocal on issues of human rights, but hardly abusive or a troll. Twitter users spent about a week demanding that his account be restored, and then chose a better place to spend their time.
What is astonishing is the level of accusations and justifications flying. Some examples being people are leaving Twitter because they refused to reinstate an account that violated policies. Or intolerant people are leaving Twitter because they can’t accept views different from others.
I have no idea what entitles anyone to expect an explanation. Here is mine.
In a world where authoritarian governments take unaccountable actions, centralized networks are a risk to free speech. Regardless of whether they serve power or not, any legal company is vulnerable when a state chooses to misuse power.
Federated networking is the need of the hour and the future of social media, as the fight between control of speech and resisting control heats up.
There are those of us who do not want governments and companies to have the power to silence us. As supremacists dominate dialogue in many countries, there are those who have no wish to argue with them and simply need their social spaces free of that toxicity. Federated servers allow such needs to be met.
Grudges over what has happened don’t last long if the utility holds weight. But as people see prominent personalities who speak well under attack and helpless, they wonder about investing their influence on a network that may arbitrarily cut them off. And as governments flex muscles to censor dissent, such instances will increase. Mastodon is seeing this surge in adoption because it addresses the needs of the future.
It remains to be seen how the “Fediverse” deals with the inevitable influx of extremists as well – they follow dissent in order to harass it. If dissent moves to Mastodon instances, I wouldn’t be surprised to see a surge in trolls as well. Individual trolls may be blocked by admins who enforce the “anti-Nazi” policies, but there will always be servers that give them space, moderate less diligently, or entire Mastodon instances put up by right wing fanatics in order to engage on the network. I guess we will see as we go on.
Facebook answered needs Orkut couldn’t meet, Orkut died. No one was required to explain why they no longer use it. Similarly, no one is required to explain why they don’t want to use Twitter and prefer Mastodon for their social needs. Like Orkut sank with a lot of accounts lying unused or with low use, many people aren’t “abandoning” Twitter, they still have Twitter accounts. They are simply moving to a platform that meets their needs better for active networking. This shouldn’t be terribly hard to understand given the number of methods of social networking that have come and gone in the past.
The shock about Mastodon is simply because users are clearly looking to escape centralized authority over them. That wasn’t expected. I guess the ones who would like to see dissent controlled assumed that there would always be someone or the other they could bully into toeing their line. Much harder when an individual can run their own instance for their own account from their own laptop. Not as easy to silence.
That is all.
I have been using WordPress for over a decade now, almost exclusively. I’ve had trouble, broken plugins, compatibility issues, white screens of death, and worse. Heck, I remember a time when one of the first things to try when inexplicable problems happened was to reinstall the core. Using FTP.
But these were problems. Something people would tackle and even share fixes back to the community.
What is happening now is worse. It isn’t a bug, it is a feature!
Let us not mince words here.
It is a pagebuilder masquerading as an editor. And a pretty lame one at that with hardly any features compared with the excellent pagebuilders already available – free versions.
And oh, sanity check – not even those are stupid enough to create a new block every time you hit enter on your keyboard. You have to add blocks, or all your paragraphs remain in the same text block, so that you can work on it at the same time.
Because this is a “feature” there is no hope of sharing a fix back and it being fixed. Using the classic editor is at best an emergency temporary measure – that will fall apart sooner or later. For prolific writers, WordPress, the “blogging platform” is a liability now. The second shoe waiting to drop.
The reason WordPress has adopted this nightmare is apparently to make it easy for new users to create websites. But here’s the thing. It already was easy. There is a reason WordPress had such adoption. Convenience.
Writing was simple, straightforward. Designing was plug and play for the most part between themes and page builders. Features were easy to add and in recent times, there also were very few incompatibility issues.
I don’t know how many people will say “Oh, WordPress has a new editor with thousands of smashing 1-2 star reviews, their community is in uproar over functionality and usability, let me try that instead of Wix. I am lacking hassles in life.” But I know that I tried Drupal for the first time in a decade – just to be free of a dumb editor.
Drupal is harder, but it does several things better than WordPress. Speed is one. Semantic content is another. Big sacrifices for a performance focused webmaster, but the ease of WordPress made it a good sacrifice. Take away the ease, throw in a few random hurdles, and there really remains no reason to avoid making an effort to get those.
And whoever has used Drupal knows that it is way more complicated to set up than WordPress. Heck, I’m feeling homesick for an easy and endless array of themes to try out already. Two days of intermittent investigations later, I haven’t even gotten around to figuring out the layouts. With WordPress, my site would have been live by now.
But the balance has tipped. The inconvenience is unfortunate, but like the early days of WordPress when a lot of figuring out had to be done, it is worth it, because the result is something I want.
The Gutenberg editor takes the earlier WordPress whimsies – like making it unnecessarily complicated to link to posts on the site in favor of quick “in-line” linking – to a whole new level of inconvenience. When writing, anything that interrupts the flow of thought is a problem. On one hand you have features to remove distractions from the editor. On another, you dump interruptions INTO the editor!
Earlier, you could select a word to link, click the link button and a dialog opened where you could paste a link, select if you needed it to open in a new window, or search for articles from the site to link to – all in one dialog. You could do it almost absently. Use as much or as little of everything possible as you want. You could even use plugins to add classes and such.
With the inline editor, you had to click, and a stupid text field entered next to your selected word to enter the link. If you wanted to do anything else, it was more clicks to the menu next to the text box, select edit, then do your business. And now with Gutenberg, you can create an amazing frontpage daily, but if you want to link to your own content, you’d better open another tab to search your content. And oh, if you click “open new window”, don’t forget to click “enter” as well, because if you just click out, you didn’t make a link at all!
Endless tiny, fiddly clicking that keeps changing places on the screen instead of one click in the predictable location on top of the editor to open necessary functionality. And I don’t even have any bad/jumpy mouse/touchpads that are nightmares for precise clicking. It is faster to simply select a custom html block and hand code your paragraphs and links without taking your hands off the keyboard.
You now are faced with clicking another button if you want to do anything else, then paying attention to that window and actually doing it. And oh, Gutenberg is such a genius that if you enter the link and select “open in new window” and click out, the link DOES NOT GET CREATED, because you didn’t click the tiny enter button as well!
By then you have completely lost your flow of thought, or you write and make a separate pass to add links.
No amount of mad design features are going to compensate for writing convenience.
Because each freaking paragraph is its own block, good luck trying to move two lines of one paragraph and the next paragraph to another place in the article where it fits better – something that is simple in absolutely any editor meant for writing – think email, text editors, old wordpress, comment sections of the most primitive sites ever…
But because we are forced to use a freaking page builder to write articles, you can either choose both full paragraphs, or choose the last two lines out of the first paragraph first, move them, then come back to the next paragraph. Spend some time being disoriented scrolling back to where you were if you’re into writing long posts.
Large swathes of unused blank space in the editing area, but the editor is this narrow column that doesn’t even use half of it.
I mean, seriously? Is this a joke or what? Why?
This can go on endlessly, like “meta boxes are gone and with it my plugin’s features…. etc”. But it boils down to this.
A platform that threatens the content of my site is like a cheating spouse. Trust is broken. Something precious is at stake. Even if they drop the white elephant later, the memory of how arbitrarily an editor that never got even 50% positive reviews (currently slightly less than 2% and dropping) was made the default for all is forever. How do people with broken sites ever trust that WordPress won’t whimsically destroy their creations again in the future?
Why should people providing free plugins with no commercial profit attached even make the effort to go through learning new methods to upgrade their plugins, if WordPress could make them do it all again with some other whim?
And I’m not someone resistant to change. If the upgrade had value to add, I would learn to live with the inconvenience or use a plugin for my convenience. What is absolutely horrifying is that WordPress has gone ahead with this editor in spite of the terrible reviews – a clear statement that what users want or need is not important. They have gone ahead with inadequate support to features THEY have encouraged the community to plug into – like meta boxes.
We see this in Indian politics, where some crap tech like Aadhaar was pushed through by dumb politicians under the influence of extremely tech savvy opportunists. You don’t expect to see deliberate adoption of hindered usability in a tech project – particularly one on the scale of WordPress AND after receiving extensive feedback from an engaged community.
There are sites with broken layouts, there are sites with broken functionality that depended on specific plugins. Their choice is to not upgrade till their dependencies are met – which could be forever, for plugins not backed by organizations or developers willing to go through new learning curves. Lose/damage years of work or use outdated software (and new plugins won’t work)?
For me, this is the end of WordPress being my default (actually only for a decade) site builder. I still have to decide what to do with the sites already made. Maybe I continue with WordPress. Maybe I’ll move to one of the WordPress forks being created by disgruntled users, but for certain, I am not going to create new sites on WordPress.
Anger done, time to get on with the grieving, coping and moving on.

The plants you buy will be shipped to you bare root. When you receive them, take them out of the packing and gently GENTLY place them on growing media. Create a hollow in the surface of the media and gently place the plant in it and cover any roots that are easily covered, with media. The roots of pinguicula are like small white hair and do little more than anchor the plant to the media and absorb some water. The roots being anchored in media is not very important to the survival of your new pinguicula. However, if you damage the fragile roots, you create openings for pathogens to enter the plant while it is still weakened from shipping.
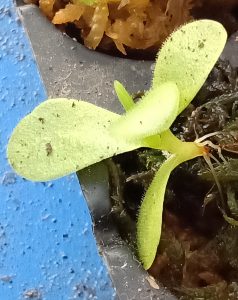
Pinguicula gigantea plantlet
Avoid rubbing the roots in any way. If they cannot be planted in media easily, it is absolutely fine to simply place the plant on the media without worrying about the roots at all. As the plant acclimatizes and grows, it will send out new roots that anchor it to the media. A ping is not too fussed by this.
Sometimes growing leaves of a ping will lift the roots right out of the media or the plant can also send out arial roots that don’t touch the media at all or the plant can simply grow in the direction of the light putting out new roots that sort of let it… “travel”. You planting it in some place does not mean that it will remain there. Here is a Pinguicula gigantea plantlet that I’d kept in too low light that decided to leave its pot in search of better light. If I had not spotted this in time, I’d have ended up with a very etiolated plantlet like a tube that sent out roots as it grew toward the light. As the current lowest leaves died, the plant would “move”.
This isn’t to say that your plant is going to start crawling around, just to stress that the roots of a pinguicula are attached to leaves. With new leaves come new roots that find new anchors. Regardless of whether these roots are anchored, new ones that grow will anchor the plant to the media. If you can cover existing roots with moist media, excellent, the plant will be able to settle and grow quicker, but if you damage the roots and keep the broken parts wet, you can kill a pinguicula like that by making it vulnerable to pathogens.
In the image below, you will see that I have placed a lot of small plantlets of pinguicula gracilis and pinguicula rotundiflora on a bed of sphagnum. It is difficult to make out in the phtoto, but the sphagnum is not very deep. It is a half an inch layer placed in a tray. I have simply placed the plantlets on top without worrying about their roots at all. You can see some fine white hair like roots in the photo. In a few days, the plantlets adapt to the surface and attach to it. Some of the roots will continue to grow in the air and that is fine.
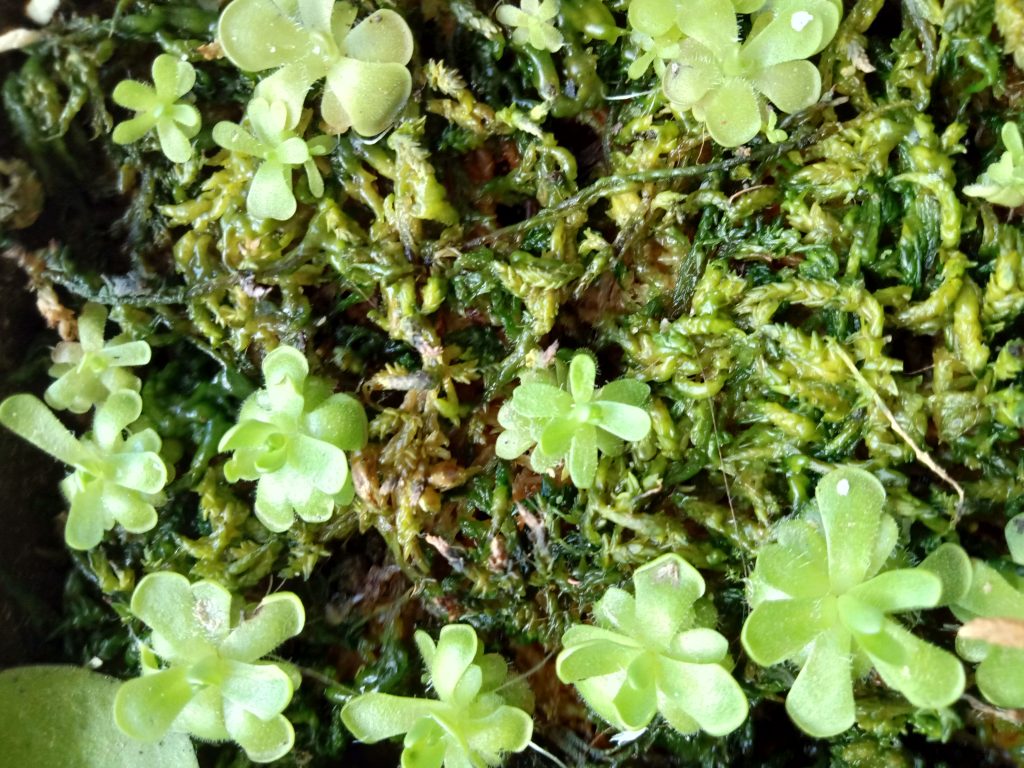
Pinguicula plantlets placed on sphagnum
If there are any leaves that get detached during shipping, you can place those on the media as well and if your growing conditions are good, they will form additional plants for you.
In terms of growing, think of giving the plant a space to hang out rather than PLANTING it firmly into place. If you grow succulents, you’ll find pinguicula easy.
Once your ping is in its pot, place it in a shady spot away from direct breezes. Avoid bright or direct light initially and only start increasing the light they get as they start growing again. It is very unlikely that you will be able to grow pinguicula in direct sunlight in India, unless you live in a really cool and misty place that has mostly cloud cover. However, most pinguicula will enjoy between an hour or two to several hours of direct light in the early morning or evening. Find out what your plant enjoys by very, very gradually moving it to brighter conditions – it is better to keep it in bright shade than too much direct sunlight – it will get cooked and die rapidly.
You can water it in, but if your media is damp, I have not really found it necessary. If you have damaged the roots, excessively wet media can make it easier for pathogens to enter the plant. This, I think is the biggest reason newly planted pings die. Keeping the plants too wet will encourage rot – particularly if the plants have arrived in shipping (less of a problem when transplanting).
Personally, I like to place any newly arrived plants on their growing media and simply mist lightly several times a day (if water is dripping from the leaves, pooling in the crown of the plant or the leaves are still wet five minutes later – that is drenching, not misting) till they start growing again, then reduce the frequency and start watering lightly. I never water my pinguicula too heavily. I give the pot a good soaking once in a while or just drizzle ome water on it if the surface appears dry.
The plants don’t really seem to care a lot as long as the humidity is high and you mist them well. Pinguicula can absorb moisture through their leaves easily as well as survive short dry periods well. If the humidity is low or you can’t find a spot sheltered from the breeze for them, you may want to put the plant and pot in a plastic bag to keep in the humidity and only increase it slowly once the roots seem to be established in the new media and start drawing water – the plant will resume growth of new leaves.
Another point to note here is that you can improve your chances of success dramatically by avoiding buying the plant so that it arrives at an adverse time in terms of climate. If it is summer and temperatures are above 30 degrees centigrade or approaching freezing, it is worth waiting for the weather to improve and getting a healthier plant that will recover and grow rapidly than a plant that may not survive the shipping or stress or take a long time to recover.
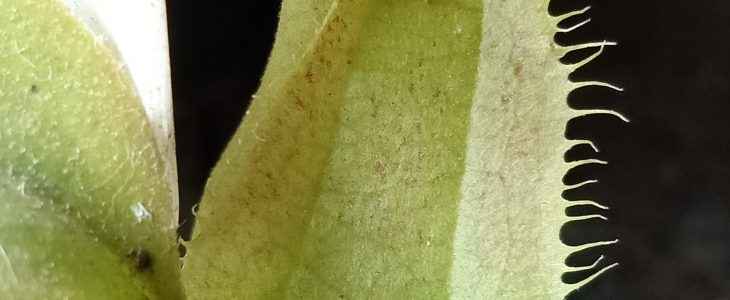
Took some nice photos of the latest pitcher on my nepenthes mirabilis var globosa x hamata and thought to share them here. This plant is still juvenile and has just started producing slightly bigger pitchers. The adult pitchers should be really stunning if these are anything to go by.
The ribbed peristomes come from the nepenthes hamata parent. Nepenthes hamata will not grow in my climate (hot) as it requires low temperatures at night, so I am quite excited to imagine that its signature trait may still be present in a plant that grows here.


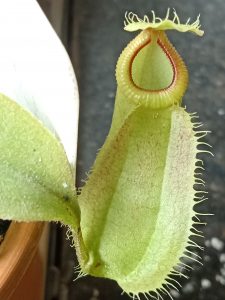
The peristome gets really dark brown as the pitcher matures. Very hamata. I forgot to take pictures. I’ll add them here soon. Waiting for a bigger pitcher.
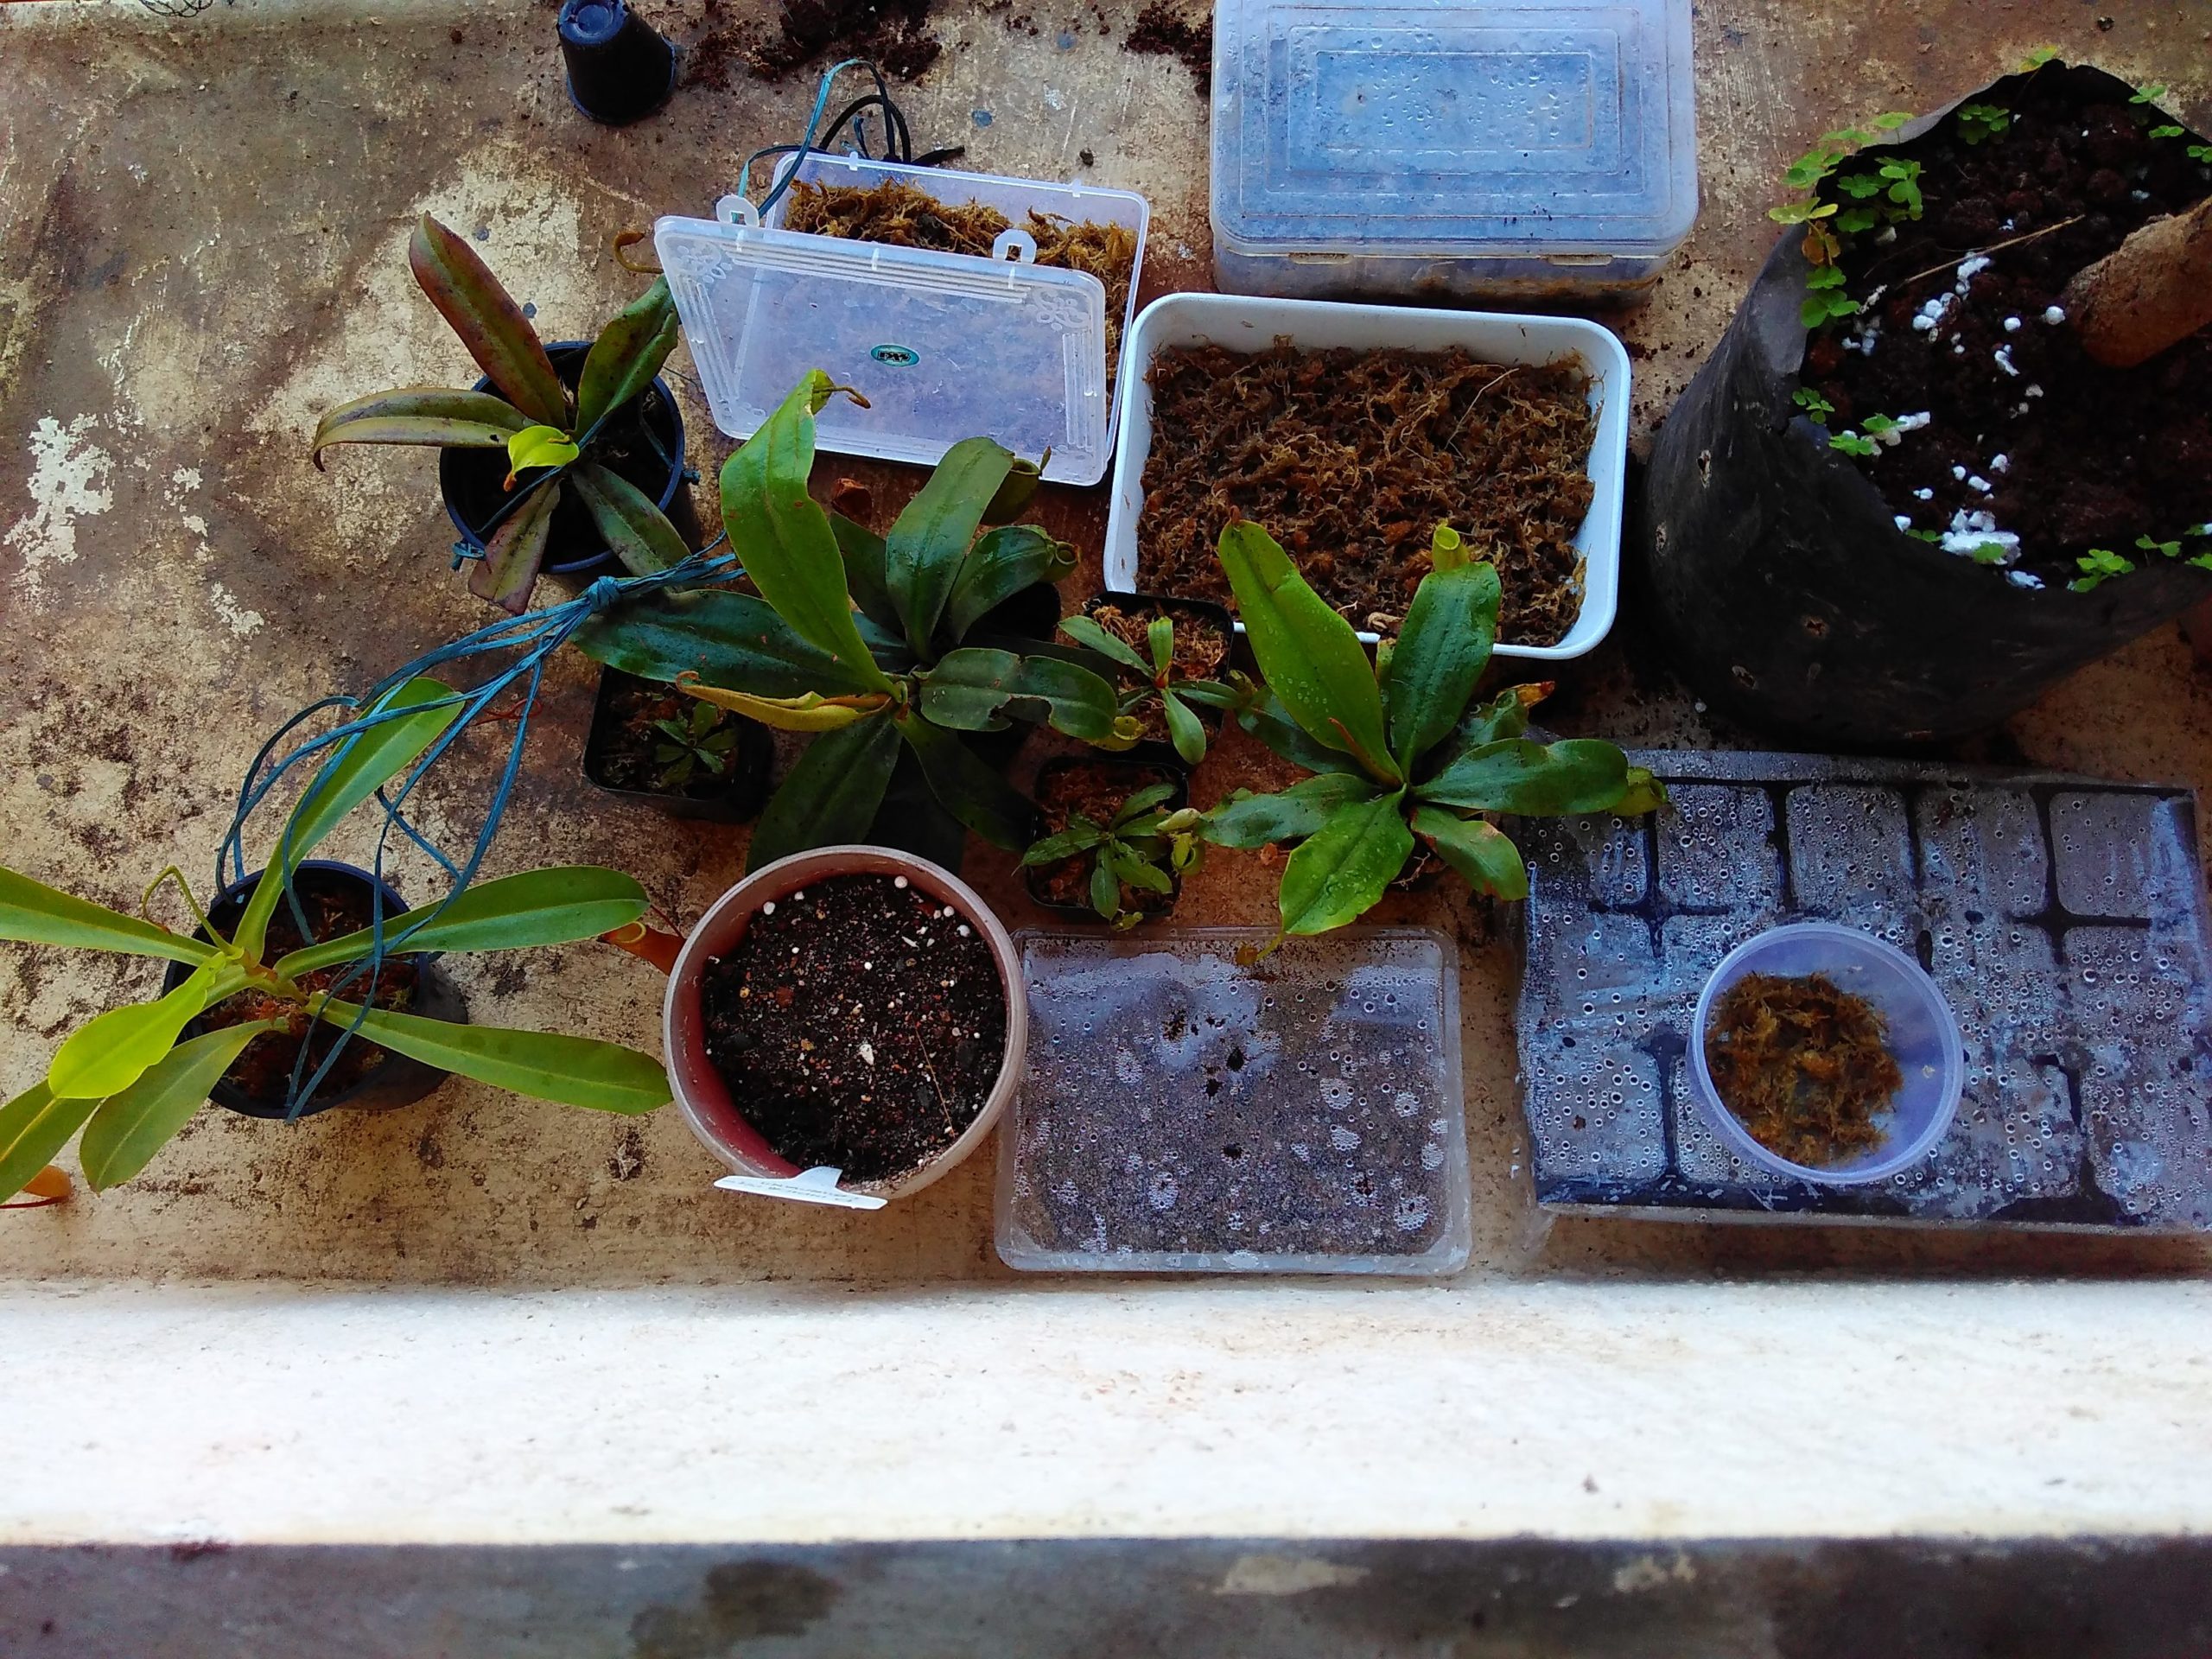
Almost half the people who buy plants from me or discuss carnivorous plants end up asking where to buy sphagnum moss or other supplies necessary for growing carnivorous plants in India. Since I repeat this information often, I thought I’d put up a list of where I buy things from.
Please note, any links to products are affiliate links, because why not. However, I am only recommending products I have actually used myself.
Carnivorous plants need nutrient poor medium to grow in. This means that using the standard mud or potting mixes will not work. The plants will die. Suitable materials include cocopeat, peat, sphagnum moss, perlite, vermiculite. Some of these can be used on their own or mixed with others to create suitable medium to grow your plants.
Cocopeat is relatively easily available in India, given our long shoreline and abundance of use of coconuts. Many of the larger nurseries in cities will have cocopeat. Please be sure to buy bricks of cocopeat and NOT potting mixes based on cocopeat, because those will have added nutrients that will kill your plants. The problem with using cocopeat is that it needs to be rinsed with water several times to remove salts and other nutrients before it can be used. Also unlike use for common gardening plants, soaking in calcium nitrate fertilizer to replace the sodium salts will not work as a relatively quick fix, because carnivorous plants don’t want calcium salts either. So you have to do this properly. Soak in water, drain, soak in water, drain and so on. Once the water removed from the cocopeat gets lighter, you must use purer water – rainwater, RO or distilled till you have got most of the dissolved content out of the cocopeat.
On the plus side, cocopeat is inexpensive and available relatively easily. For those not living in places where local nurseries sell cocopeat, here are some online listings where you can buy it. I’ve made comments under each.
This one is trickier to find, but probably the best medium to use. The ones sold by many nursery sites as sphagnum moss are often not sphagnum moss, but forest moss. This is also usually quite dirty and full of debris and personally, I wouldn’t advise using it unless you are growing some of the larger nepenthes that you don’t mind gambling with. For any other carnivorous plants, this sort of moss is useless.
The very best sphagnum you could use is the AAA NewZealand Sphagnum. It is expensive, but it expands dramatically and is very good value for money, particularly for the more expensive and rare plants. I am pretty much discontinuing the use of all other sphagnum for my plants. I’m addicted.
But there are other and cheaper options too. Here are the acceptable listings of sphagnum moss I found to be acceptable quality. Please read the comments under the products for my opinion on them.
Coconut chips, bark and charcoal are other very interesting materials to use for larger nepenthes and orchids. Not much to comment on other than RINSE EVERYTHING YOU USE. Here is where you can find them.
This is simply a listing of various containers I have found useful for my plants. I’m commenting with the kinds of plants they could be useful for, but this is not expected to be a detailed listing.
I also start plants that will get larger later in smaller containers and move to progressively larger ones as their root balls grow and they need the space.
Seedling trays are invaluable when starting plants from seed. They take up much less space, use less potting media and allow for better observation and growing of the tiny plants. They should be available with larger nurseries.
Here are some or similar to what I’ve picked up a time or two if you don’t have a nursery selling them near by.
These are suitable for most carnivorous plants. Most drosera, pinguicula or byblis can probably be grown in them permanently, but they also form useful intermediate pots for drosophyllum and nepenthes, as well as larger drosera like drosera regia.
These are various pots suitable for bigger plants. Hanging planters can be used for larger nepenthes plants.
Here are some other containers that have worked well at various times. Vertical gardening is really a cool way of maximizing the available space.