Monthly Archives: September 2020

How I make Pinguicula cuttings - Pinguicula agnicola as example 1

How I make Pinguicula cuttings – Pinguicula agnicola as example

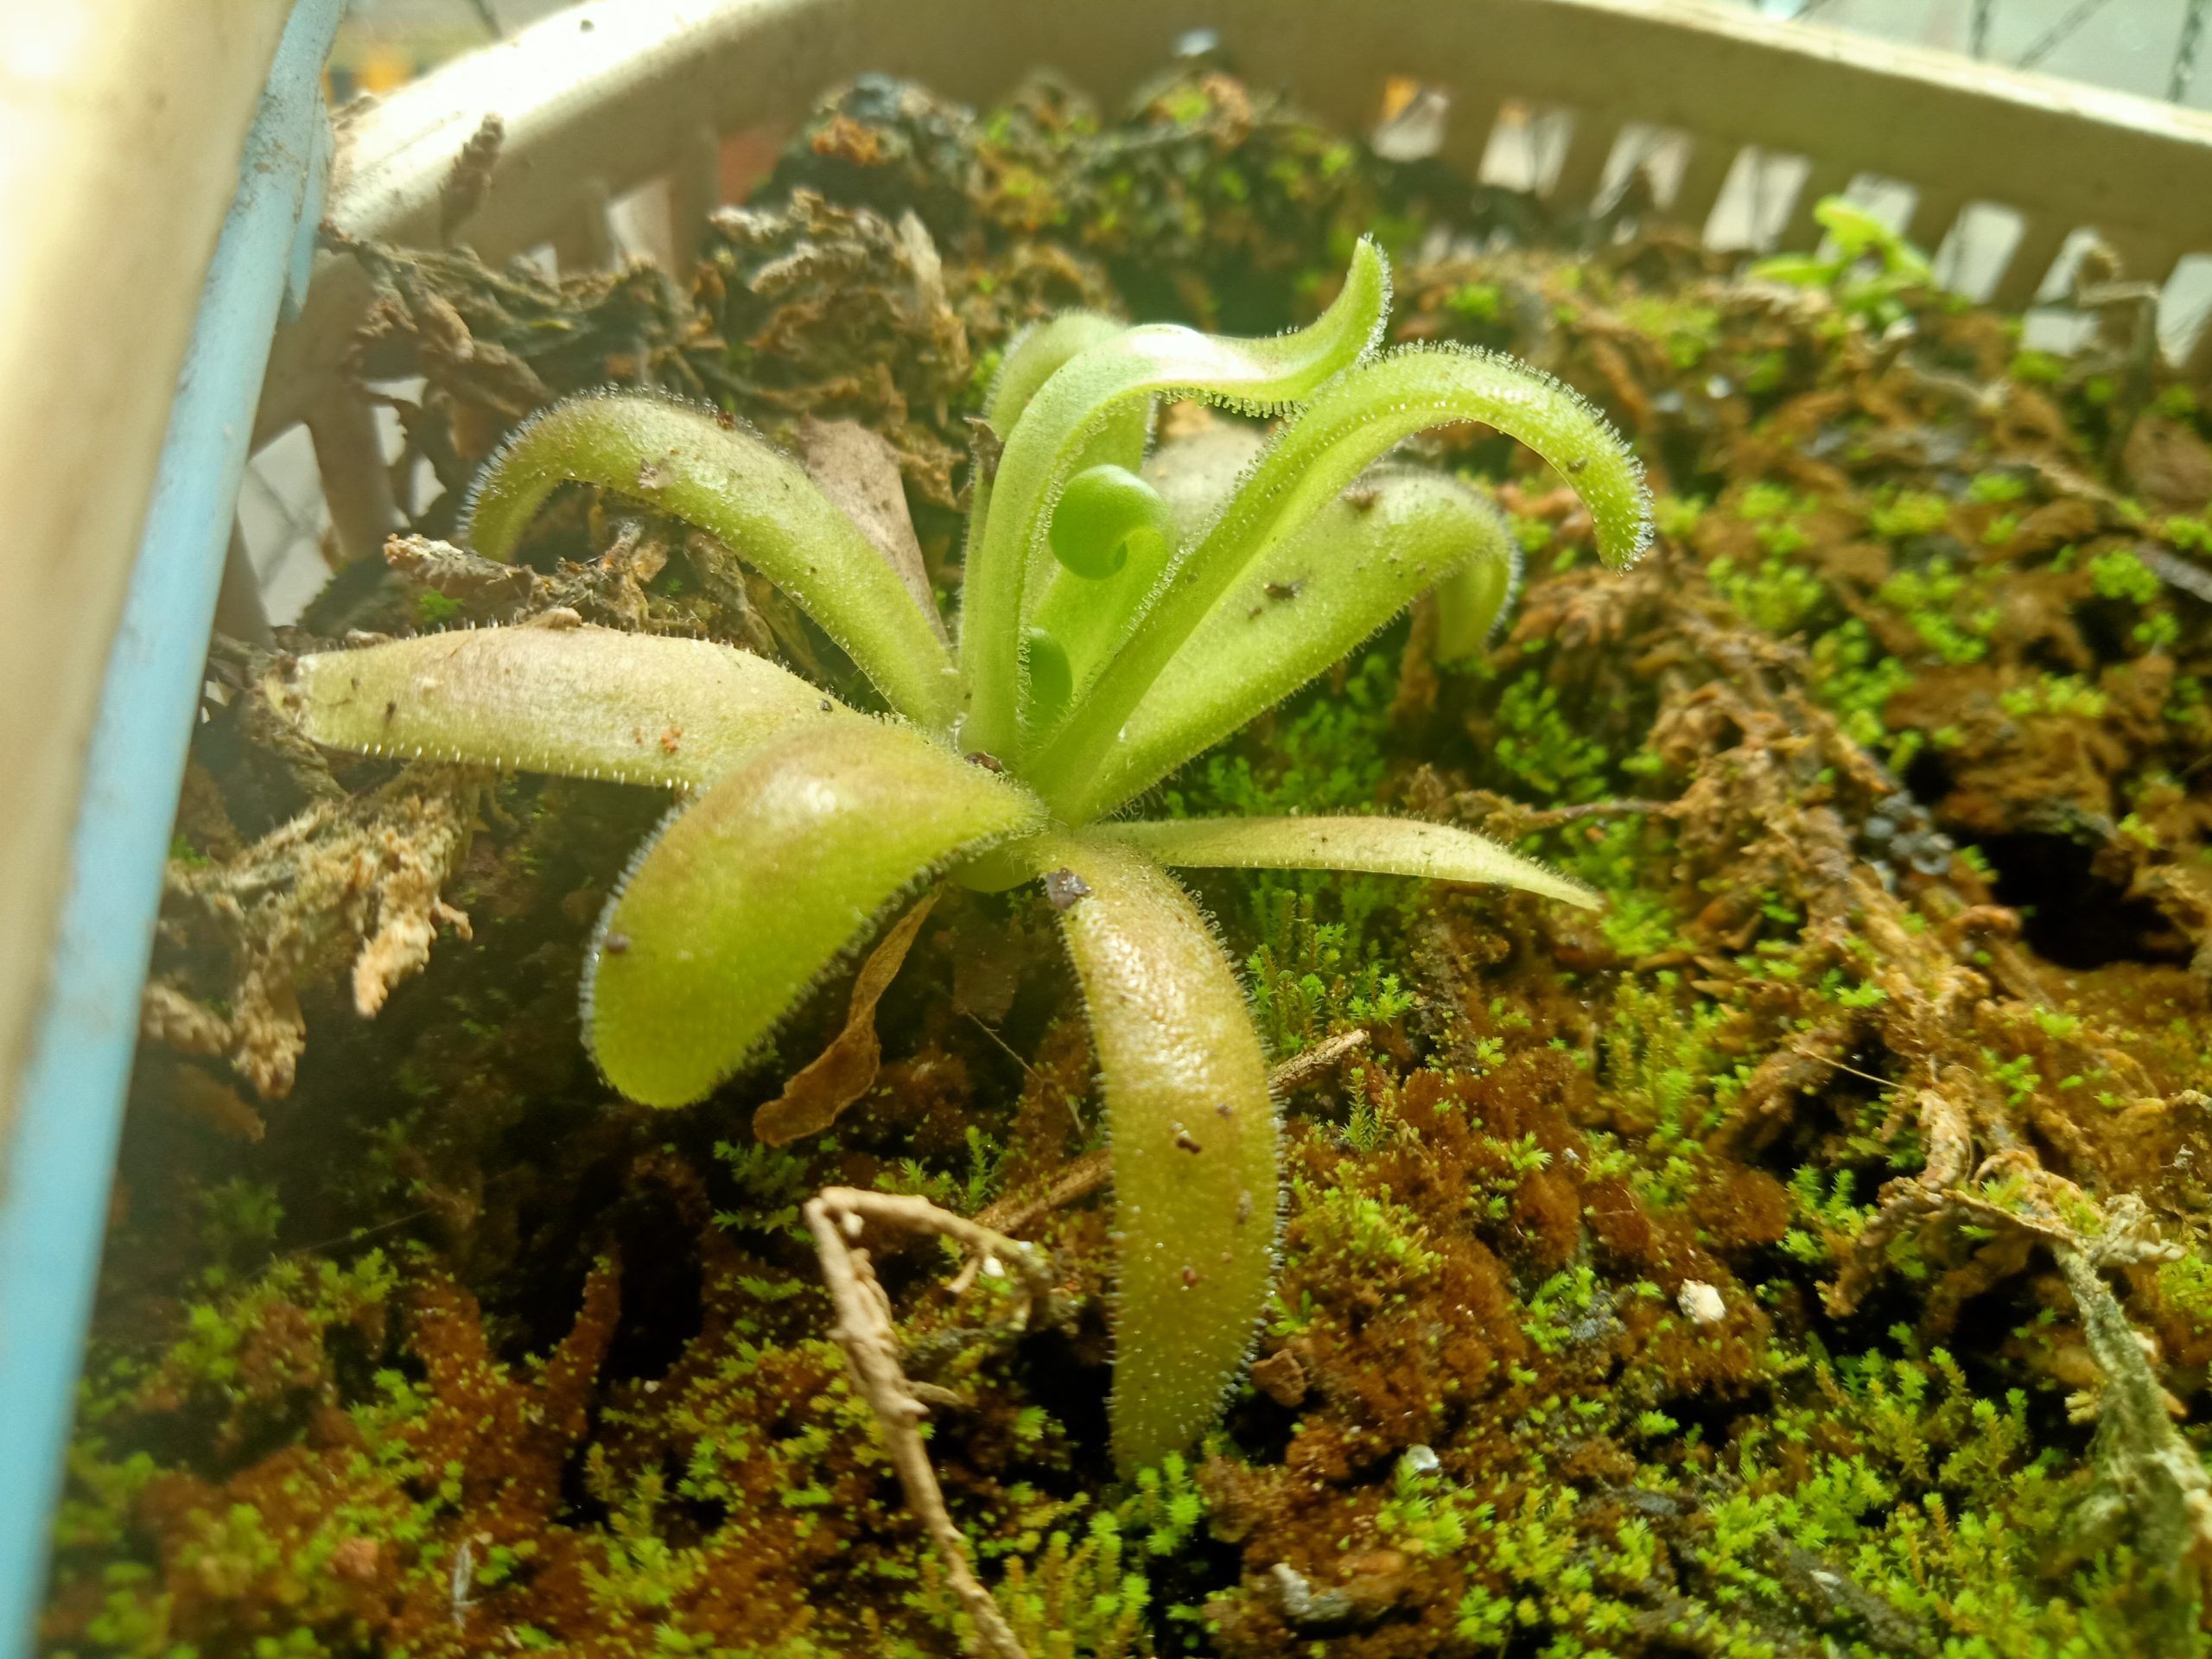
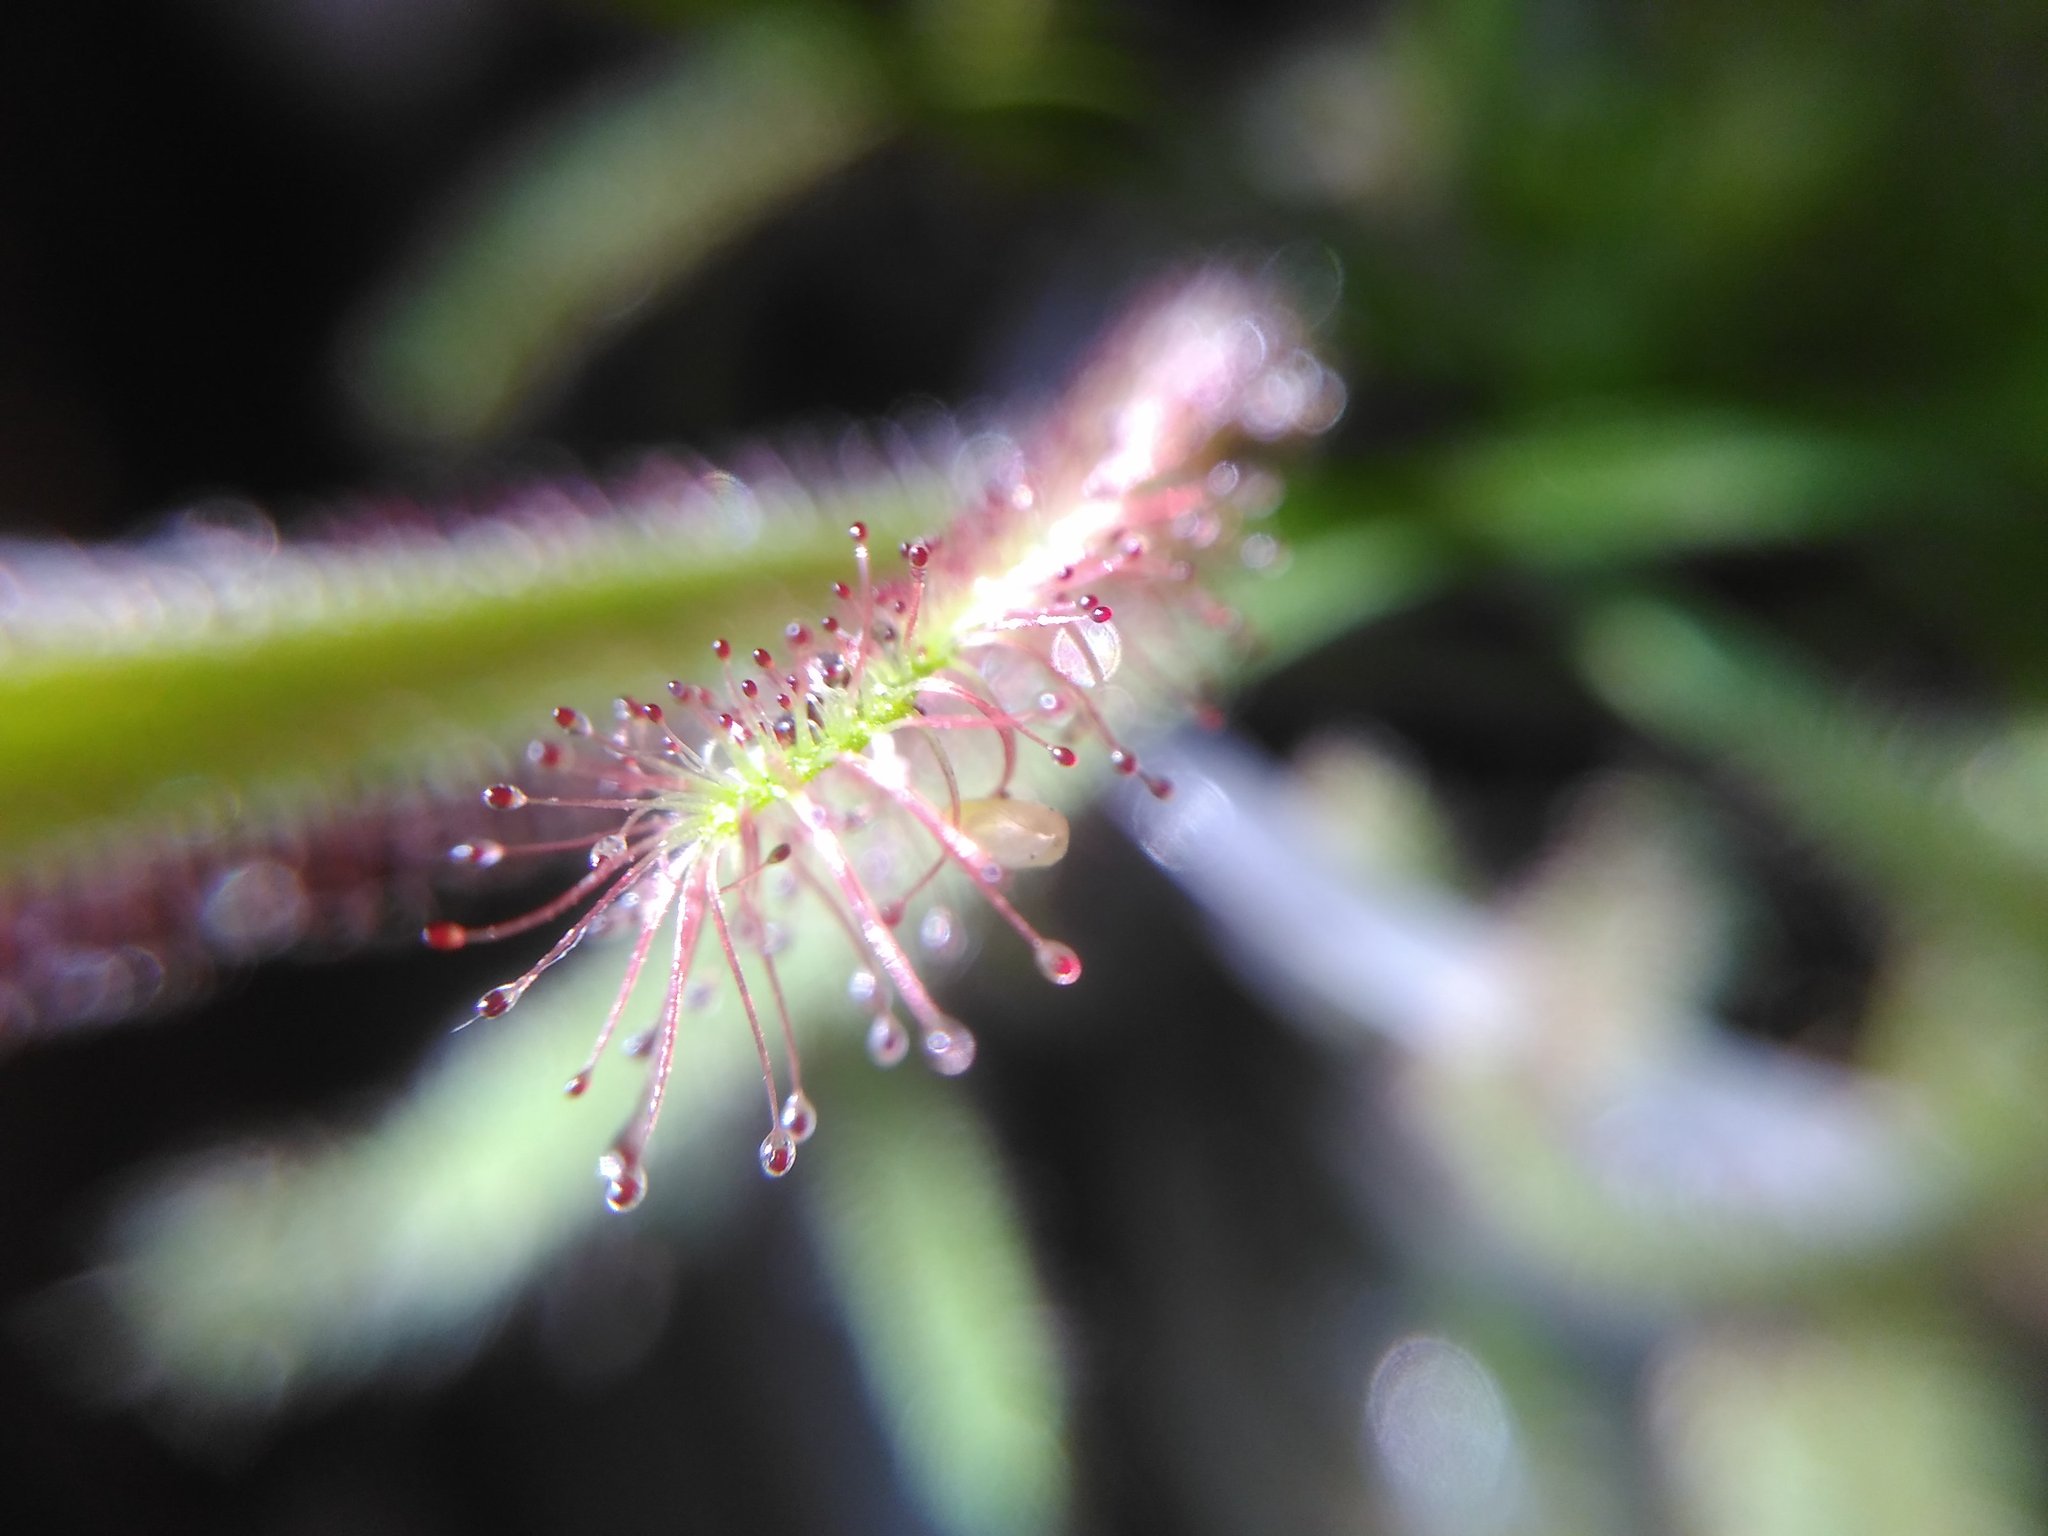
First, some eye candy.
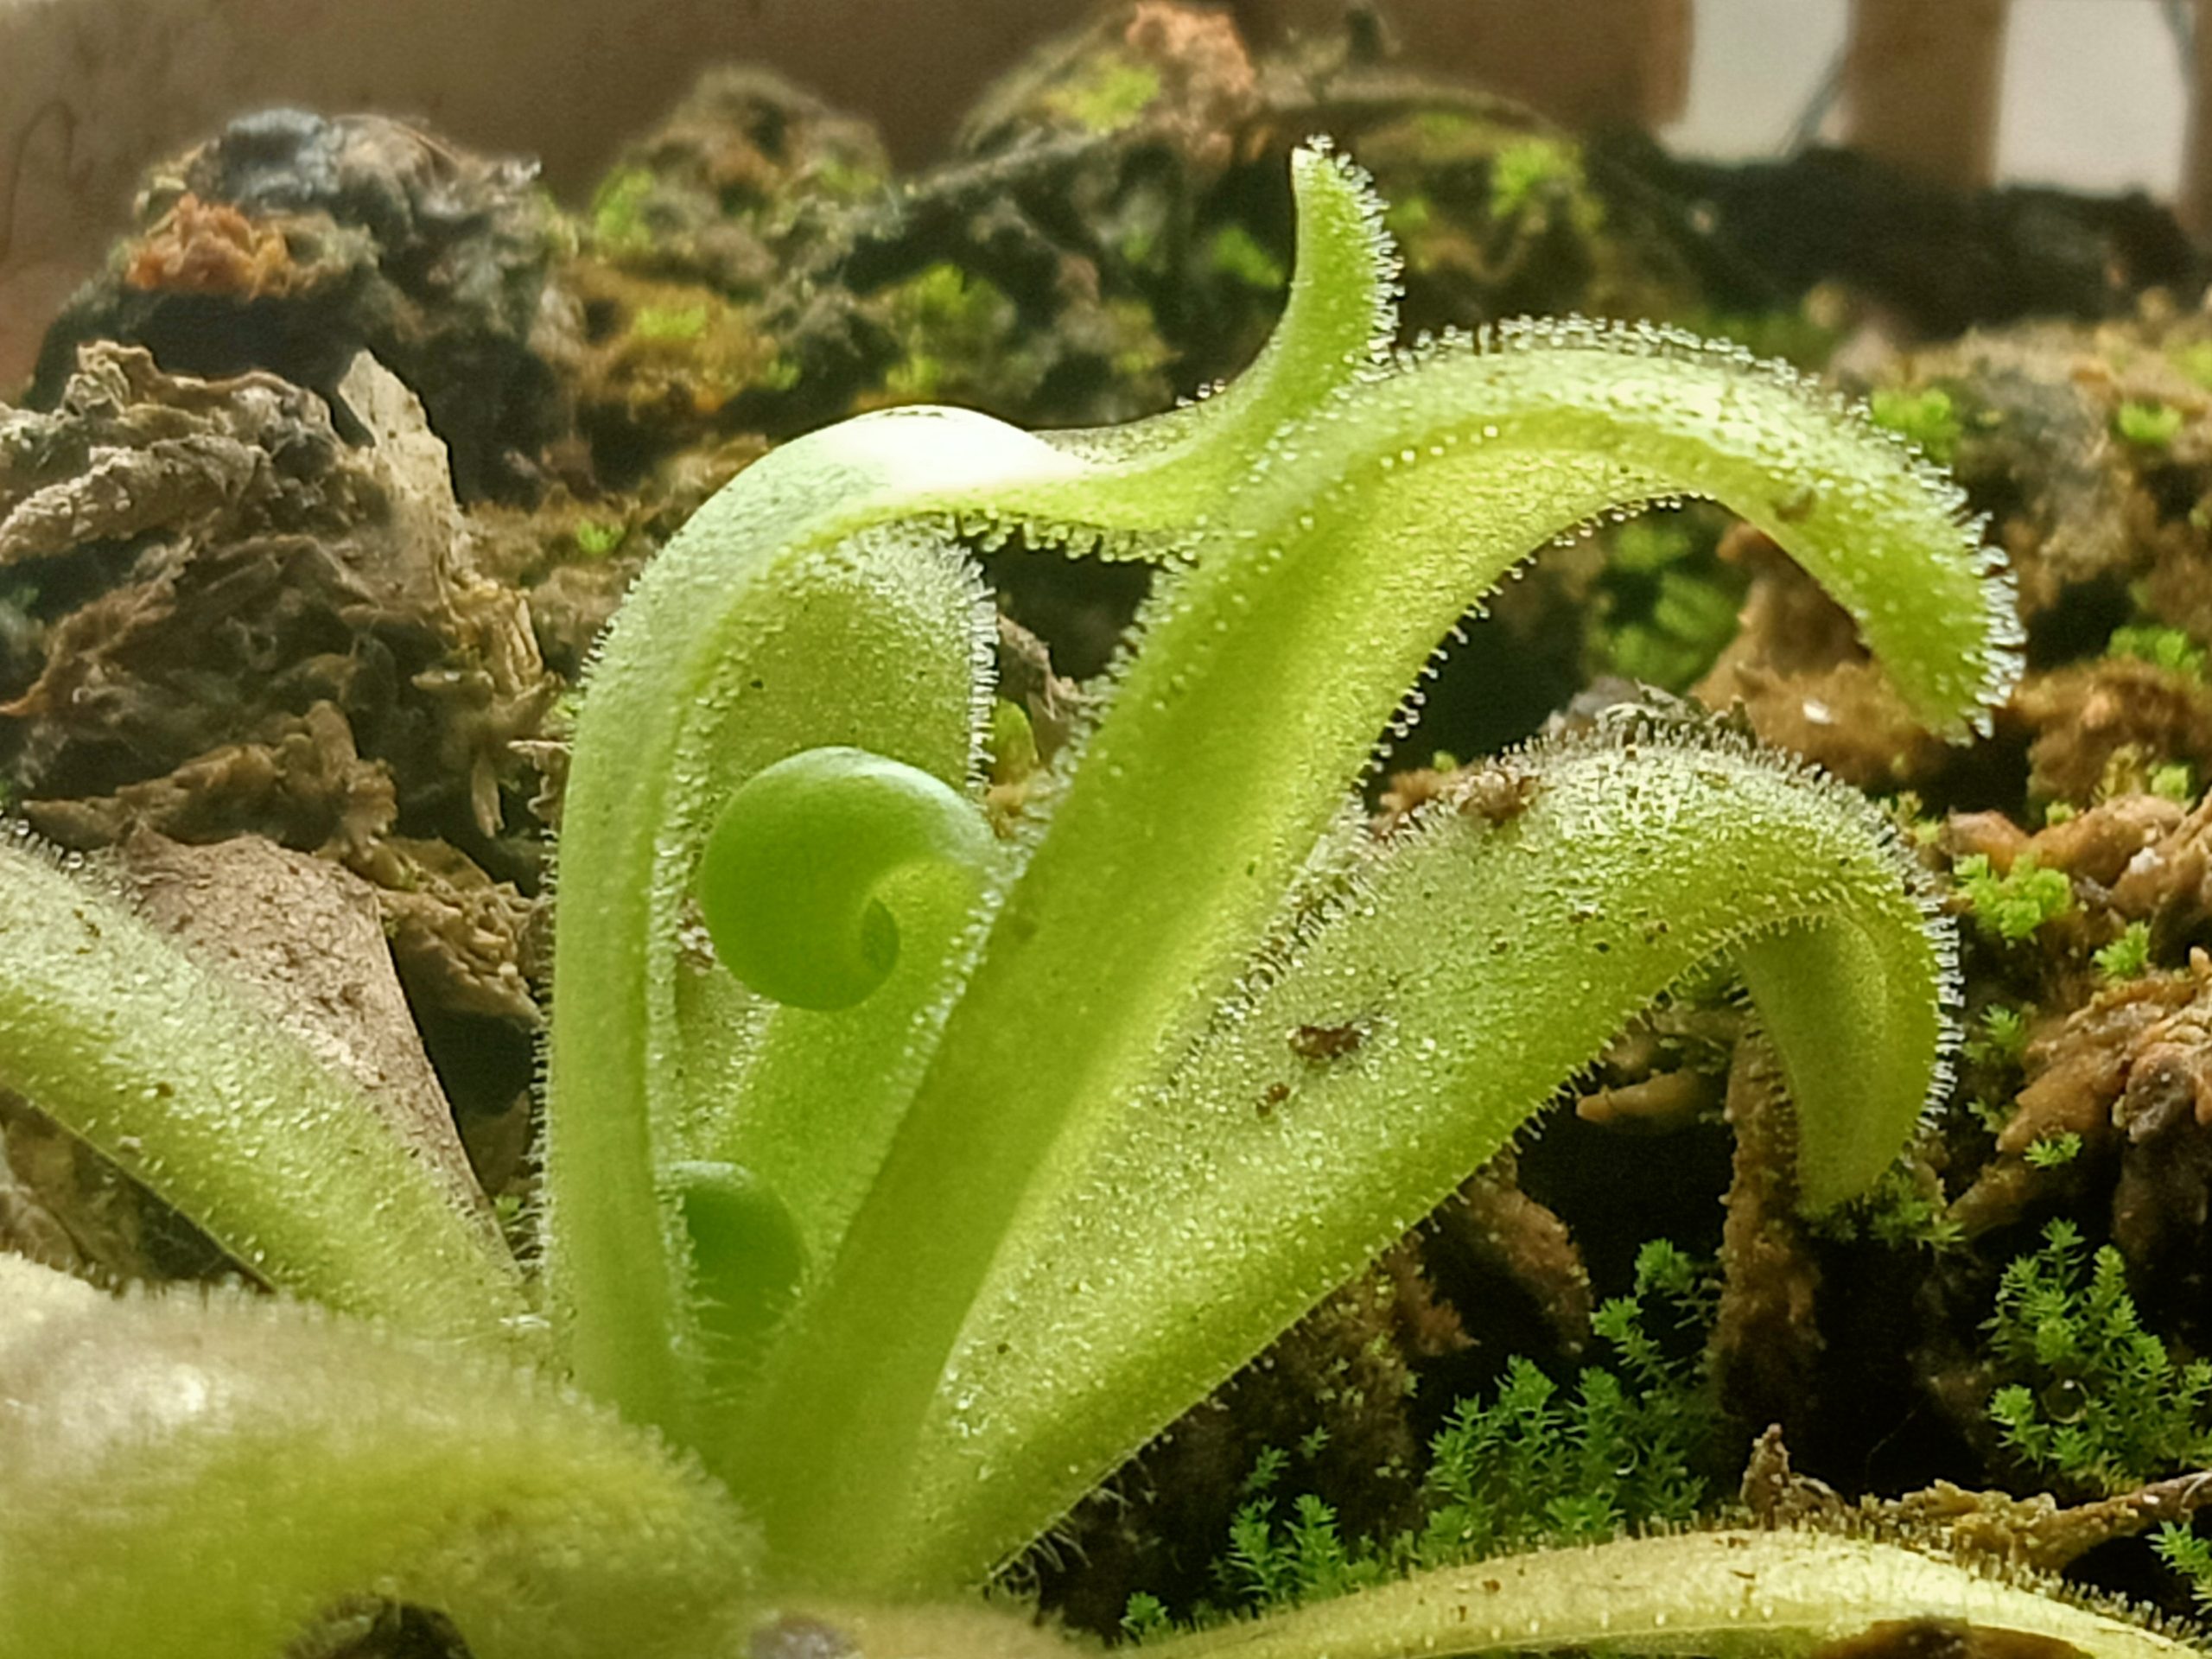
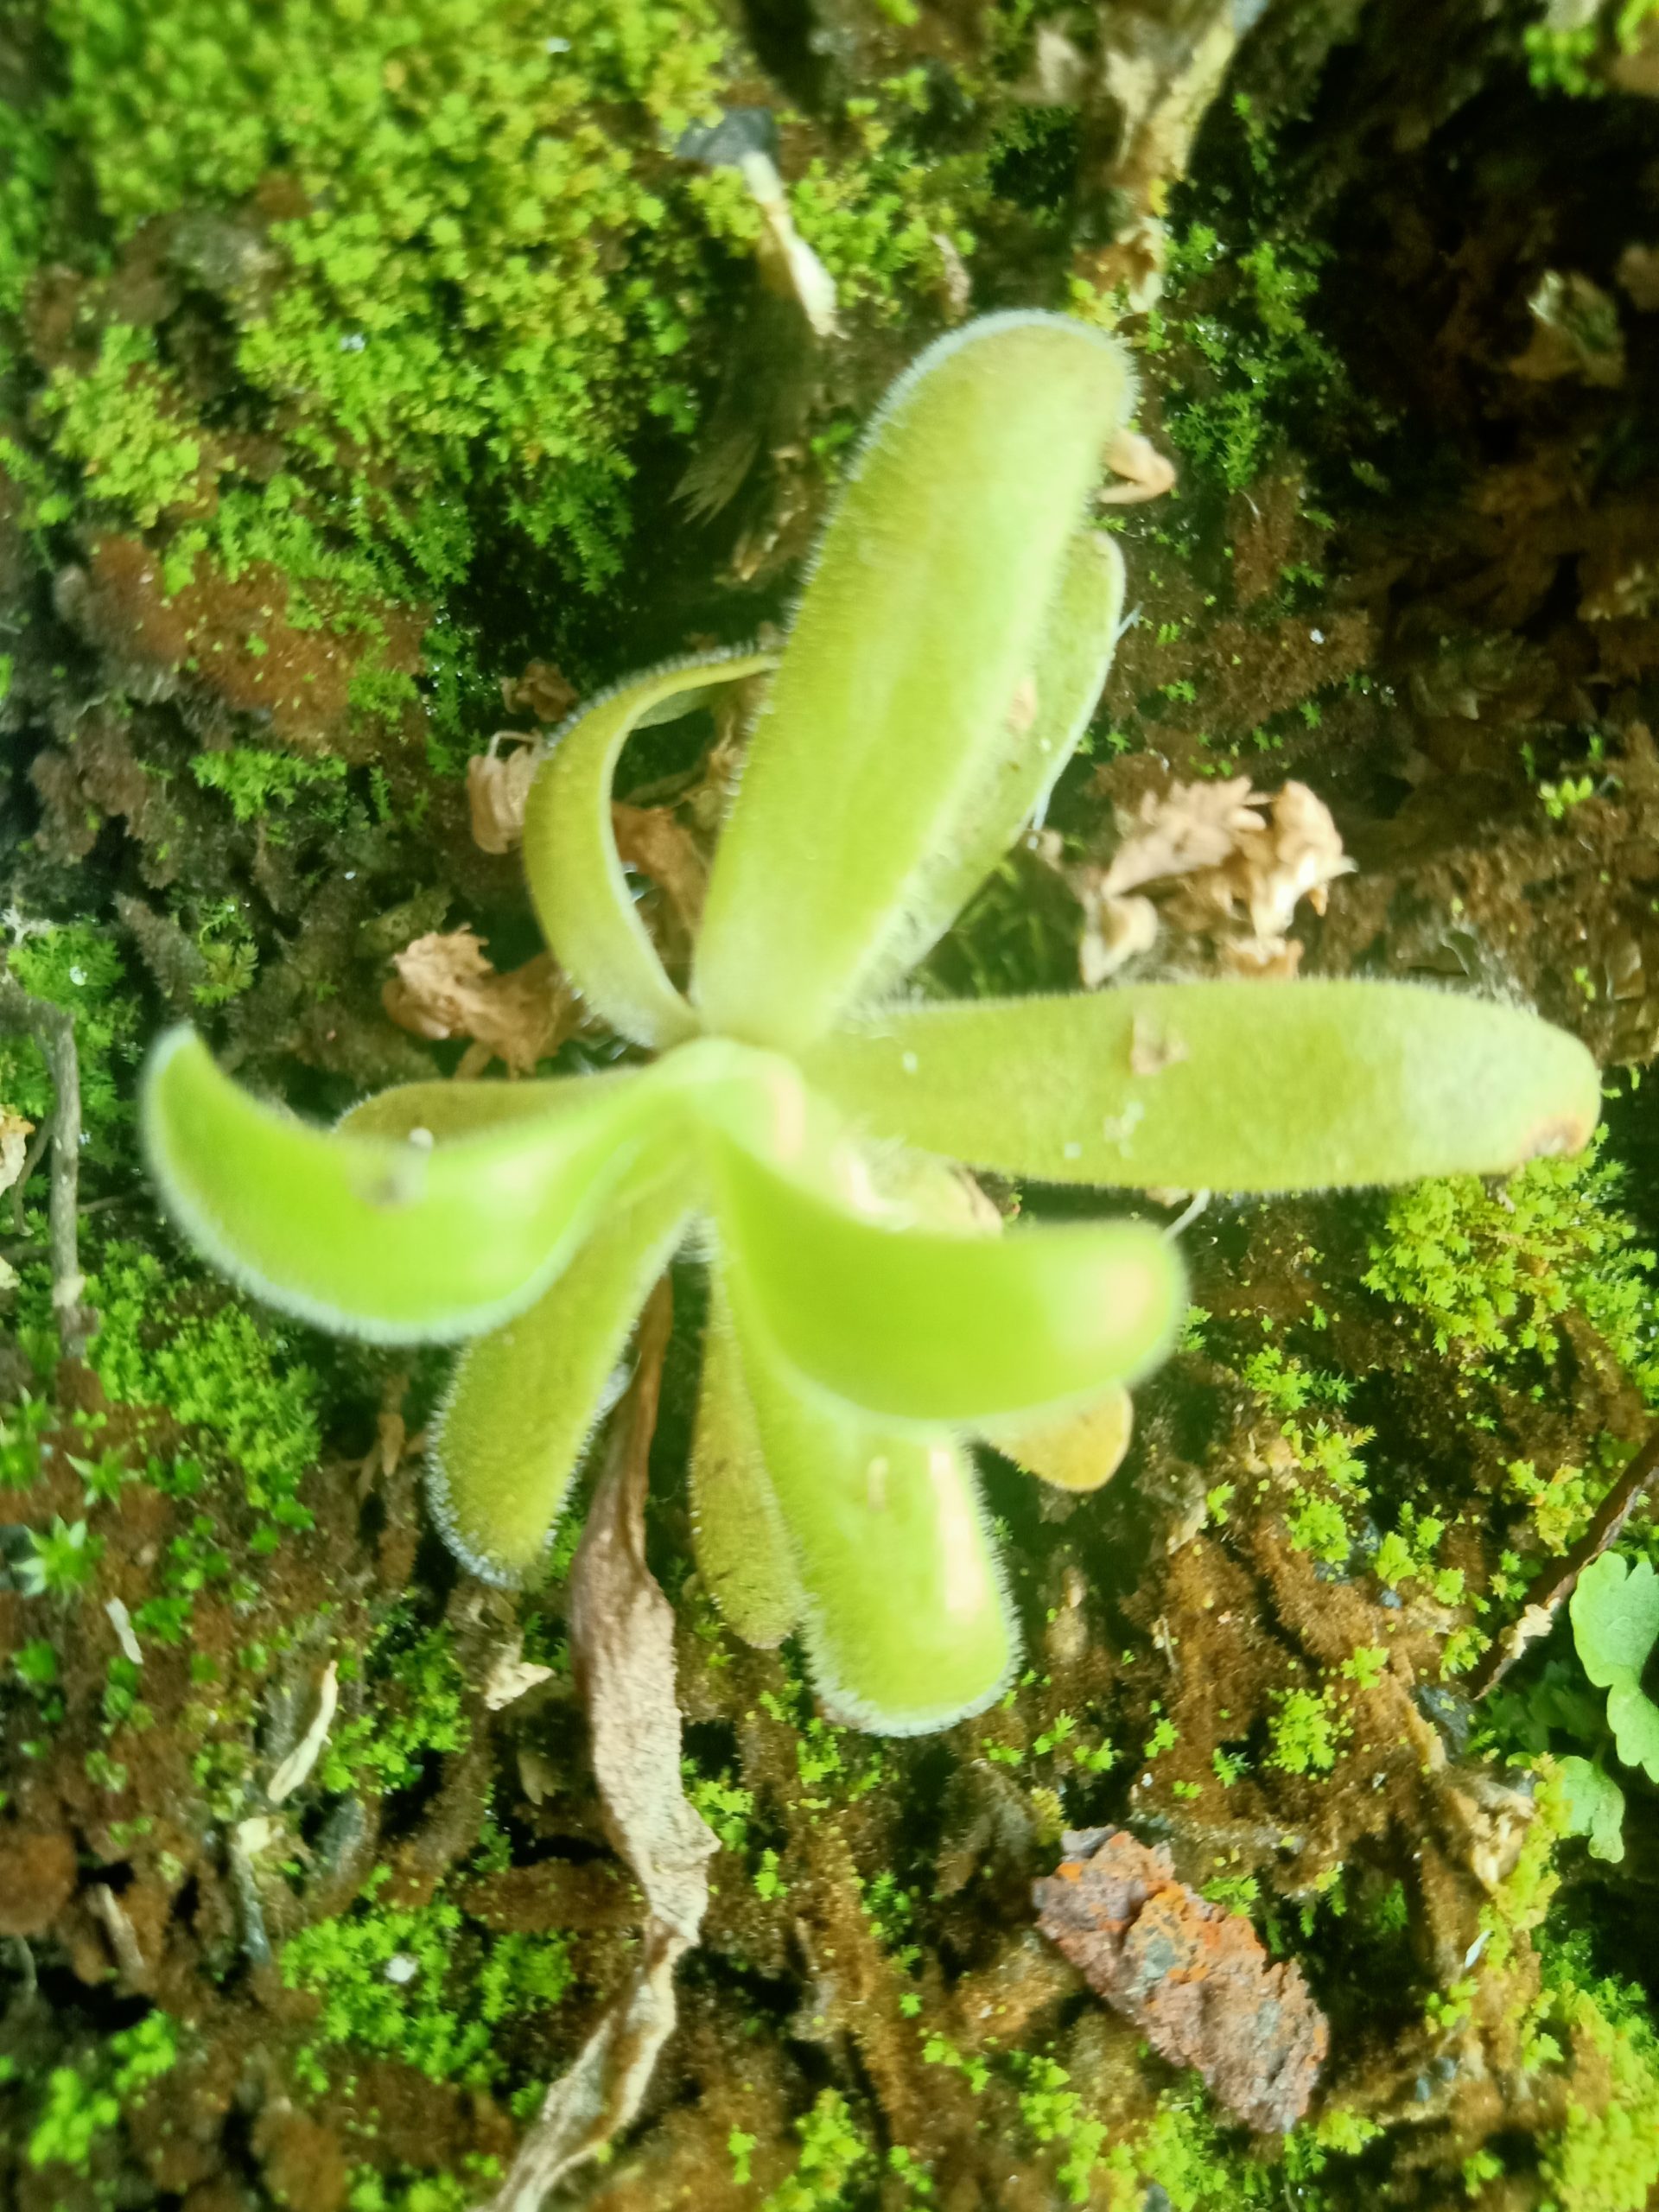
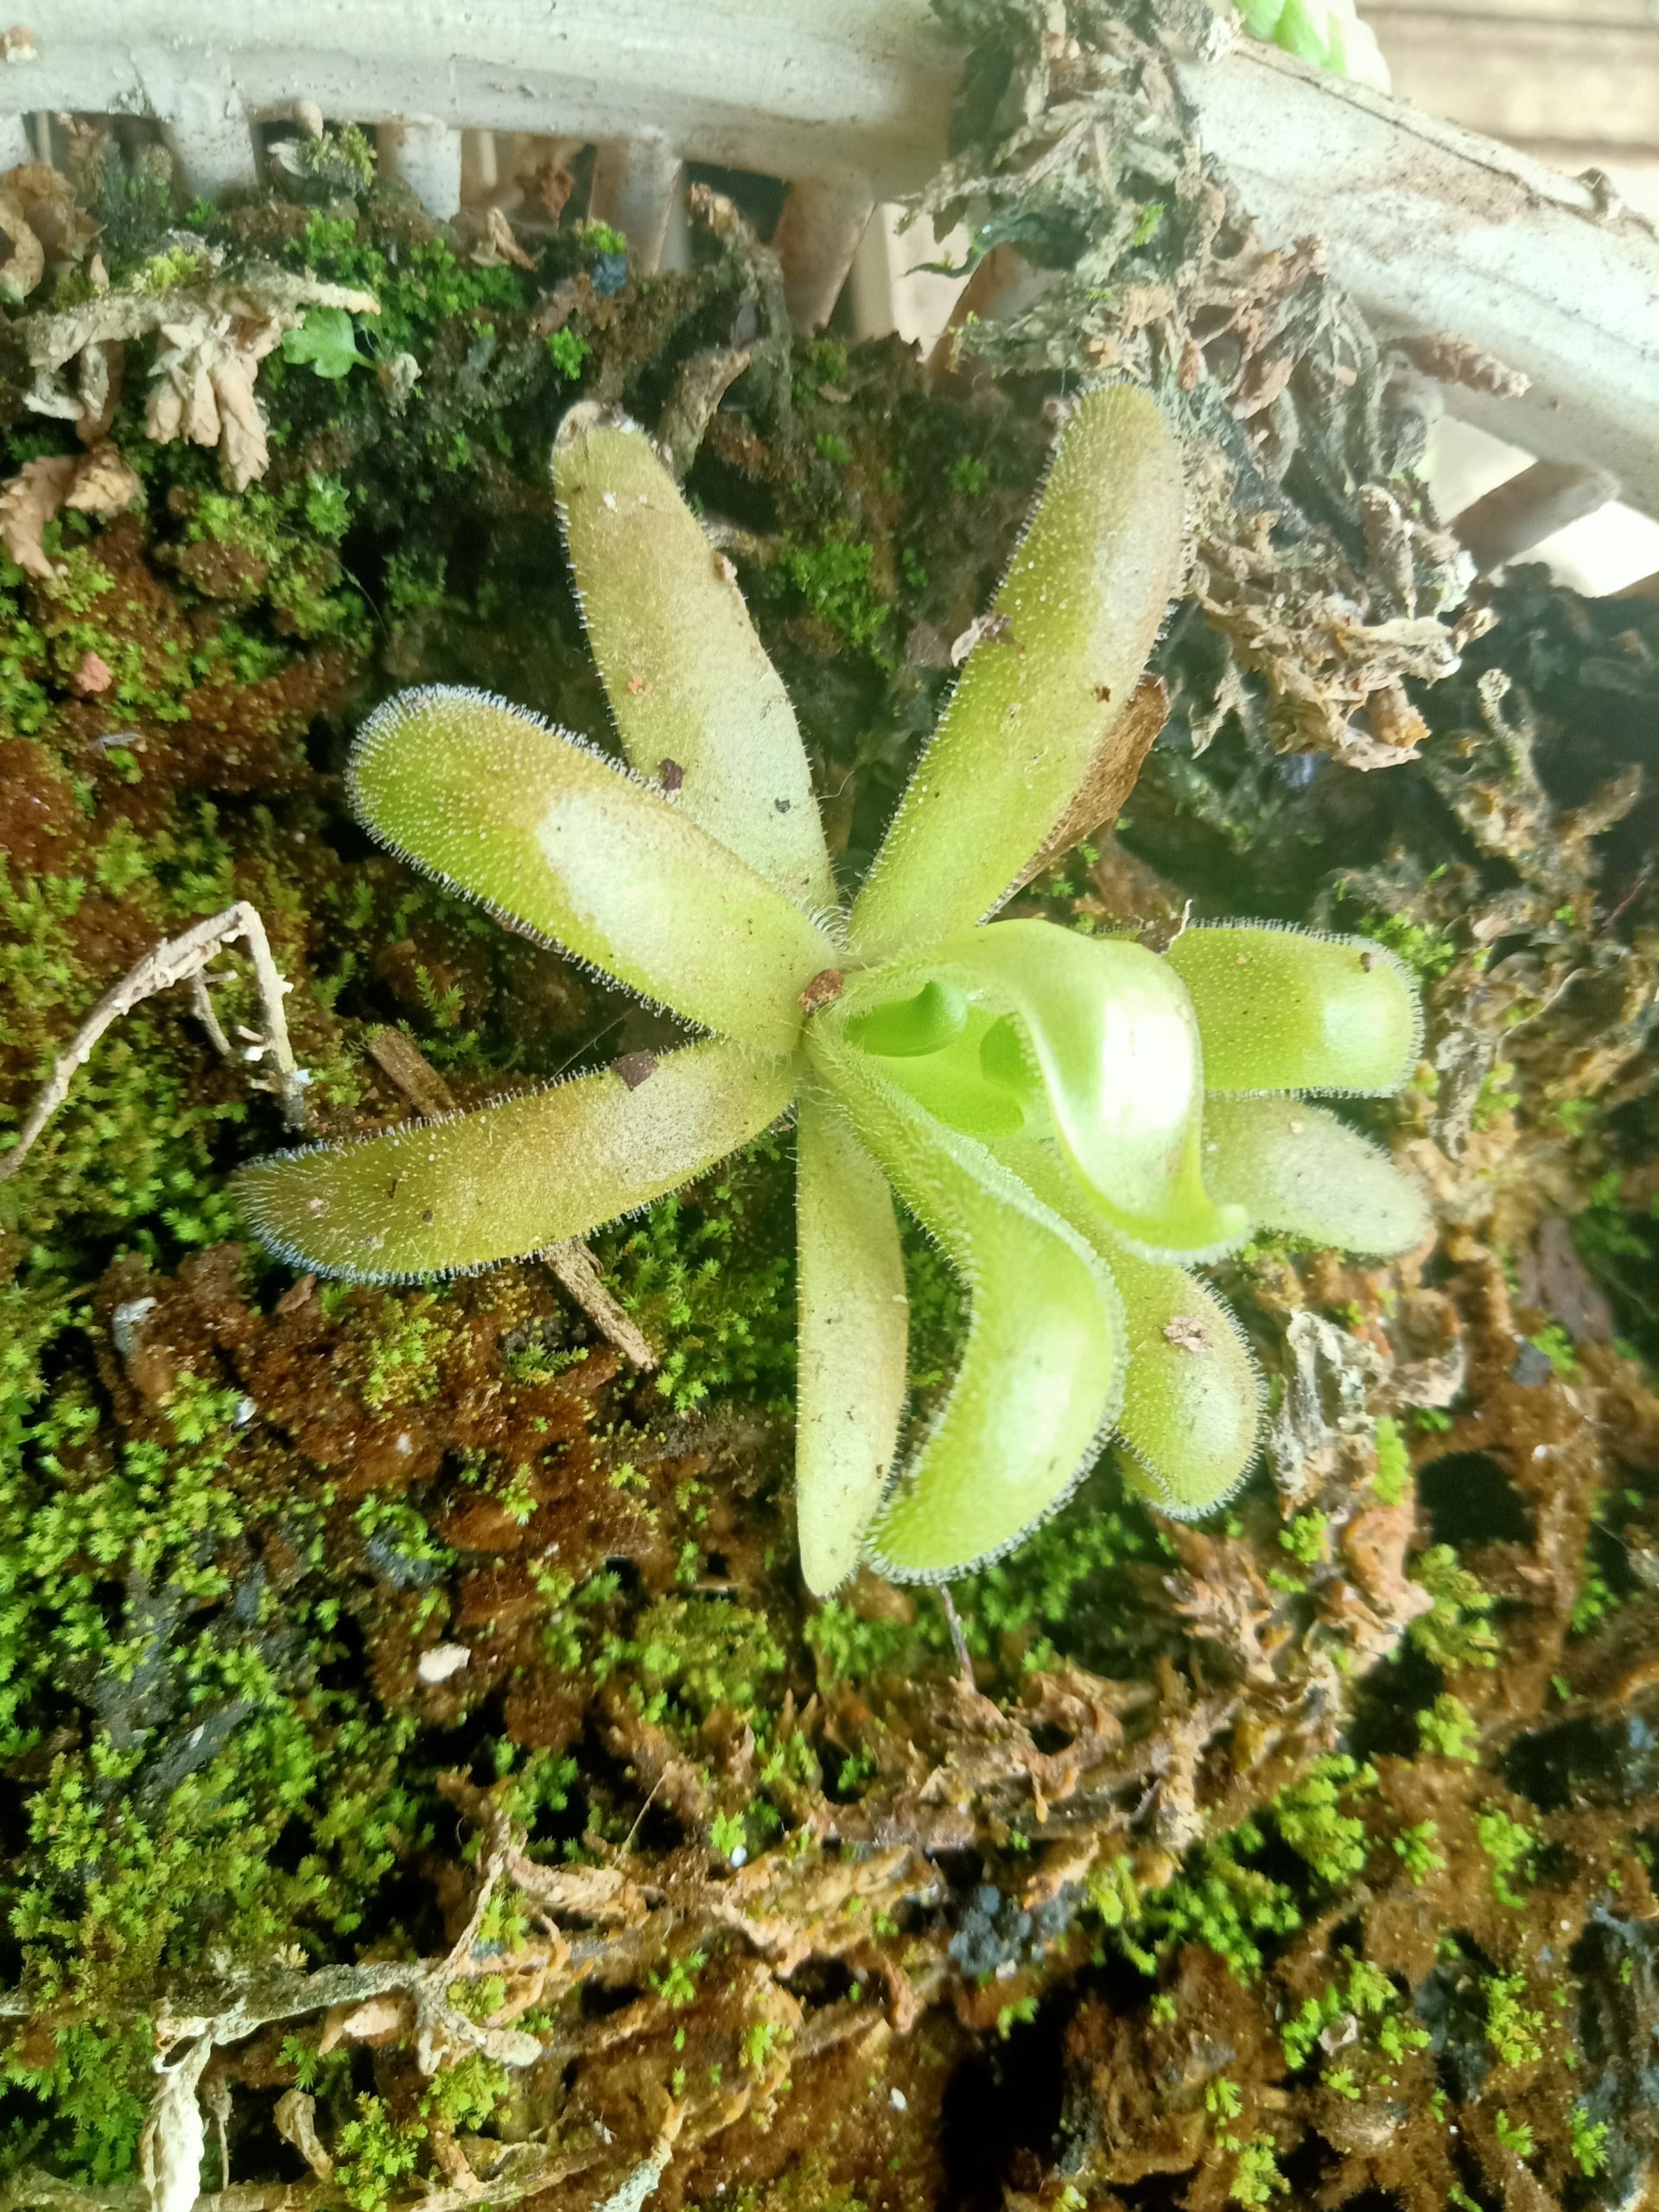
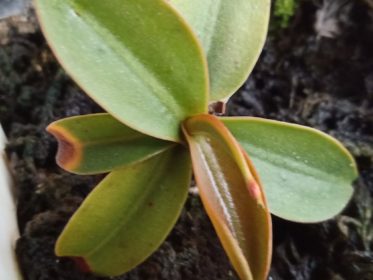
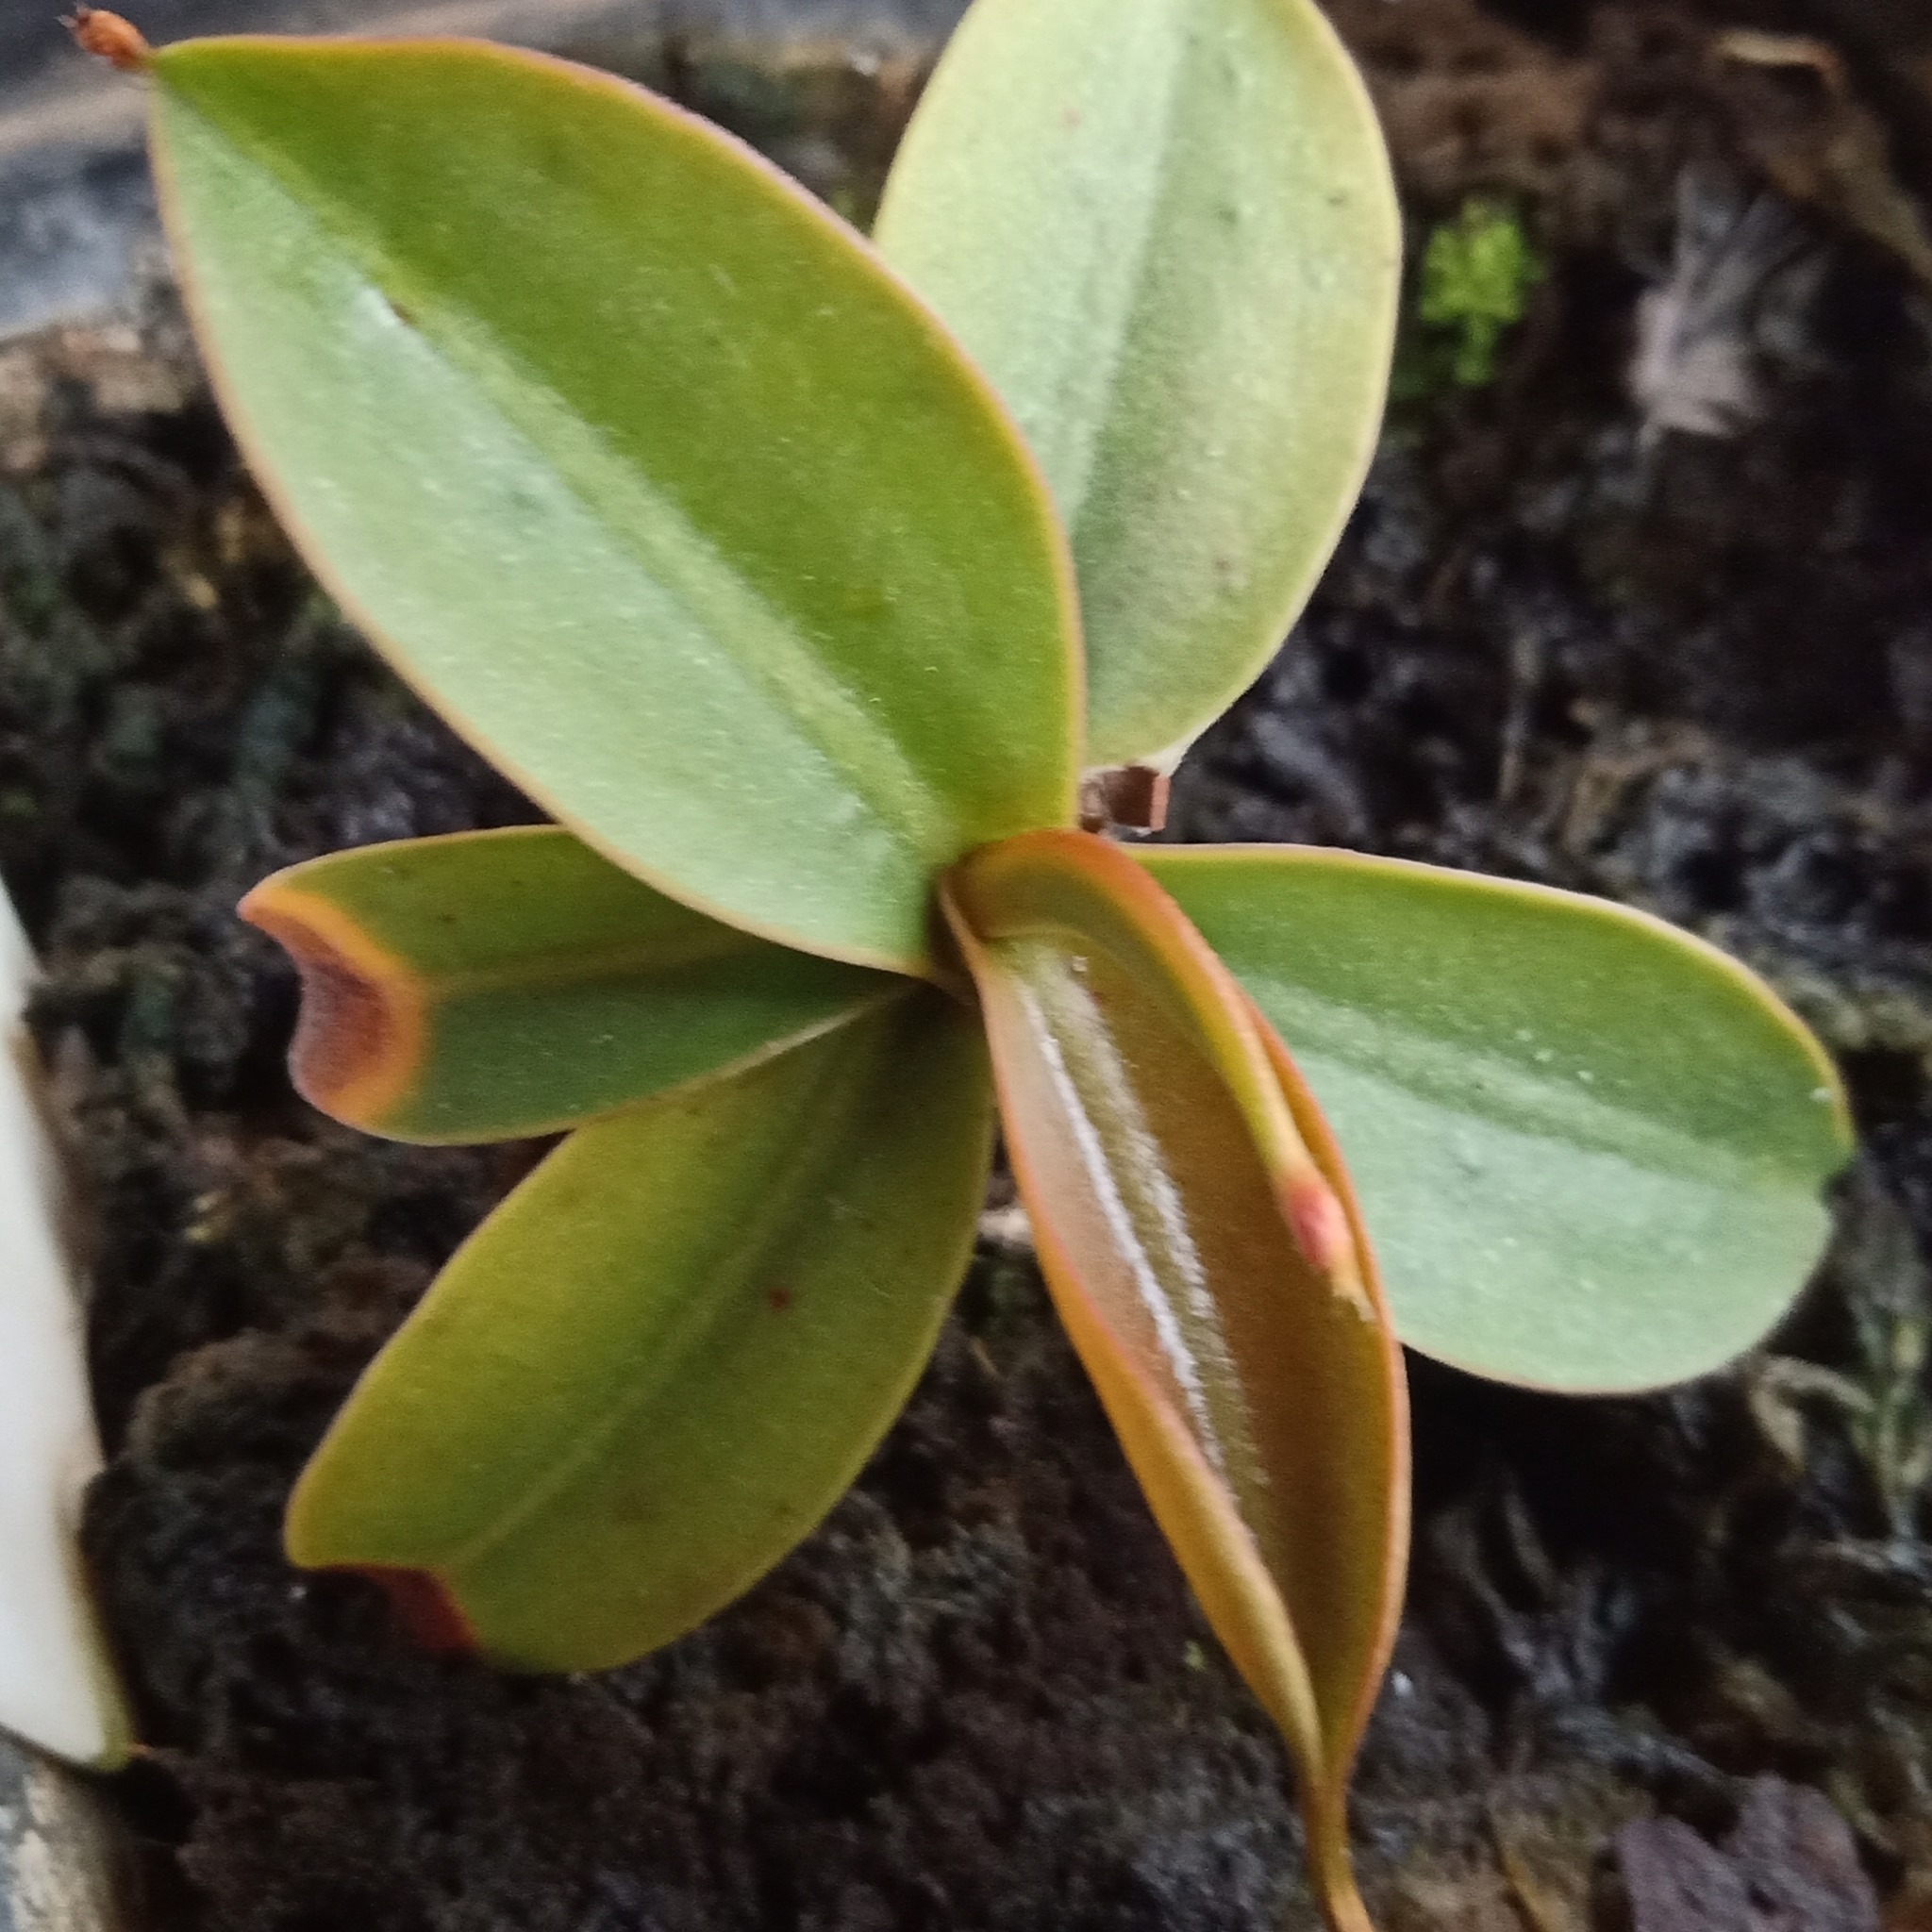
Pinguicula agnicola plantlet unfurling new leaves

Now for how to get here.

You begin with a healthy pinguicula plant (healthier than this – this is a plant after I pulled off the leaves, because I forgot to take photos before). It should have a good number of leaves, enough to not miss a couple. Do not pull a leaf out of a plant that doesn’t have many out of greed to have more plants faster – you may lose the one you have.

Ignore the lack of dew on the mother plant. It is healthy. Just dormant.
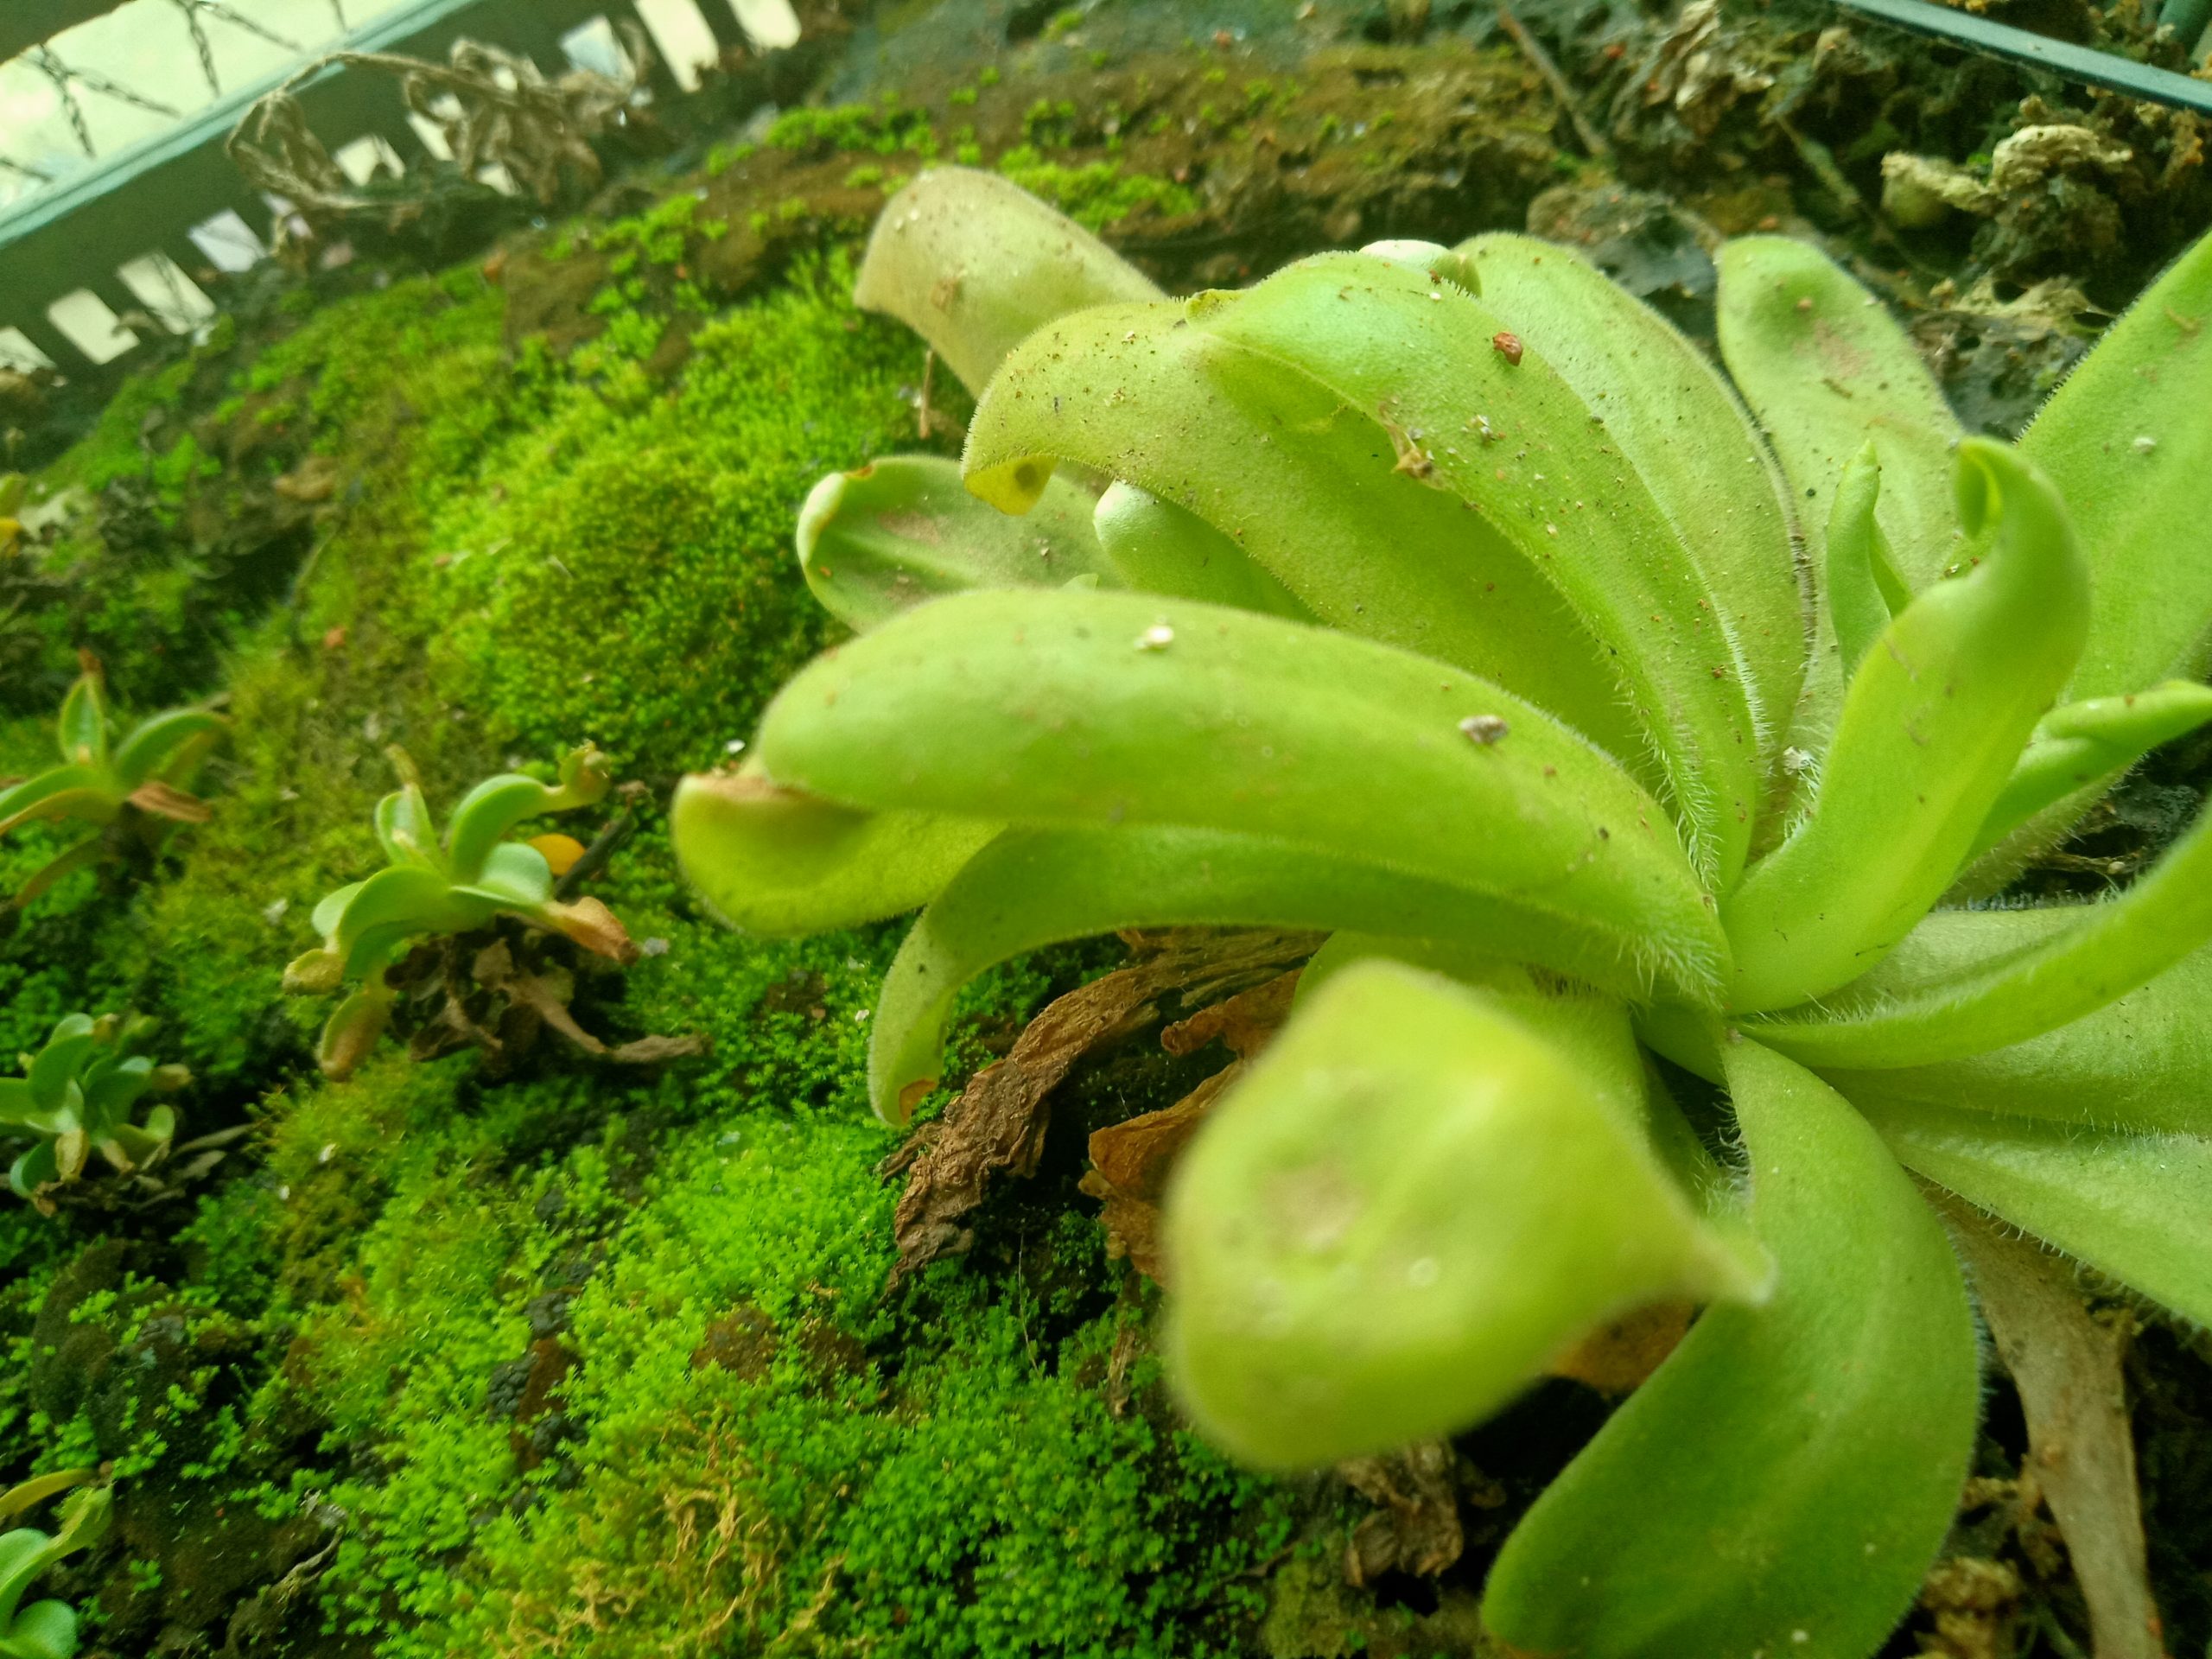
Pinguicula agnicola plant

Pull the leaves off from the base carefully. Pinguicula leaves can be fragile – if you pull a long leaf from the tip with some force, the leaf is likely to tear – you don’t want that. Hold gently and as close as possible to the base and gently pull it off. Gentle downward force at the base or sideways pulling works and it will just snap off. If you are struggling to pull it off without adding force, think of it as snapping it out from the base – it is a technique and doesn’t take much force. Force is fine as long as you don’t tear the leaf.

Place the leaves somewhere suitable. I have placed them on a tray in which there used to be nepenthes truncata seedlings that died this summer. I couldn’t bear to throw the tray away, so there was a lot of empty space on it. You can literally put the plantlets anywhere – an empty pot, on tissue paper in a plastic box or cup, or even in a zip lock bag. It isn’t very important. Pinguiculas aren’t very obsessed with media or for that matter roots.
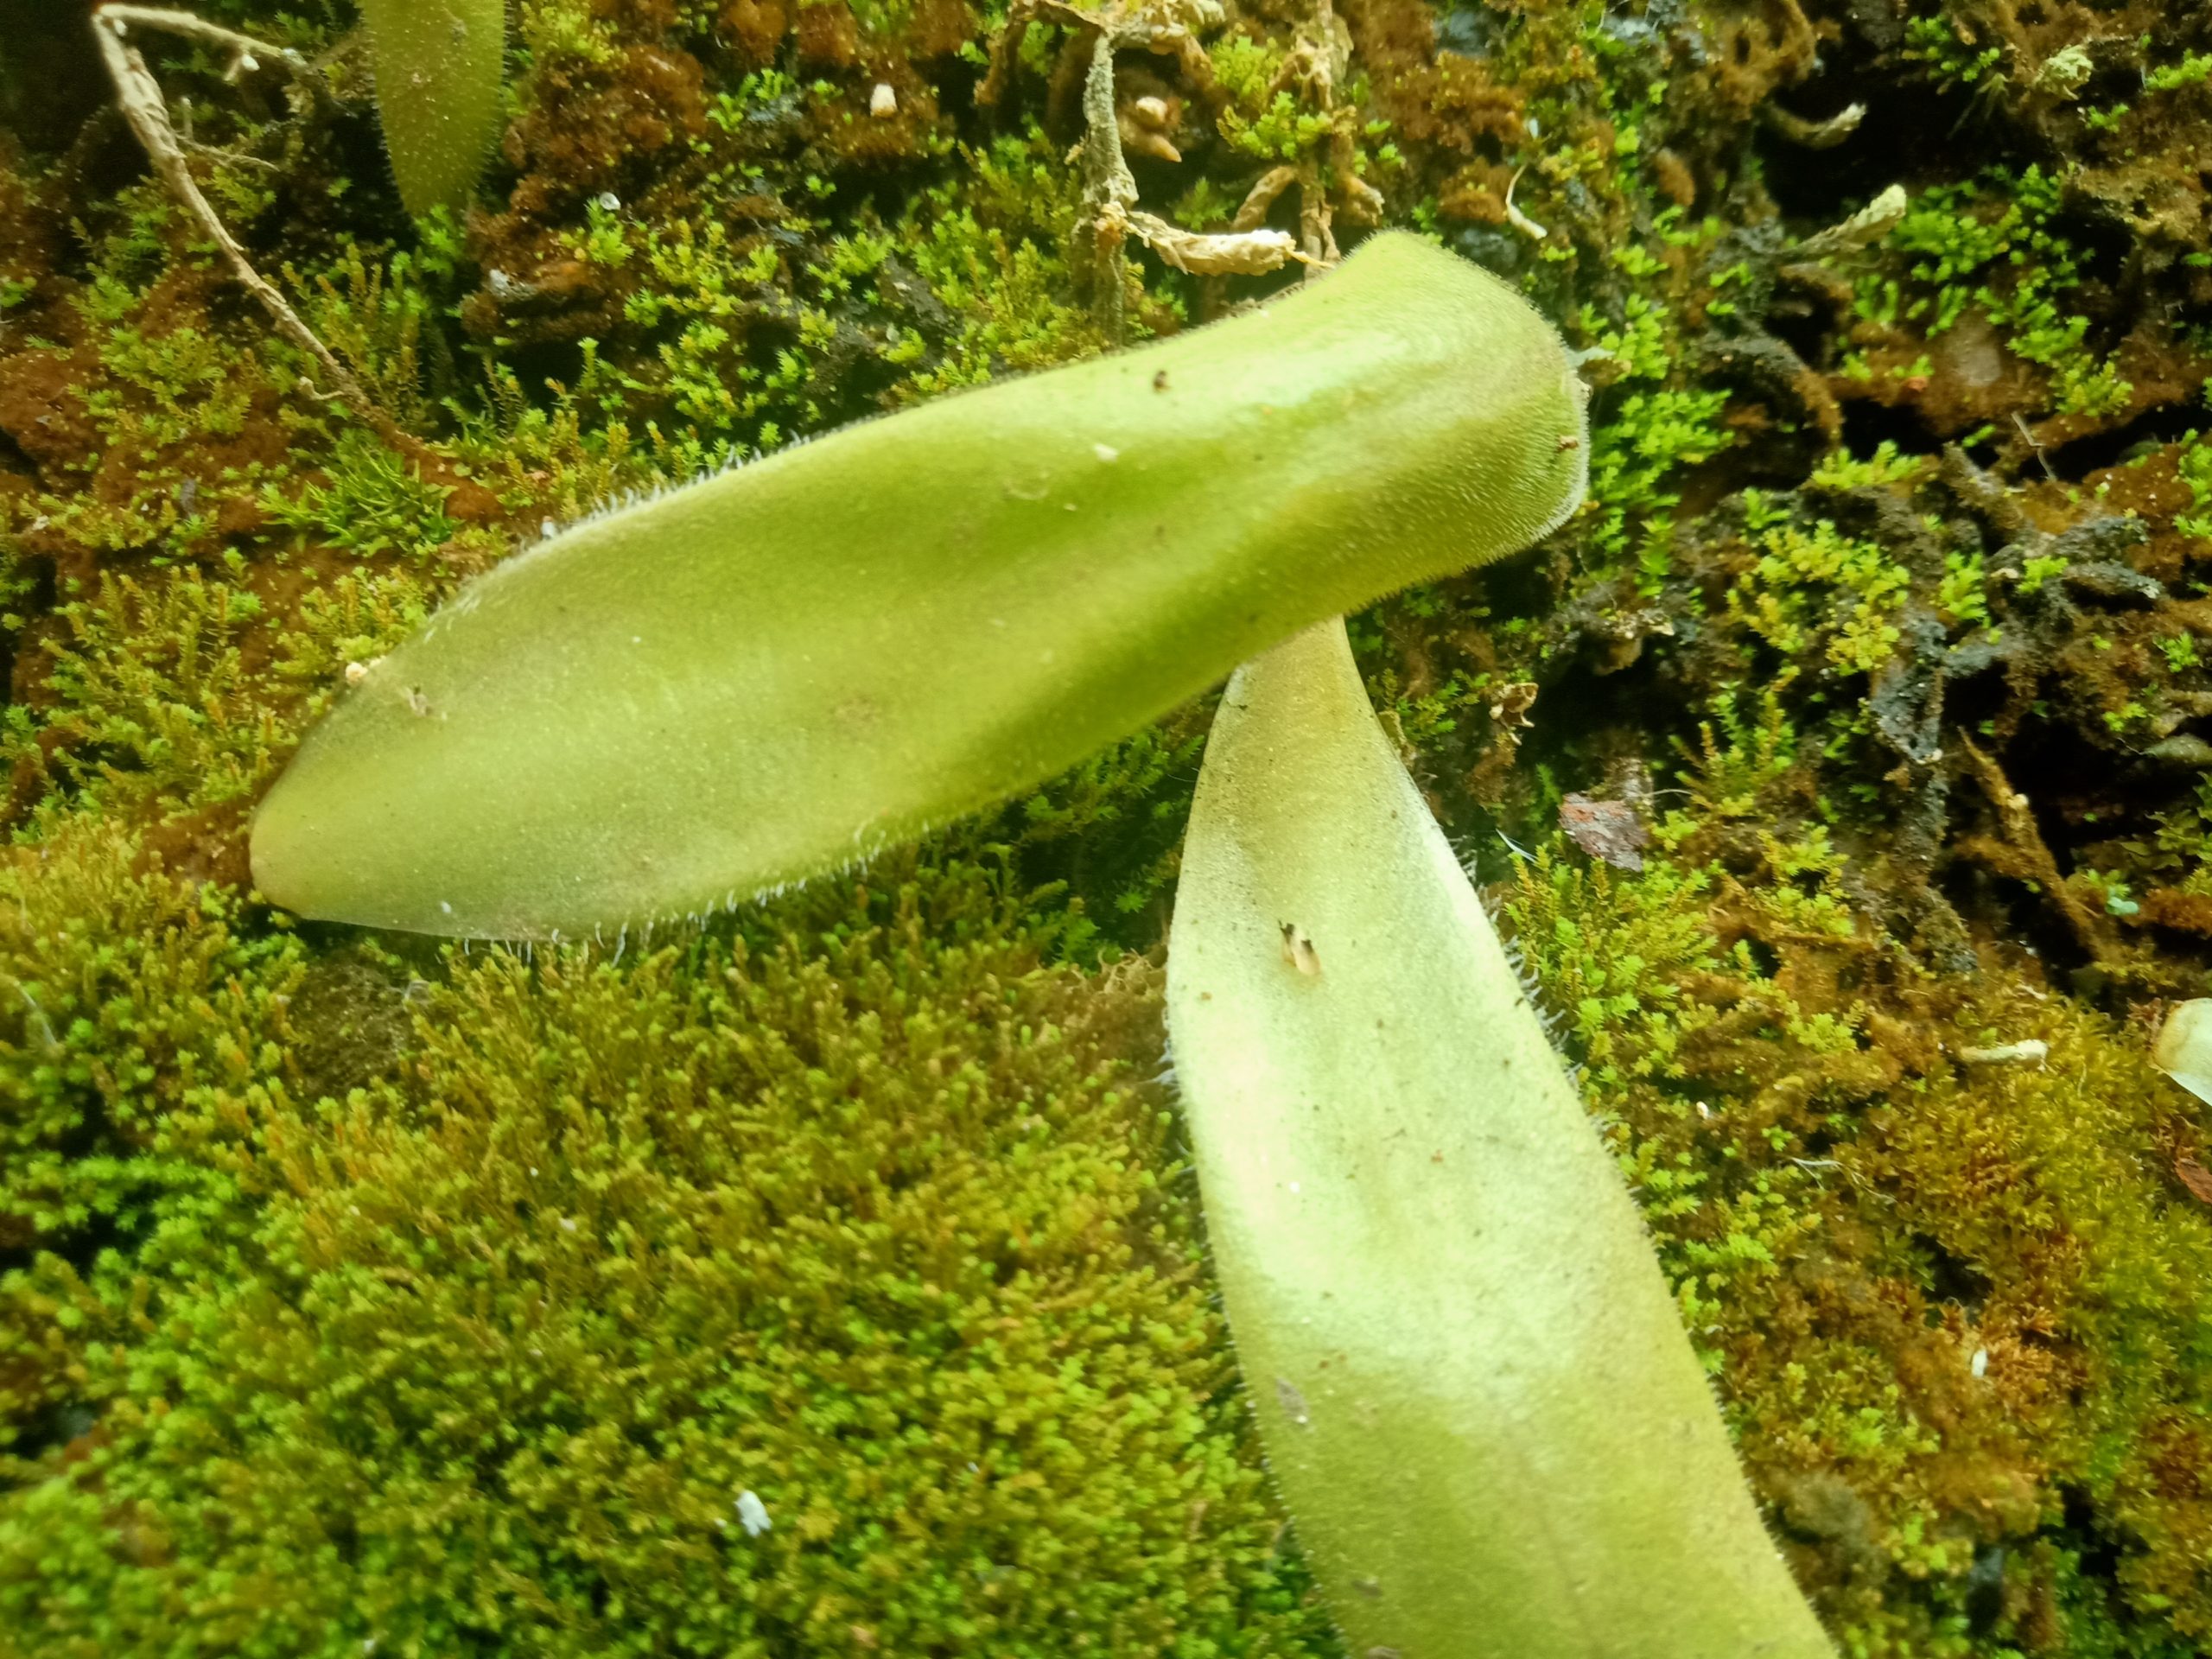
Pinguicula agnicola leaf pullings

If it is somewhere with some humidity, that is all you need to do. Or cover them or something. These guys have moss around them, they are fine.

Put your leaf pullings somewhere where they get bright light, but not scorching hot direct sunlight for hours on end – you want to grow plants from those leaves, not dry them.

Ignore them for a week or so. Nothing much will happen. At some point around a week (longer for some plants) you will see tiny bumps on the base of the leaf (remember your teenage years “OMG is this going to be a pimple?”) – they will barely be perceptible at the start – more like slight bumps.
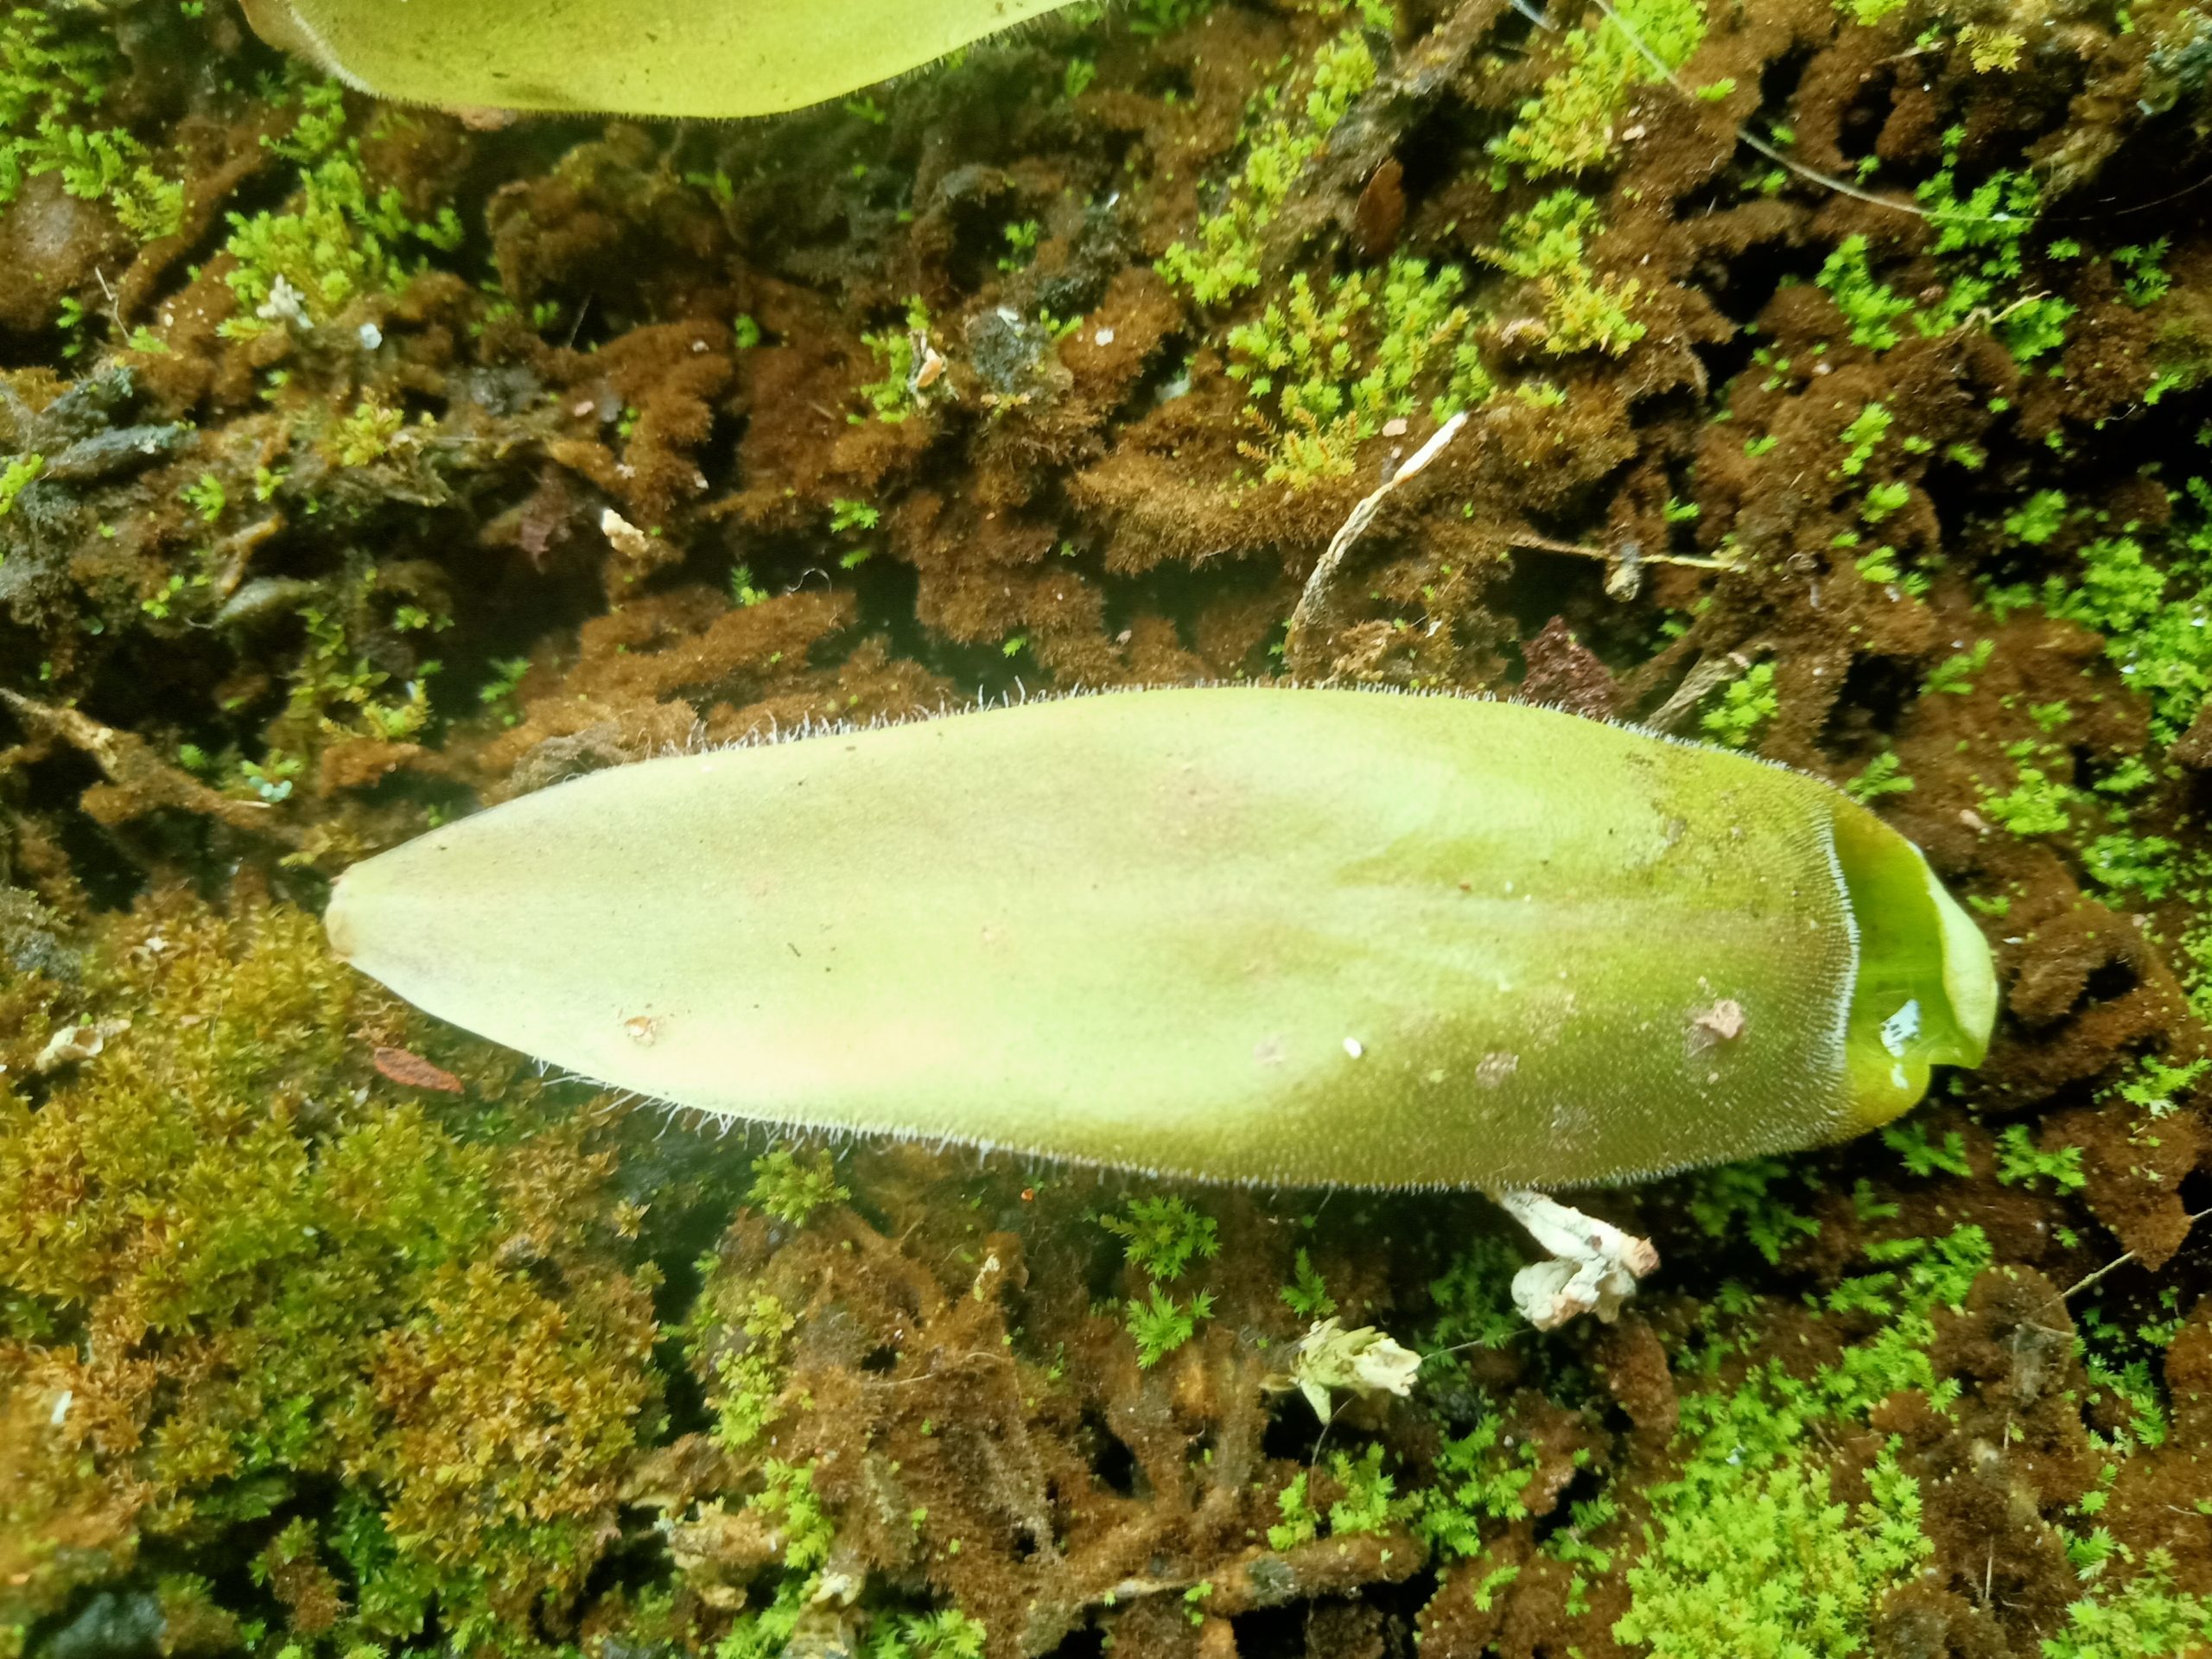
slight bumps on pinguicula agnicola leaf pullings

Then they will be definite bumps.

Pinguicula agnicola leaf pulling starting to form plantlet

Then those darling pimples will grow and burst into the most welcome result of ripe pimples ever.

Pinguicula agnicola leaf pulling starting to form plantlets

While you are obsessing over the growth of those bumps into plantlets, the original leaf will start drying out slowly from the tip. Not much you can do about it, but generally, you want the leaf to last long enough for the plantlets to be big enough to survive independently by the time it is gone – that makes successful pullings. So don’t scrimp on the humidity.

Pinguicula agnicola leaf forming plantlets

Initially the leaves will be a bit confused, like they are not sure what they want to be when they grow up. Wavy, conjoined, whatever. Soon enough, the new leaves that form will be typical of the plant you pulled the mother leaf from. Just miniature.

When the leaf dies out, you can look at the plantlets you have. Sometimes you have just one plantlet. Nothing further needs to be done. Sometimes you have a cluster of them. If the original leaf is dead, you can c-a-r-e-f-u-l-l-y separate them out. CAREFULLY. They will be fragile. Separating them gives them some space to grow. You can also leave them like that to separate later. Not a big deal.

Careful of the roots, and just make a hollow and place the plant inside. Do not get overenthusiastic and try to “plant” it. Ping roots are more like the tendrils on cucumber vines than like roots proper. Handle them too much and you do more damage than good. The plant will figure its life out. As long as it isn’t in danger of toppling out of the pot, the roots will figure themselves out. If it is in danger of toppling off, place in better position and still don’t harass the fragile roots.

You may want to read this for more idea on replanting plantlets. Successfully acclimatizing pinguicula that arrive via shipping

Now you have such plantlets
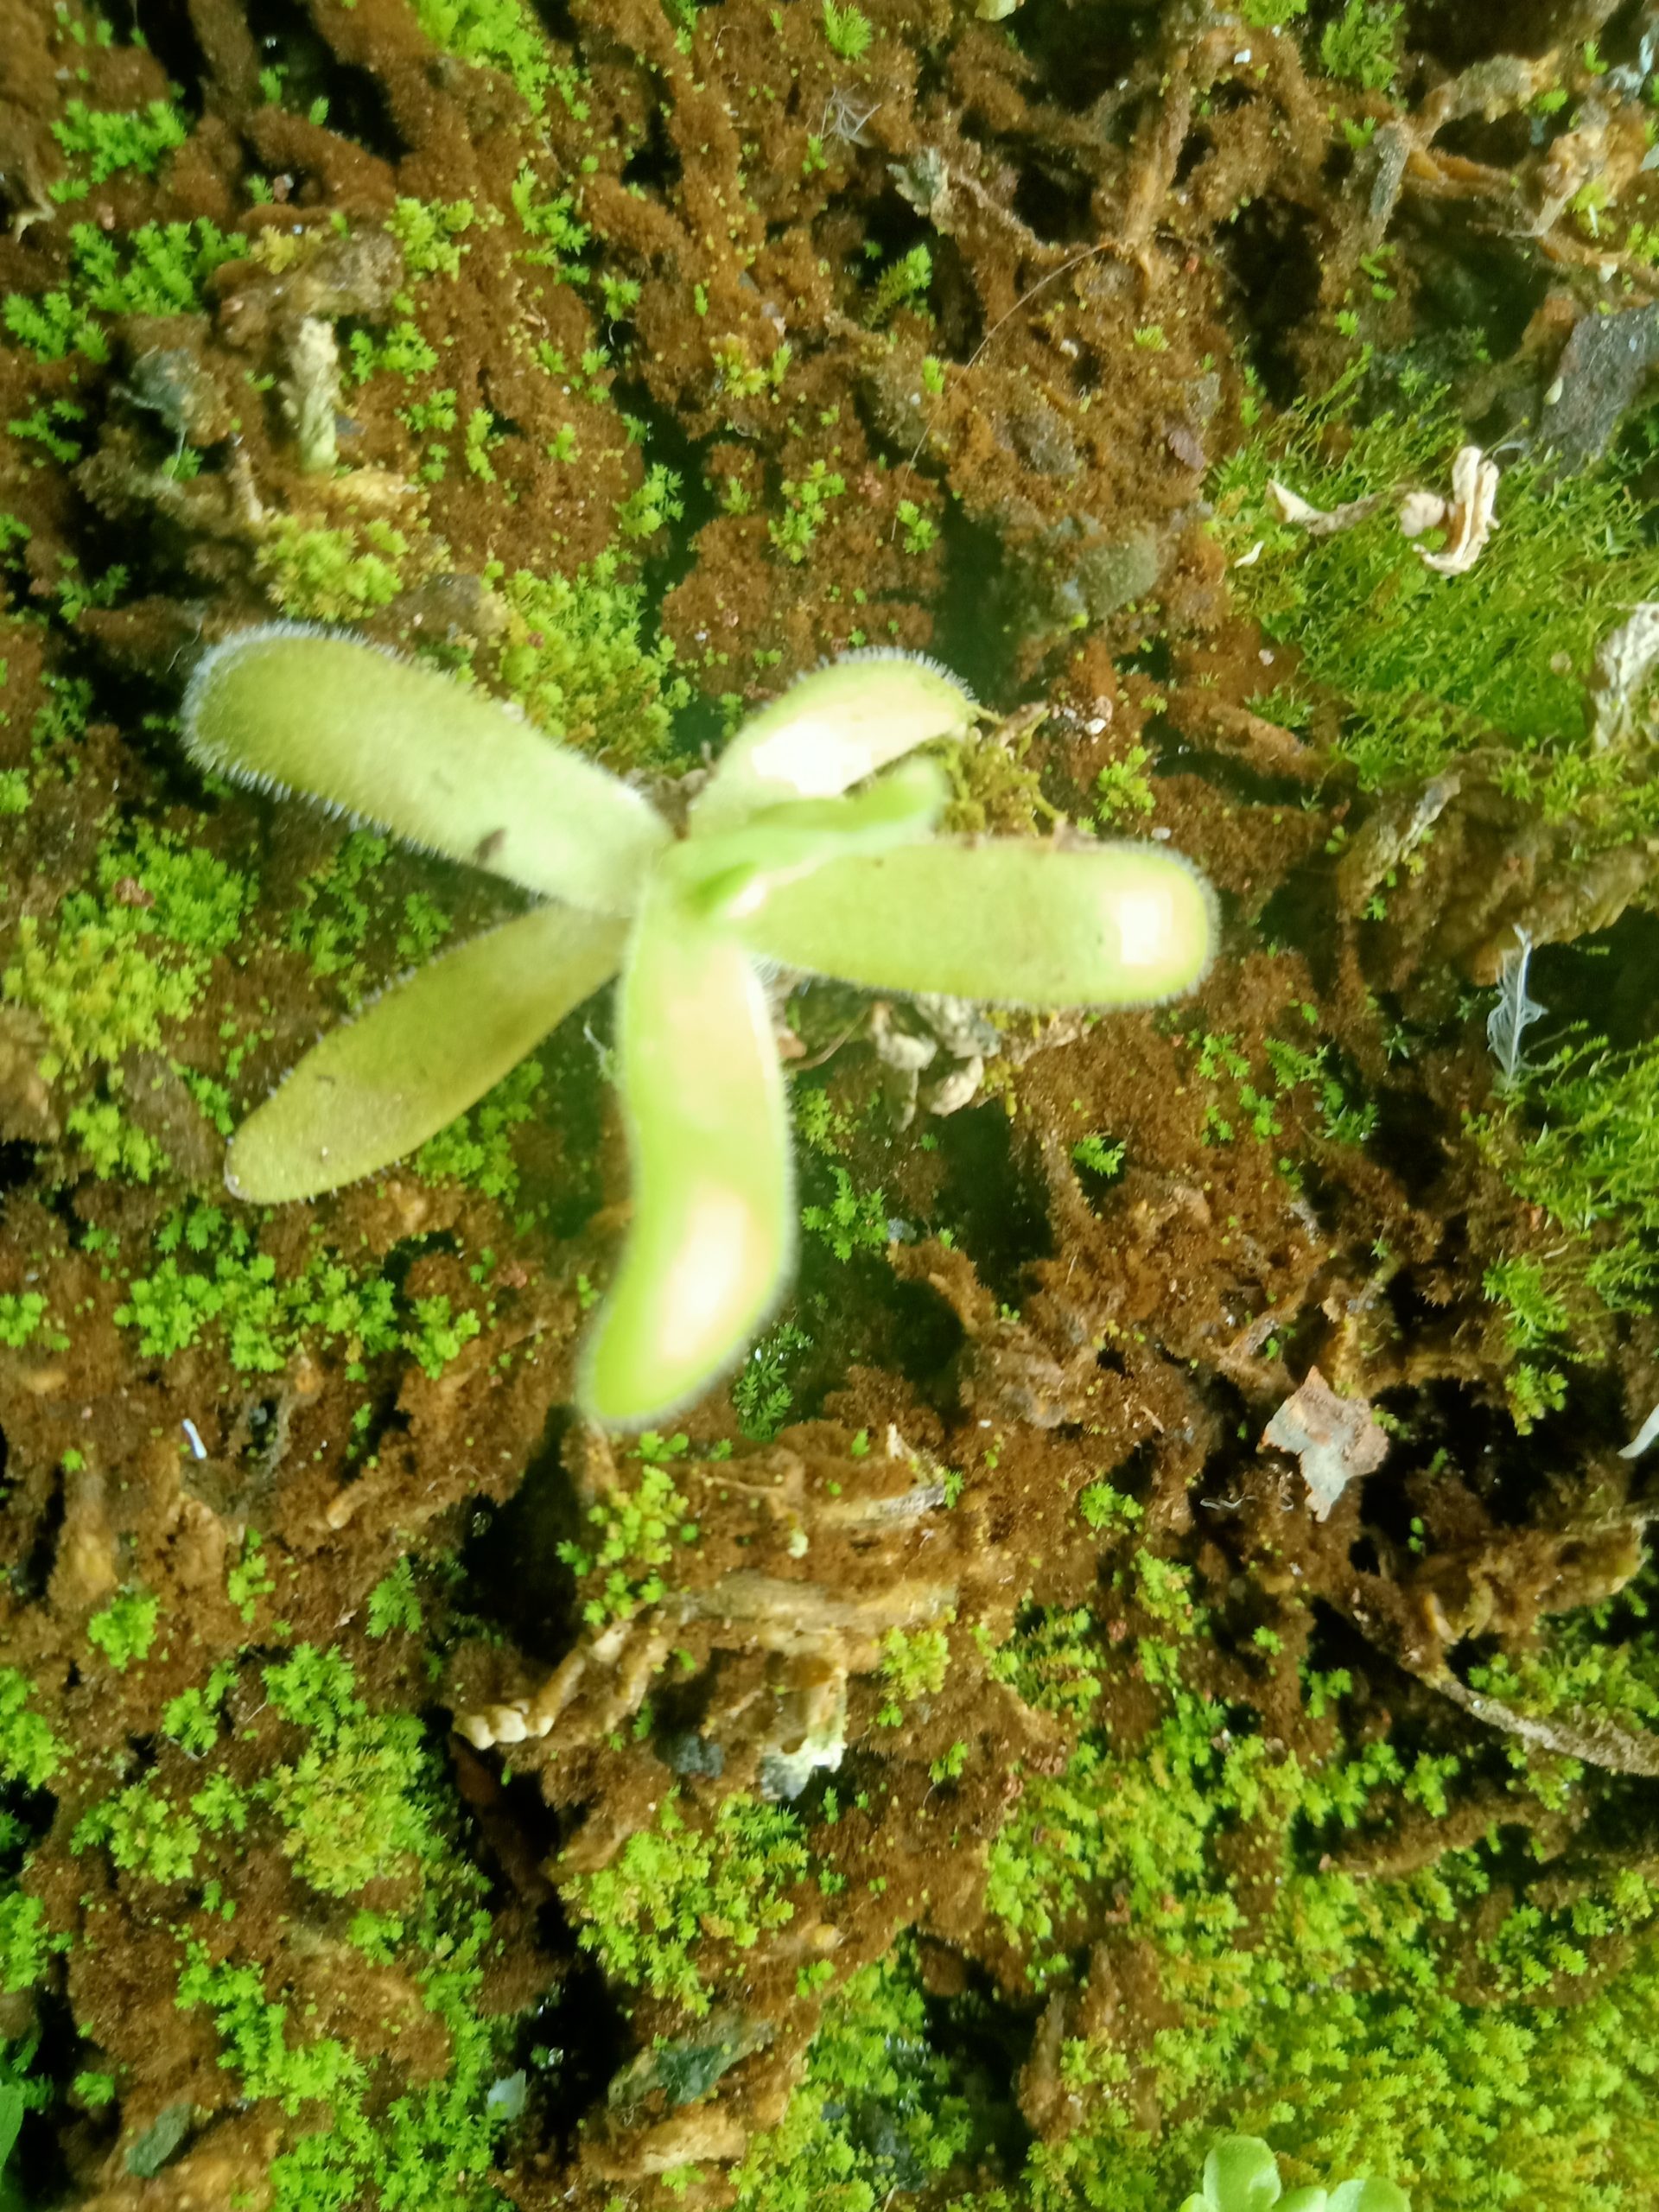
Pinguicula agnicola plantlet

They grow

Pinguicula agnata x gypsicola agnicola plantlet

And grow
Pinguicula agnata x gypsicola agnicola plantlet

And etc
P. agnicola plantlet

That is it.

Happy growing.
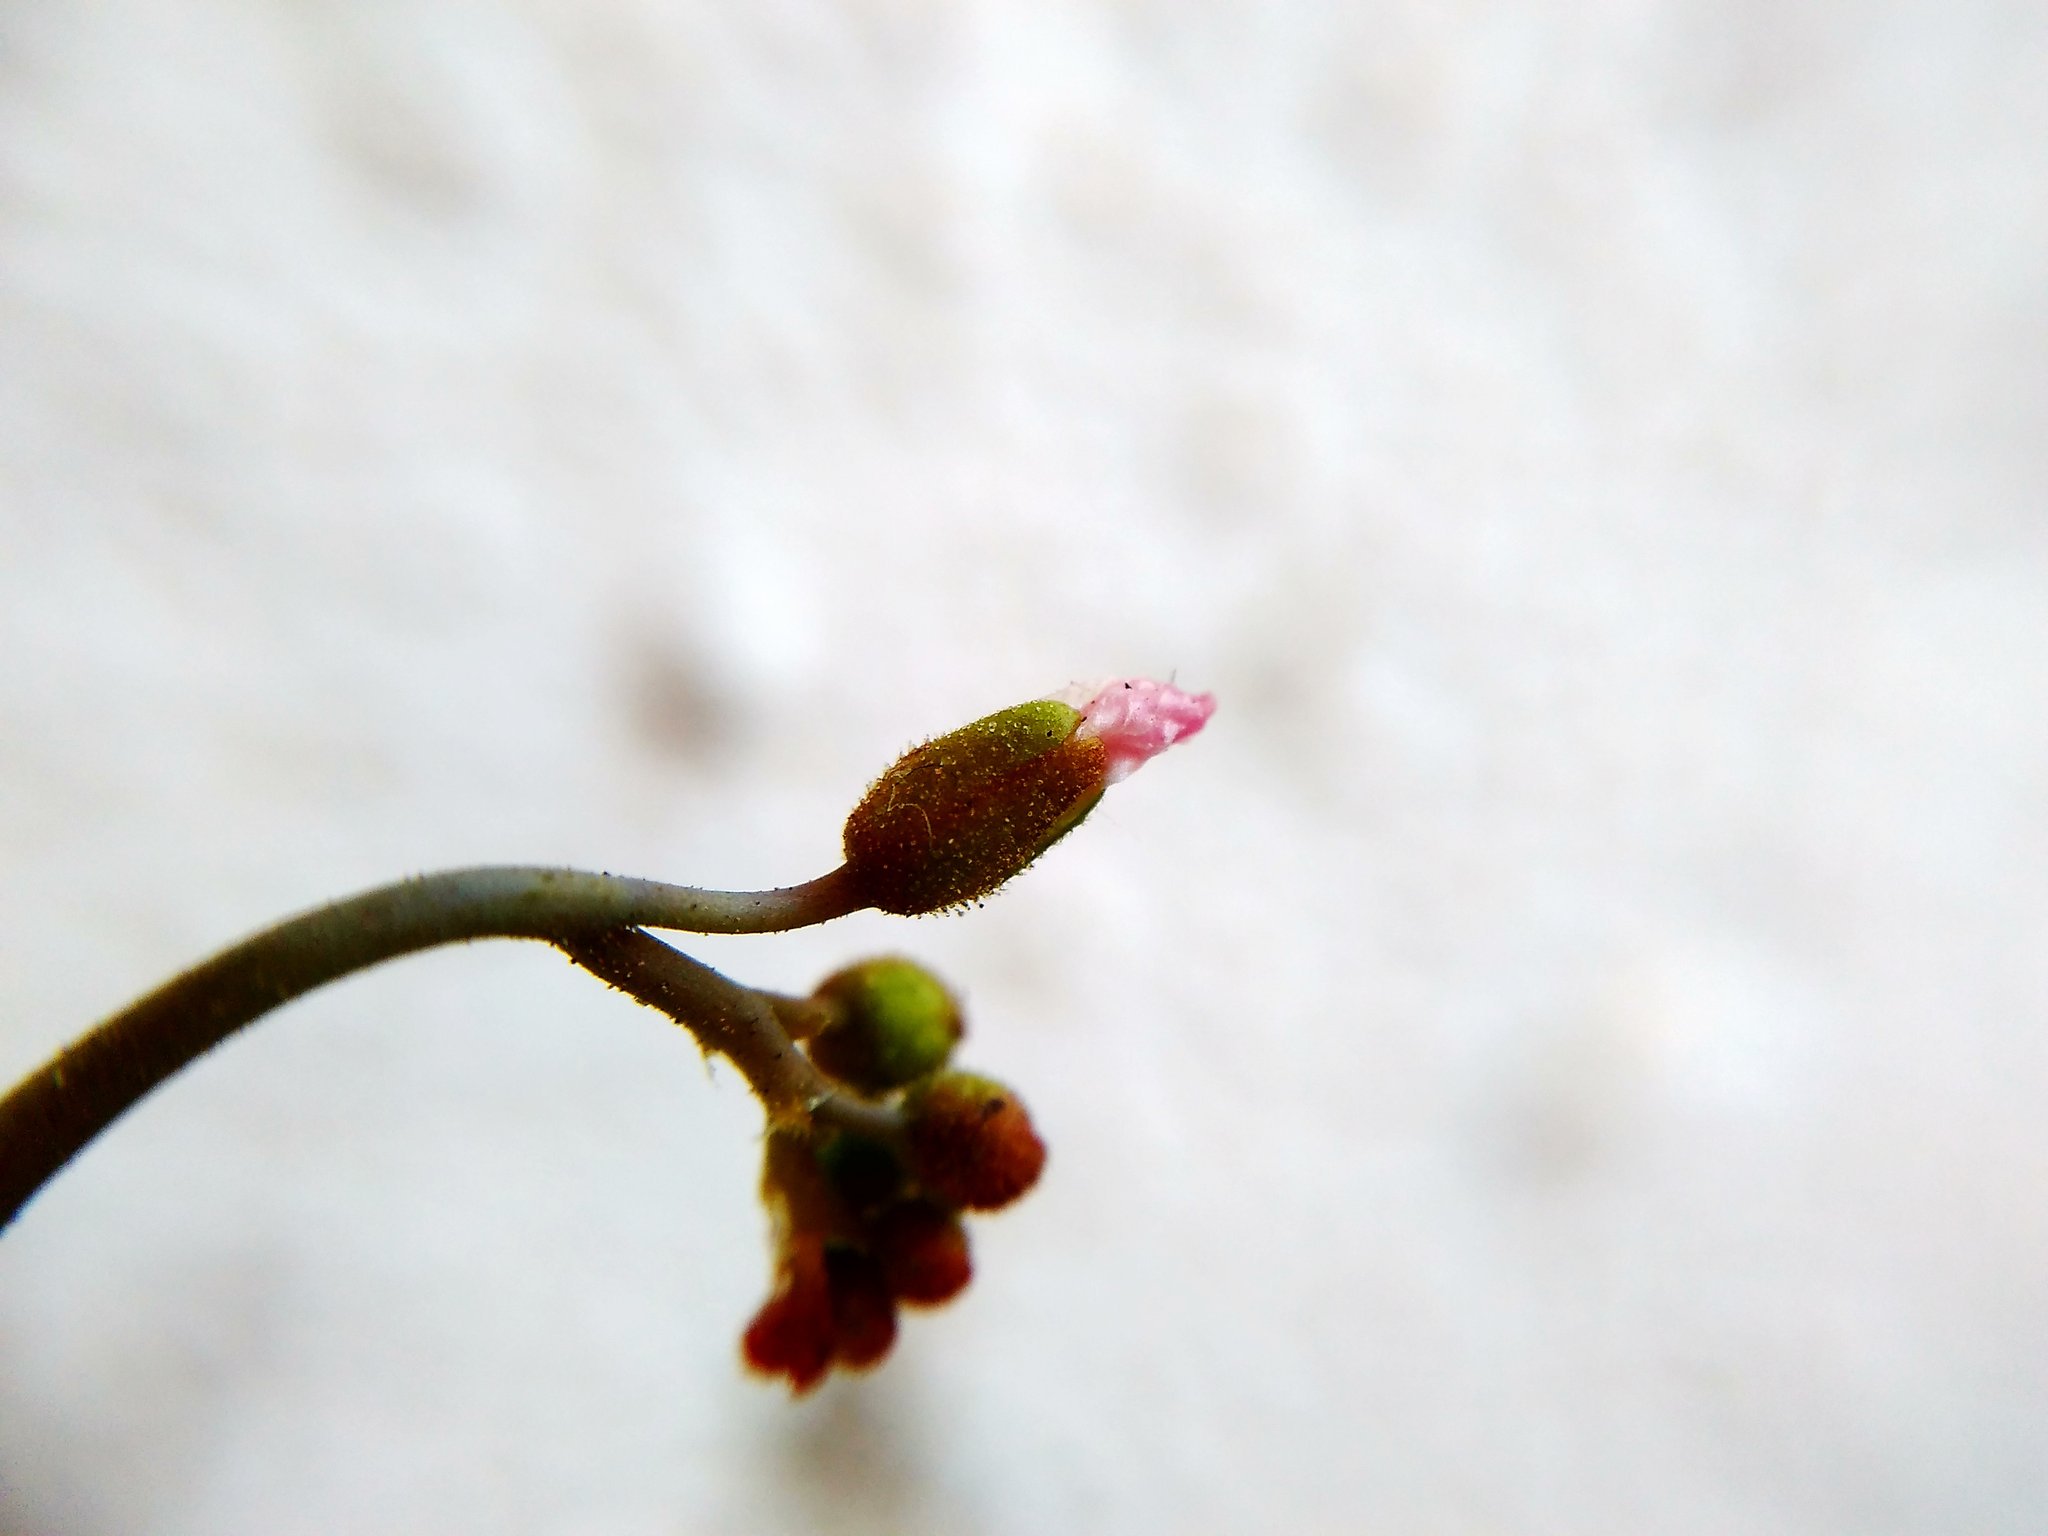
Nepenthes merrilliana refuses to pitcher. 2

Nepenthes merrilliana refuses to pitcher.

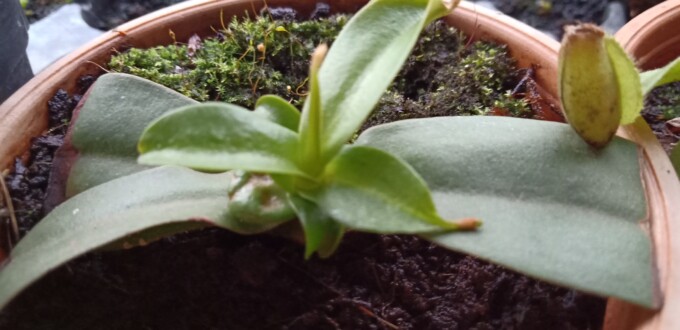
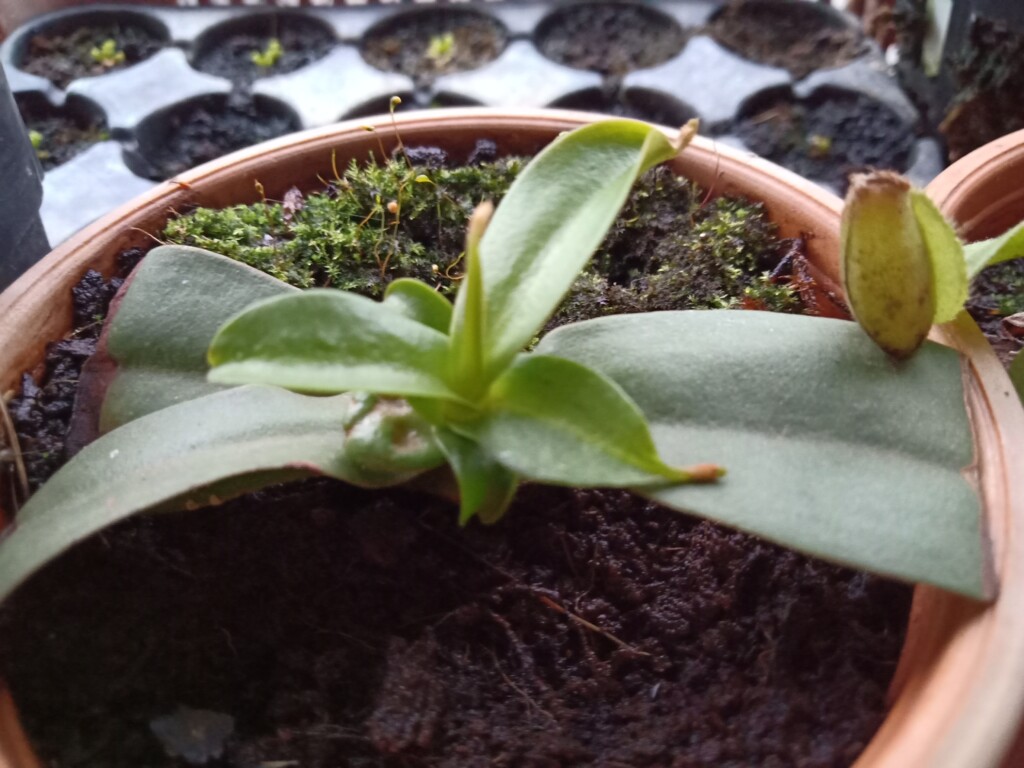
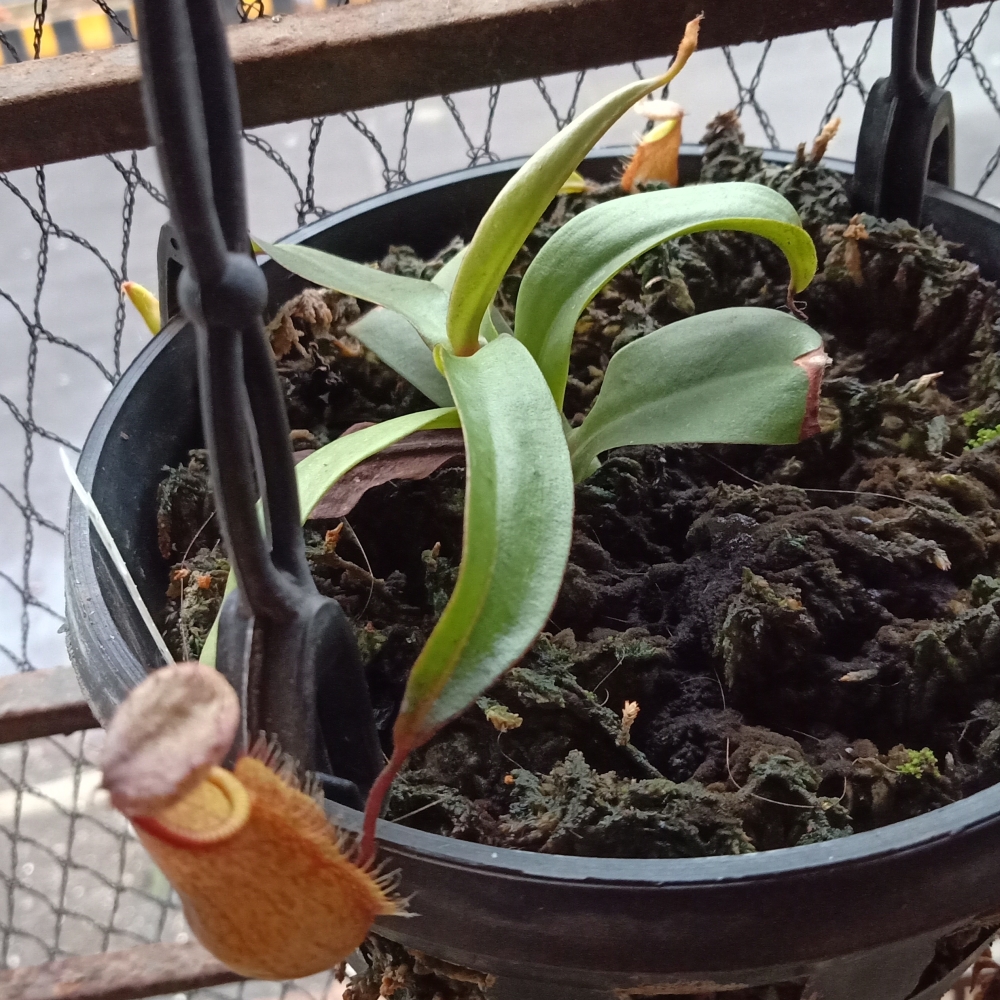
I have a seedgrown nepenthes merrilliana that is about two years old or so. It has never pitchered other than when it was a very small seedling. It gets good conditions. 5-6 hours of light. Good water, consistent humidity. Other plants near it are pitchering. This one flat out refuses. If you see the photo, the tendril swells and appears like it is about to form a pitcher, but it doesn’t.

Nepenthes merrilliana

Obviously, the plant has never traveled or suffered climate shock. It has been repotted exactly once, over a year ago, as I am aware that merrilliana is not a big fan of root disturbance.

Ideas/advice welcome.

How to use cocopeat for your carnivrous plants.

Carnivorous plants often expect the substrate merely for the physical base to keep them grounded, significantly as a source of clean water & and for the roots to dig in away from the light. some pings and droseras do produce roots upwards, but that open for another conversation.

Its is often safer to have one such substrate with rinsed sand / perlite that can help in water and air mobilization/drainage inside the substrate.

Cocopeat as we all know is commonly being used everywhere for garderning and is affordable given the massive quantity a 5kg compressed brick can expand into. Except for a few fuzzy cps, majority of the others can be kept in chemically sterlized cocopeat and most nepenthes can straightaway be potten in a decent quality cocopeat without sterlizing them atall.

Sterlizing them saves a tonne of ₹₹₹ ( money ) and they last long ! its fairly straightforward as below – (I’m writing this with a 5kg brick as a volumetric constant. if you use a 1kg brick, pl tone the volumes down proportionally)

This has worked out just fine for me although it might seem harsh on the cocopeat. My cocopeat now is still super stable after 2 years.

A. Materilas required :

1. a tub – use something at home (~free)
2. 15 lits of tap water – free aswell
3. 5 lits of RO water – guessing free, or use distilled water (Rs. 100-200)
4. 5kg cocopeat brick – Rs. 150
5. hydrogen peroxide 500ml bottle – Rs. 75
6. bleach powder (Calcium hypochlorite) 100gms – Rs. 25
7. safety gloves and facemask (there can be co2 emmisions – do it in an open space / balcony) – ~Rs. 50 ?

B. Procedure :

1. Dissolve 3 table spoons of bleach powder in 5 lits of tap water.
2. Drop the cocopeat brick in a tub with 10 lits of tap water and let it all upand expand as much as it can.
3. Add the 5 lits of bleech dissolved water to it after its stable. (guess it takes about 30 -45 mins).
4. Wear your gloves and mix them upto down for a min
5. let it sit for half day (10-12 hours)
6. Drain the water out by putting a cloth over the tub and tilting it or pouring the contents on a tray with holes.
7. Drain the water out as much as you can, have the gloves on w/o fail.
8. Some flush it with tap water again but you can skip that step if you dont feel like, some do it to make sure all the bleached out content goes away, its not really needed.
9. Pour 100ml of 100% hydrogen peroxide (h202) solution into a tub with 5 lits of RO/rain/distilled water. soak the entire content in it for 1 day. – h202 helps in unlocking loose bleach particles that might have remained unreacted.
10. Drain the water out as much as you can, h2o2 has a high decomposition rate when not contained in a stable environemnt, in less than one more day 99% of the excessive h202 that might be left out in the substrate would have broken down to water and oxygen.
11. Voila – your substrate is ready and residue free with nearly no ph change in them for however long they are kept in water.

C. Total method cost : Rs. 400-500 + 2 days time = ~25 kgs of substrate. ( 60% water weight )

D. wt/vol Equivalent moss cost : 1kg of decent live sphagnum moss (60% water wight ) will be anywhere between Rs. 600- Rs. 800.00 ; Sphag Peat – Rs. 200- Rs. 400/kg

for 25 kgs : moss :: Rs. 15,000 – Rs. 18,000
for 25 kgs : coco :: Rs. 500.00

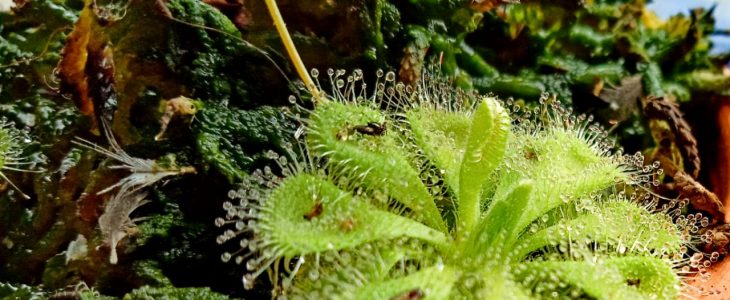
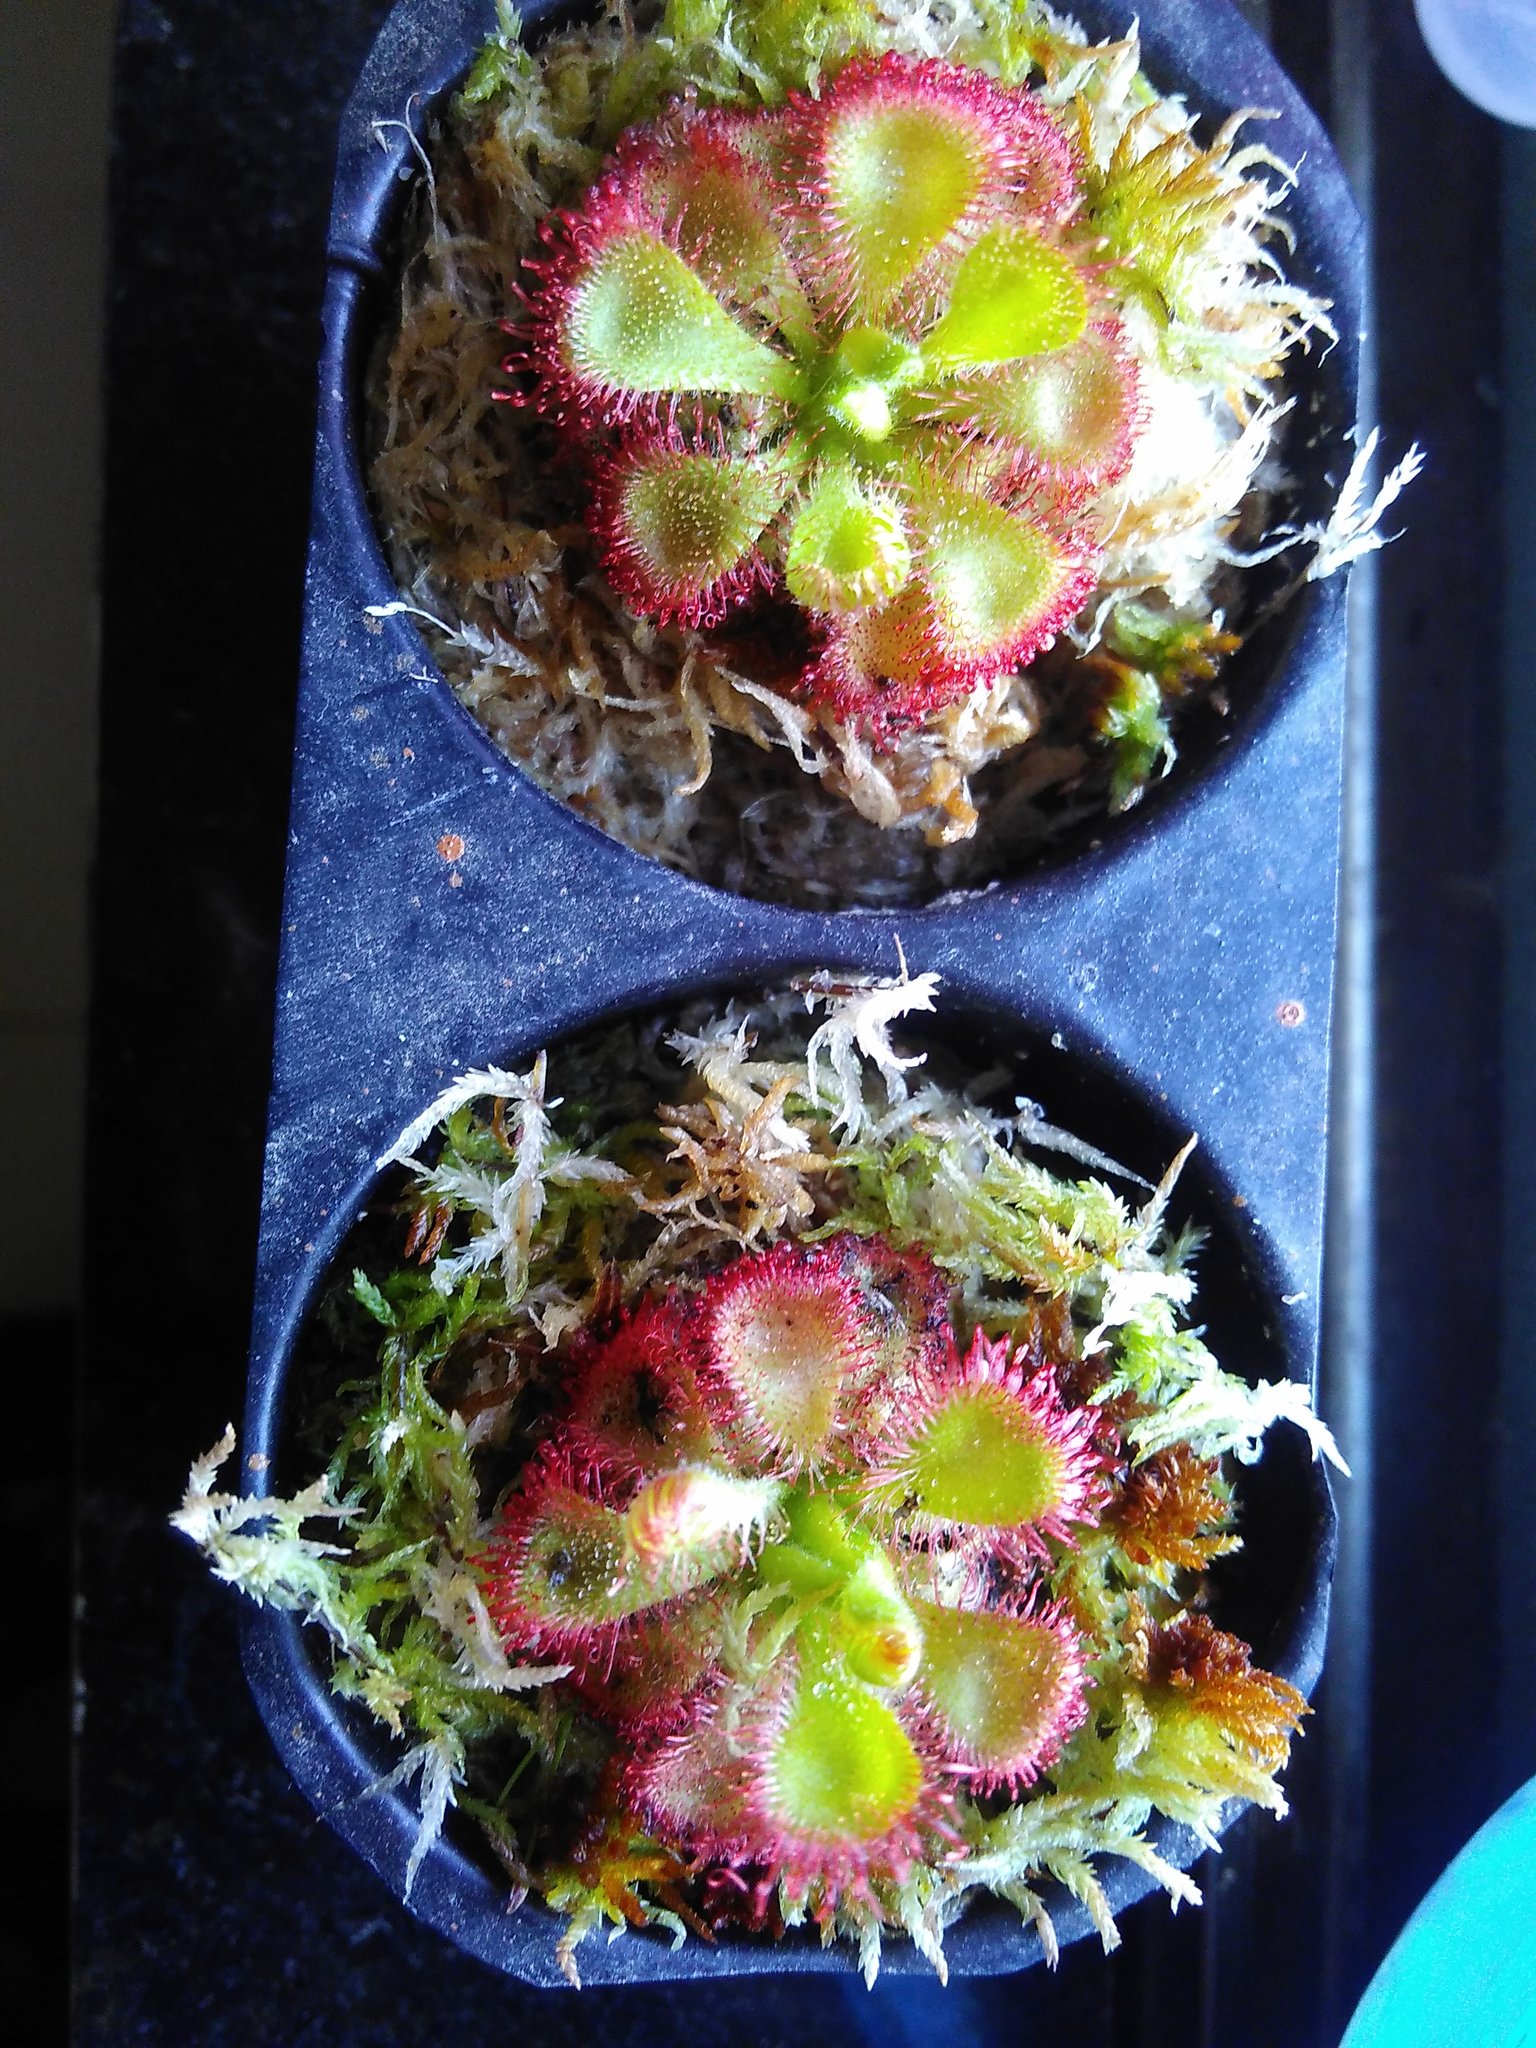
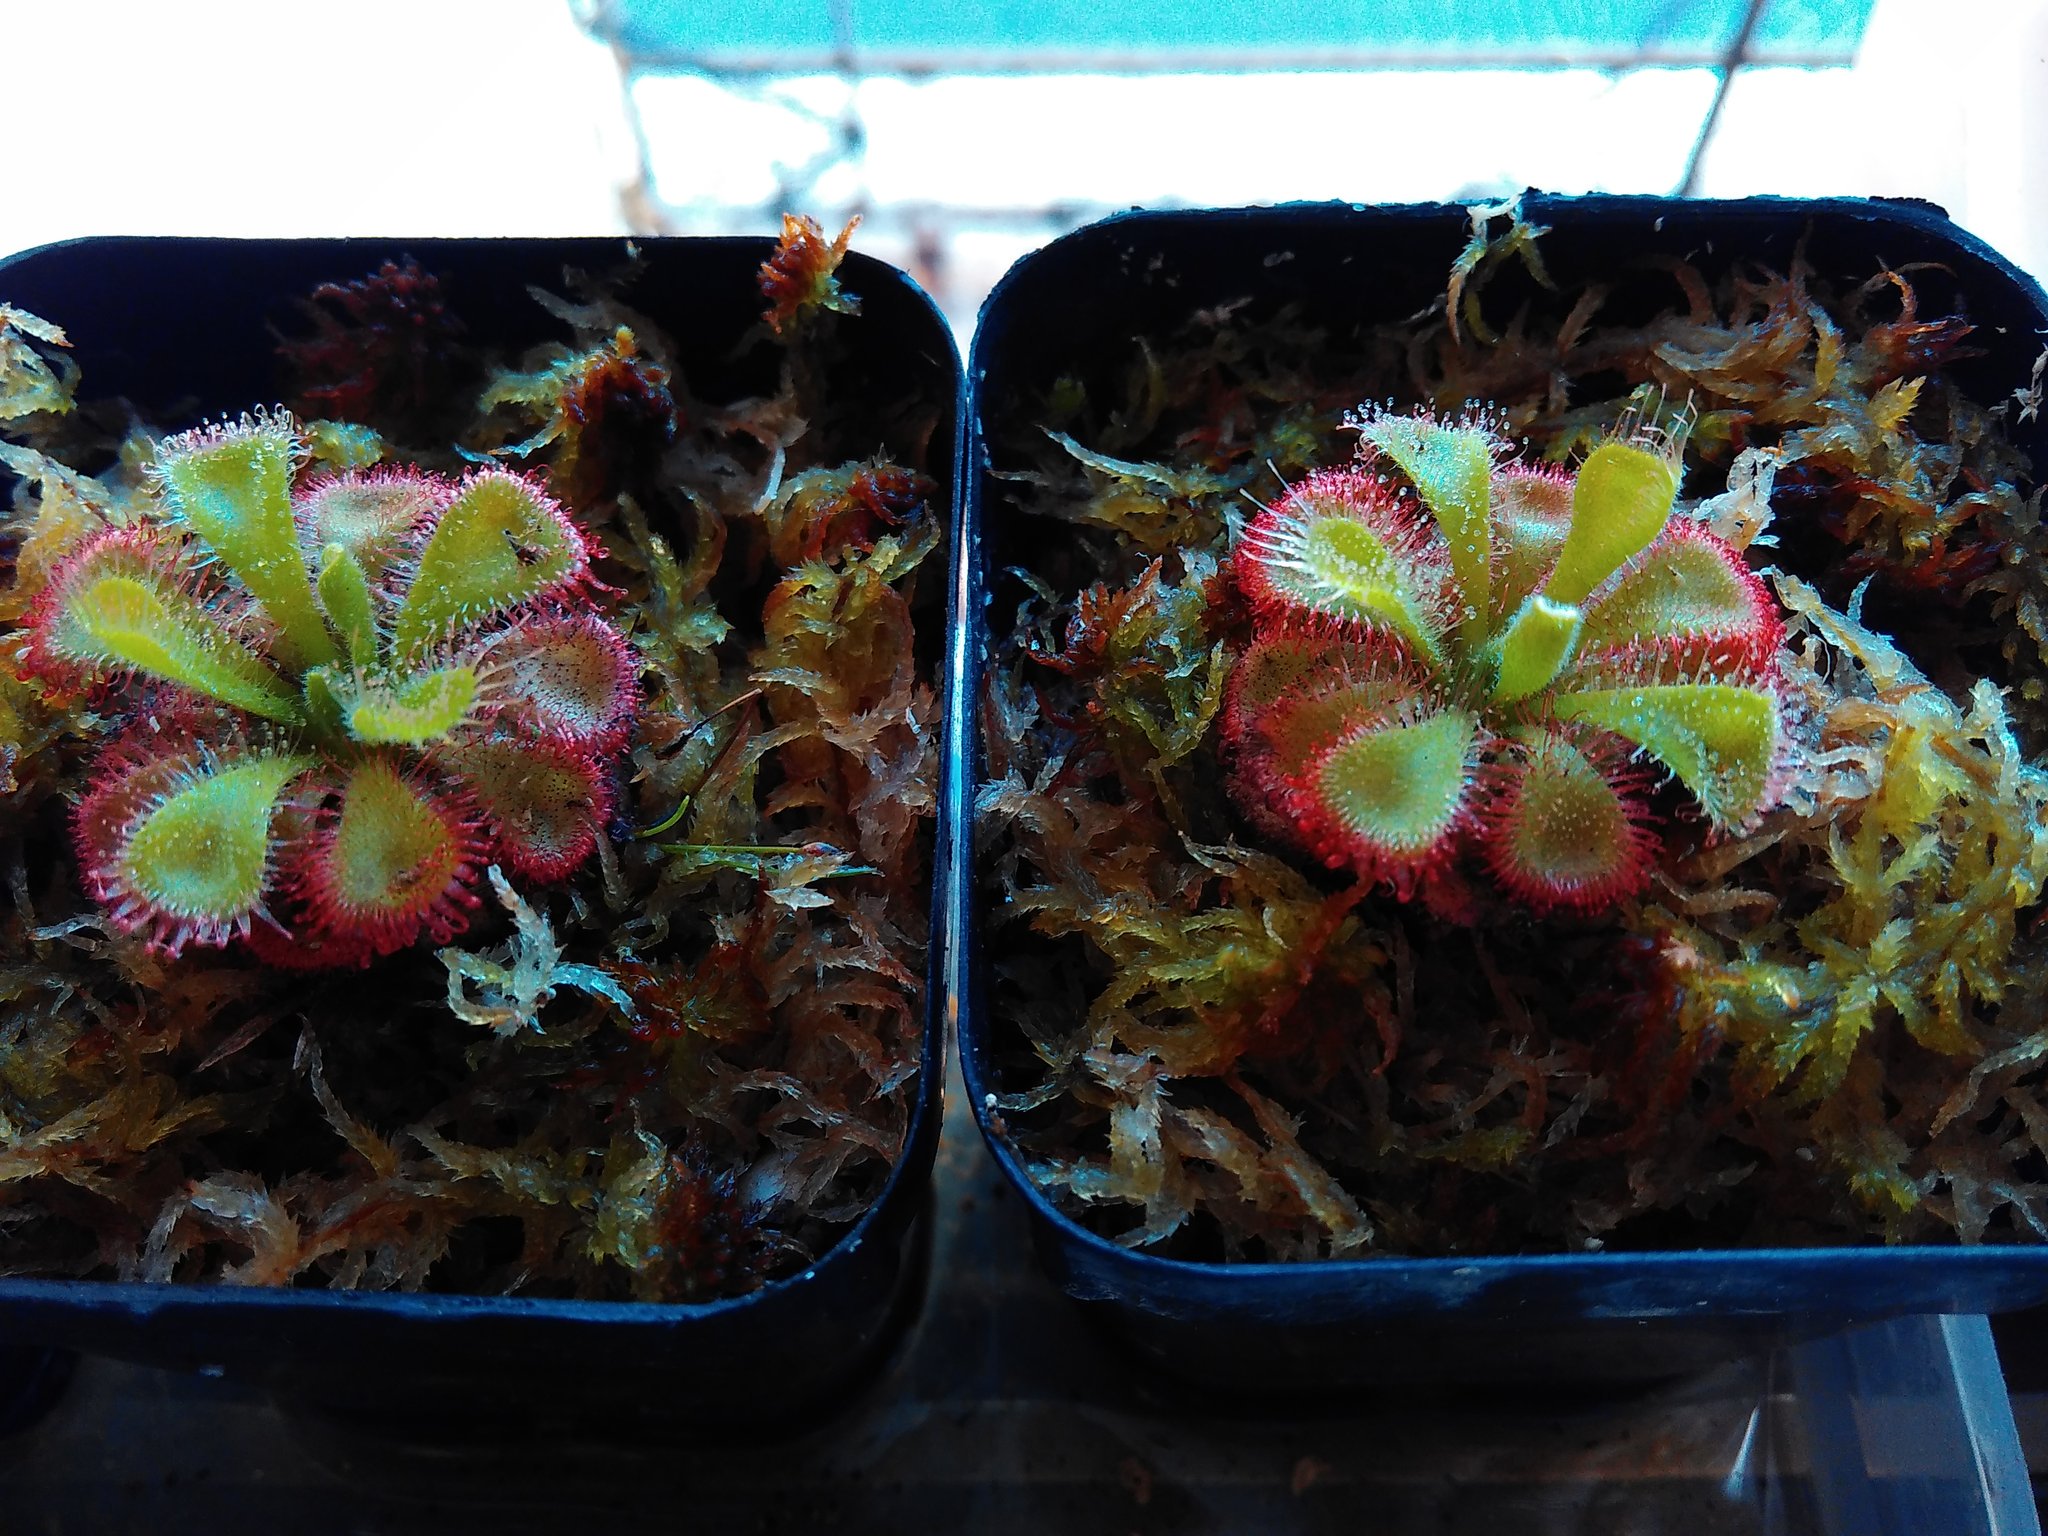
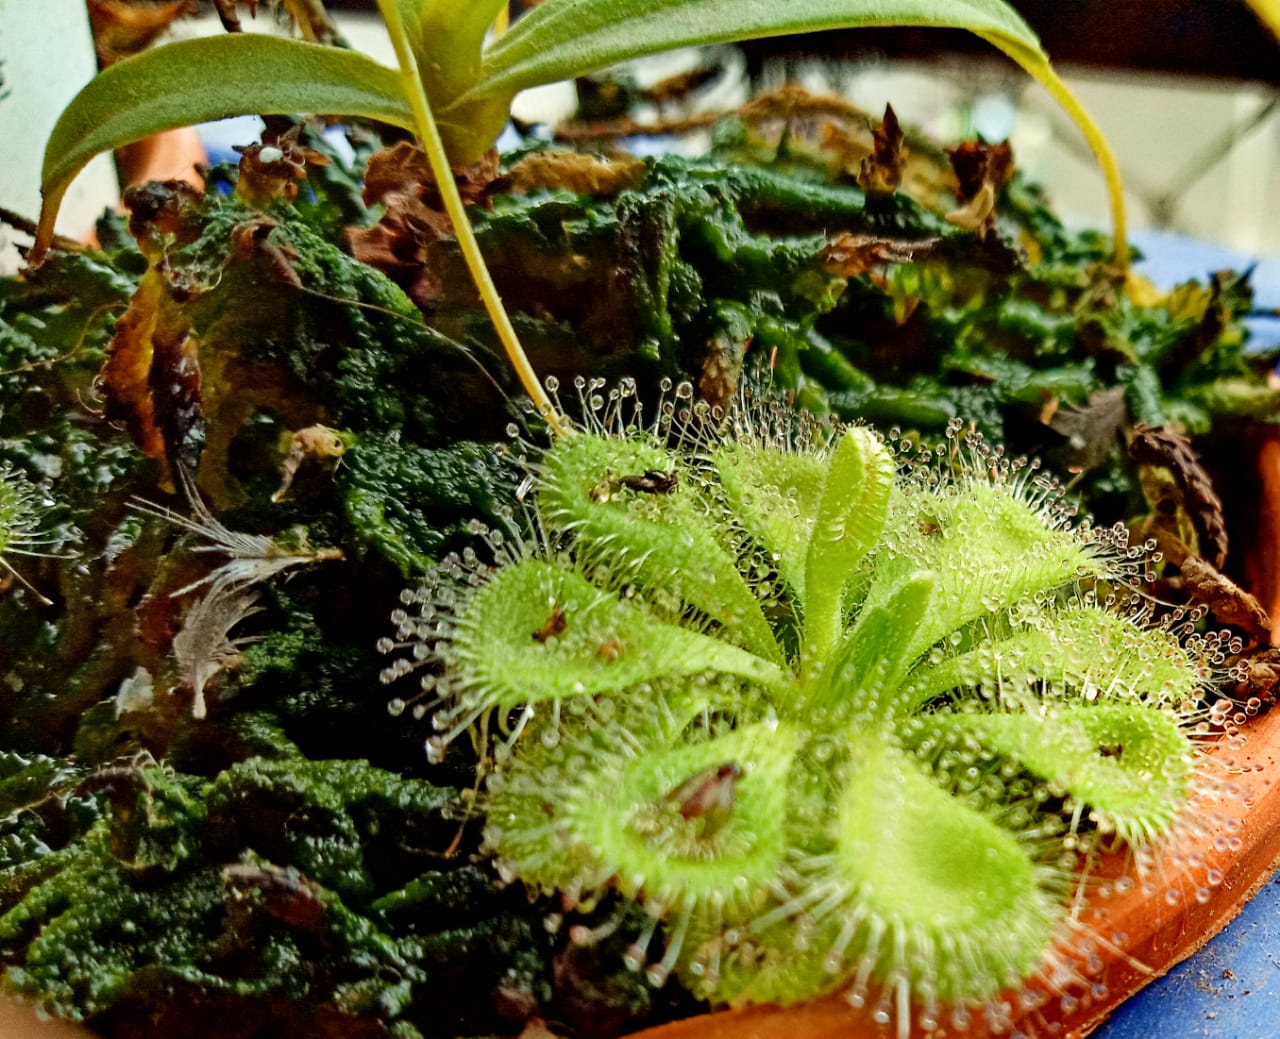
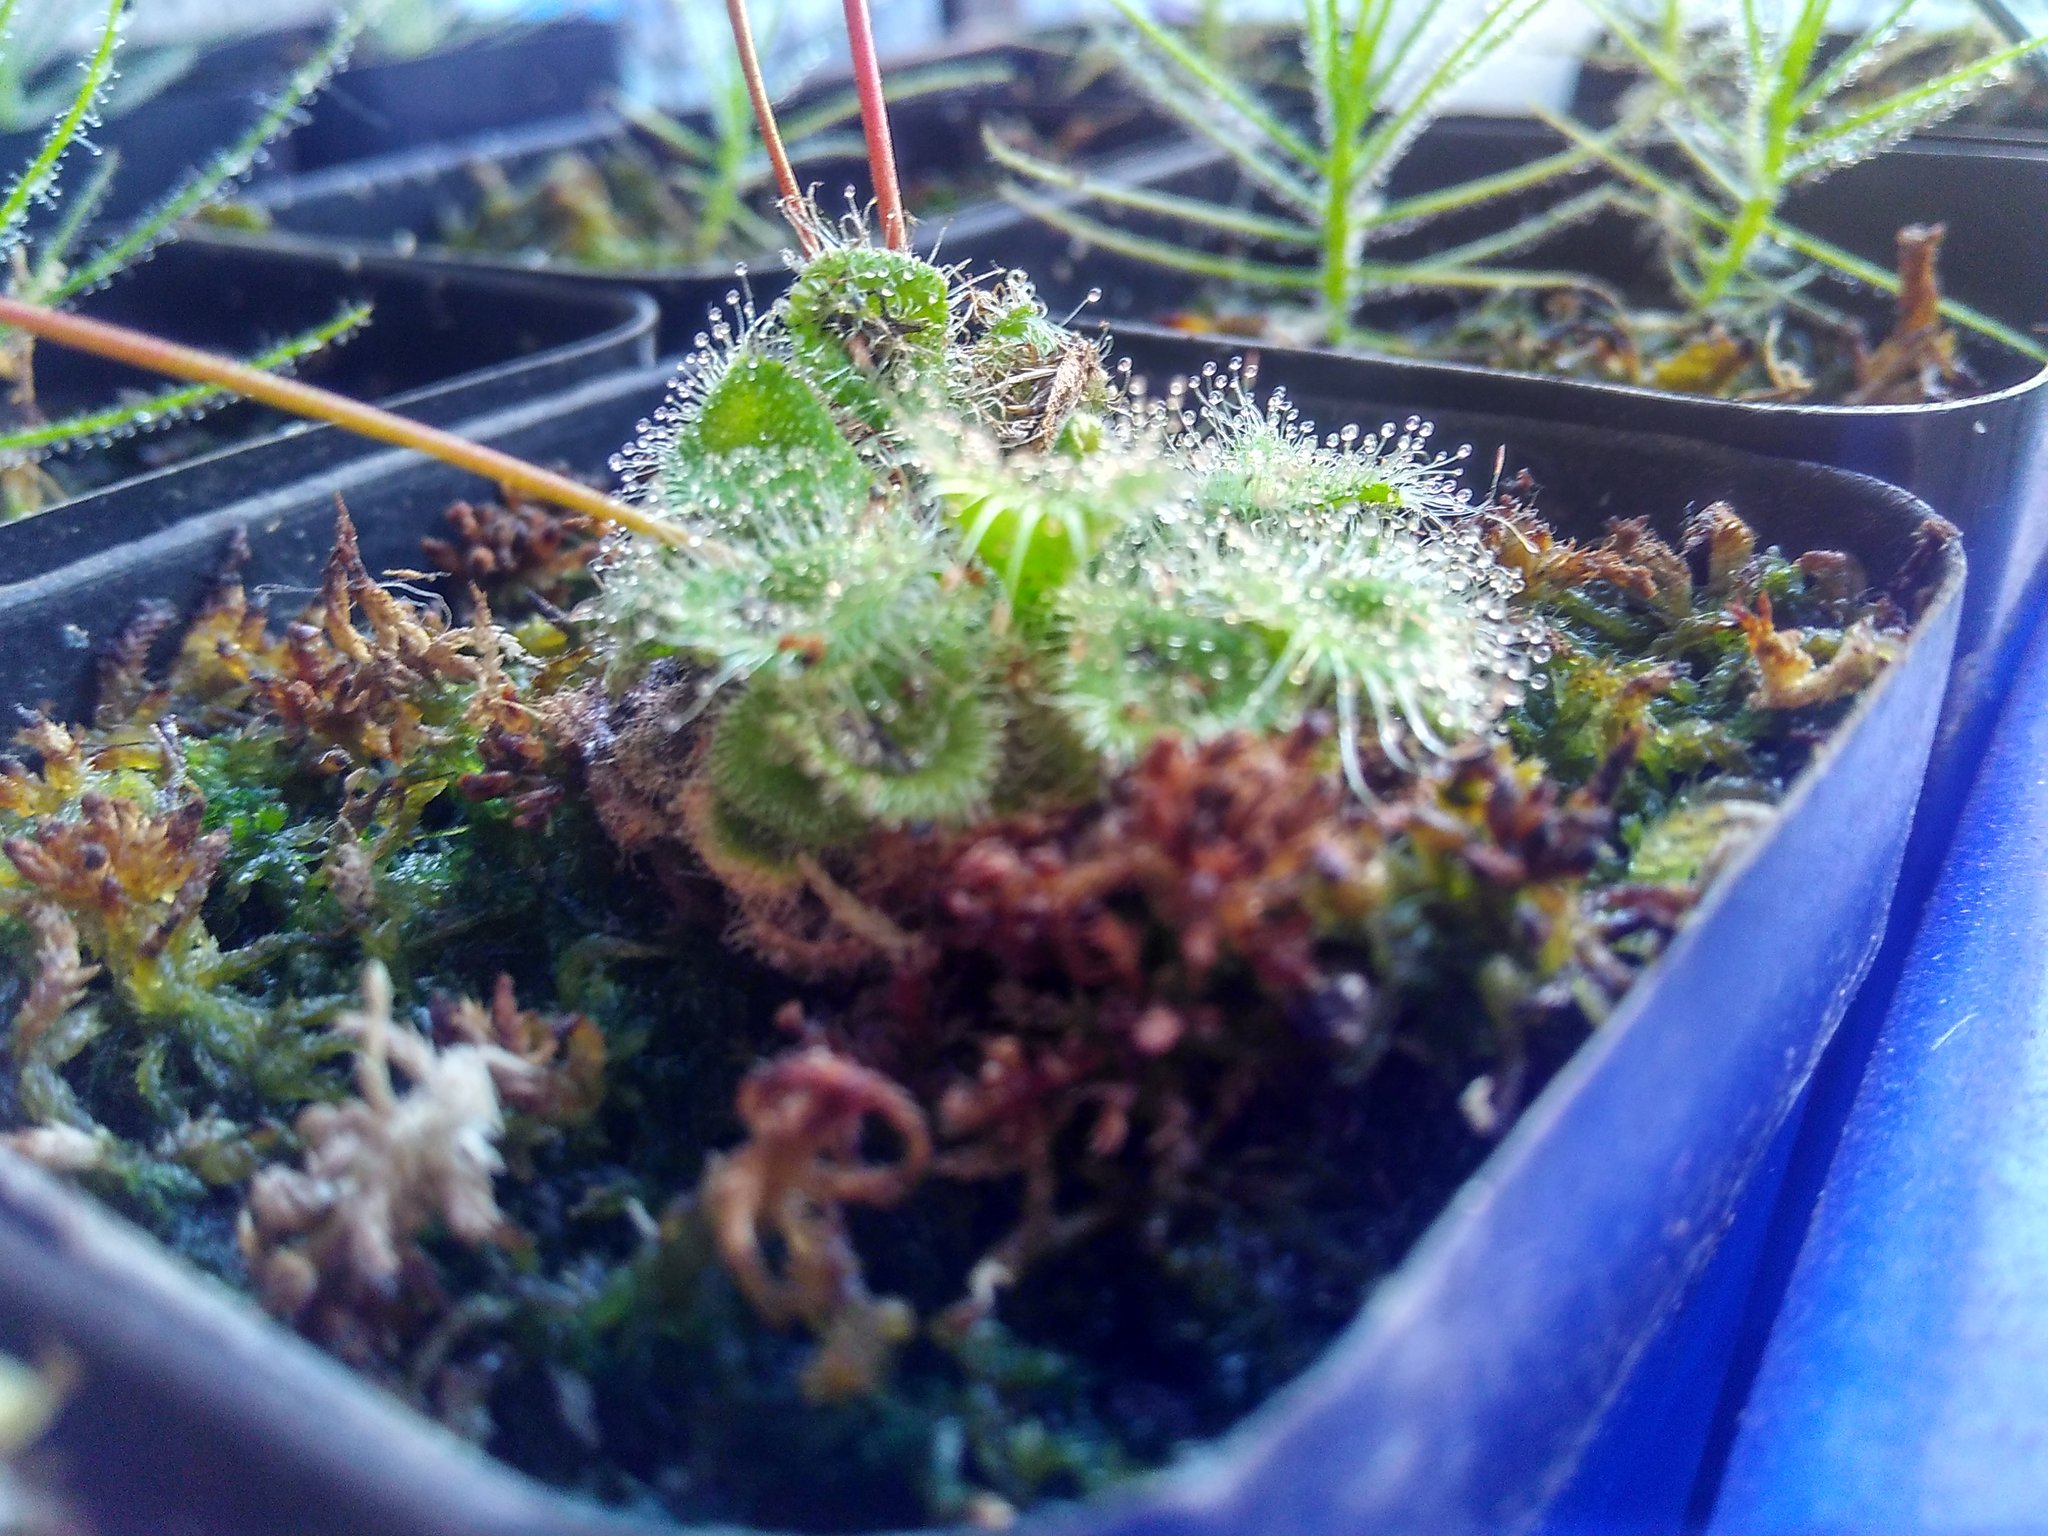
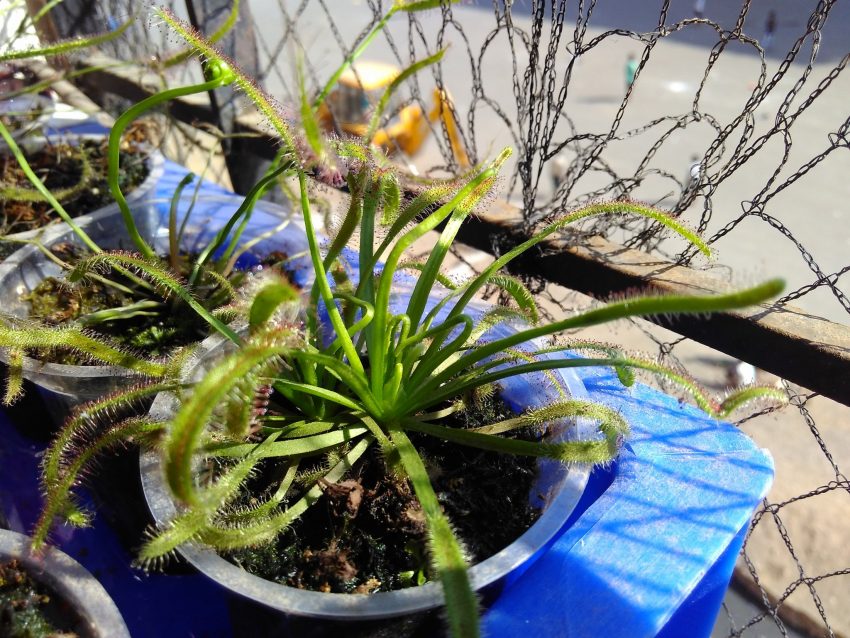
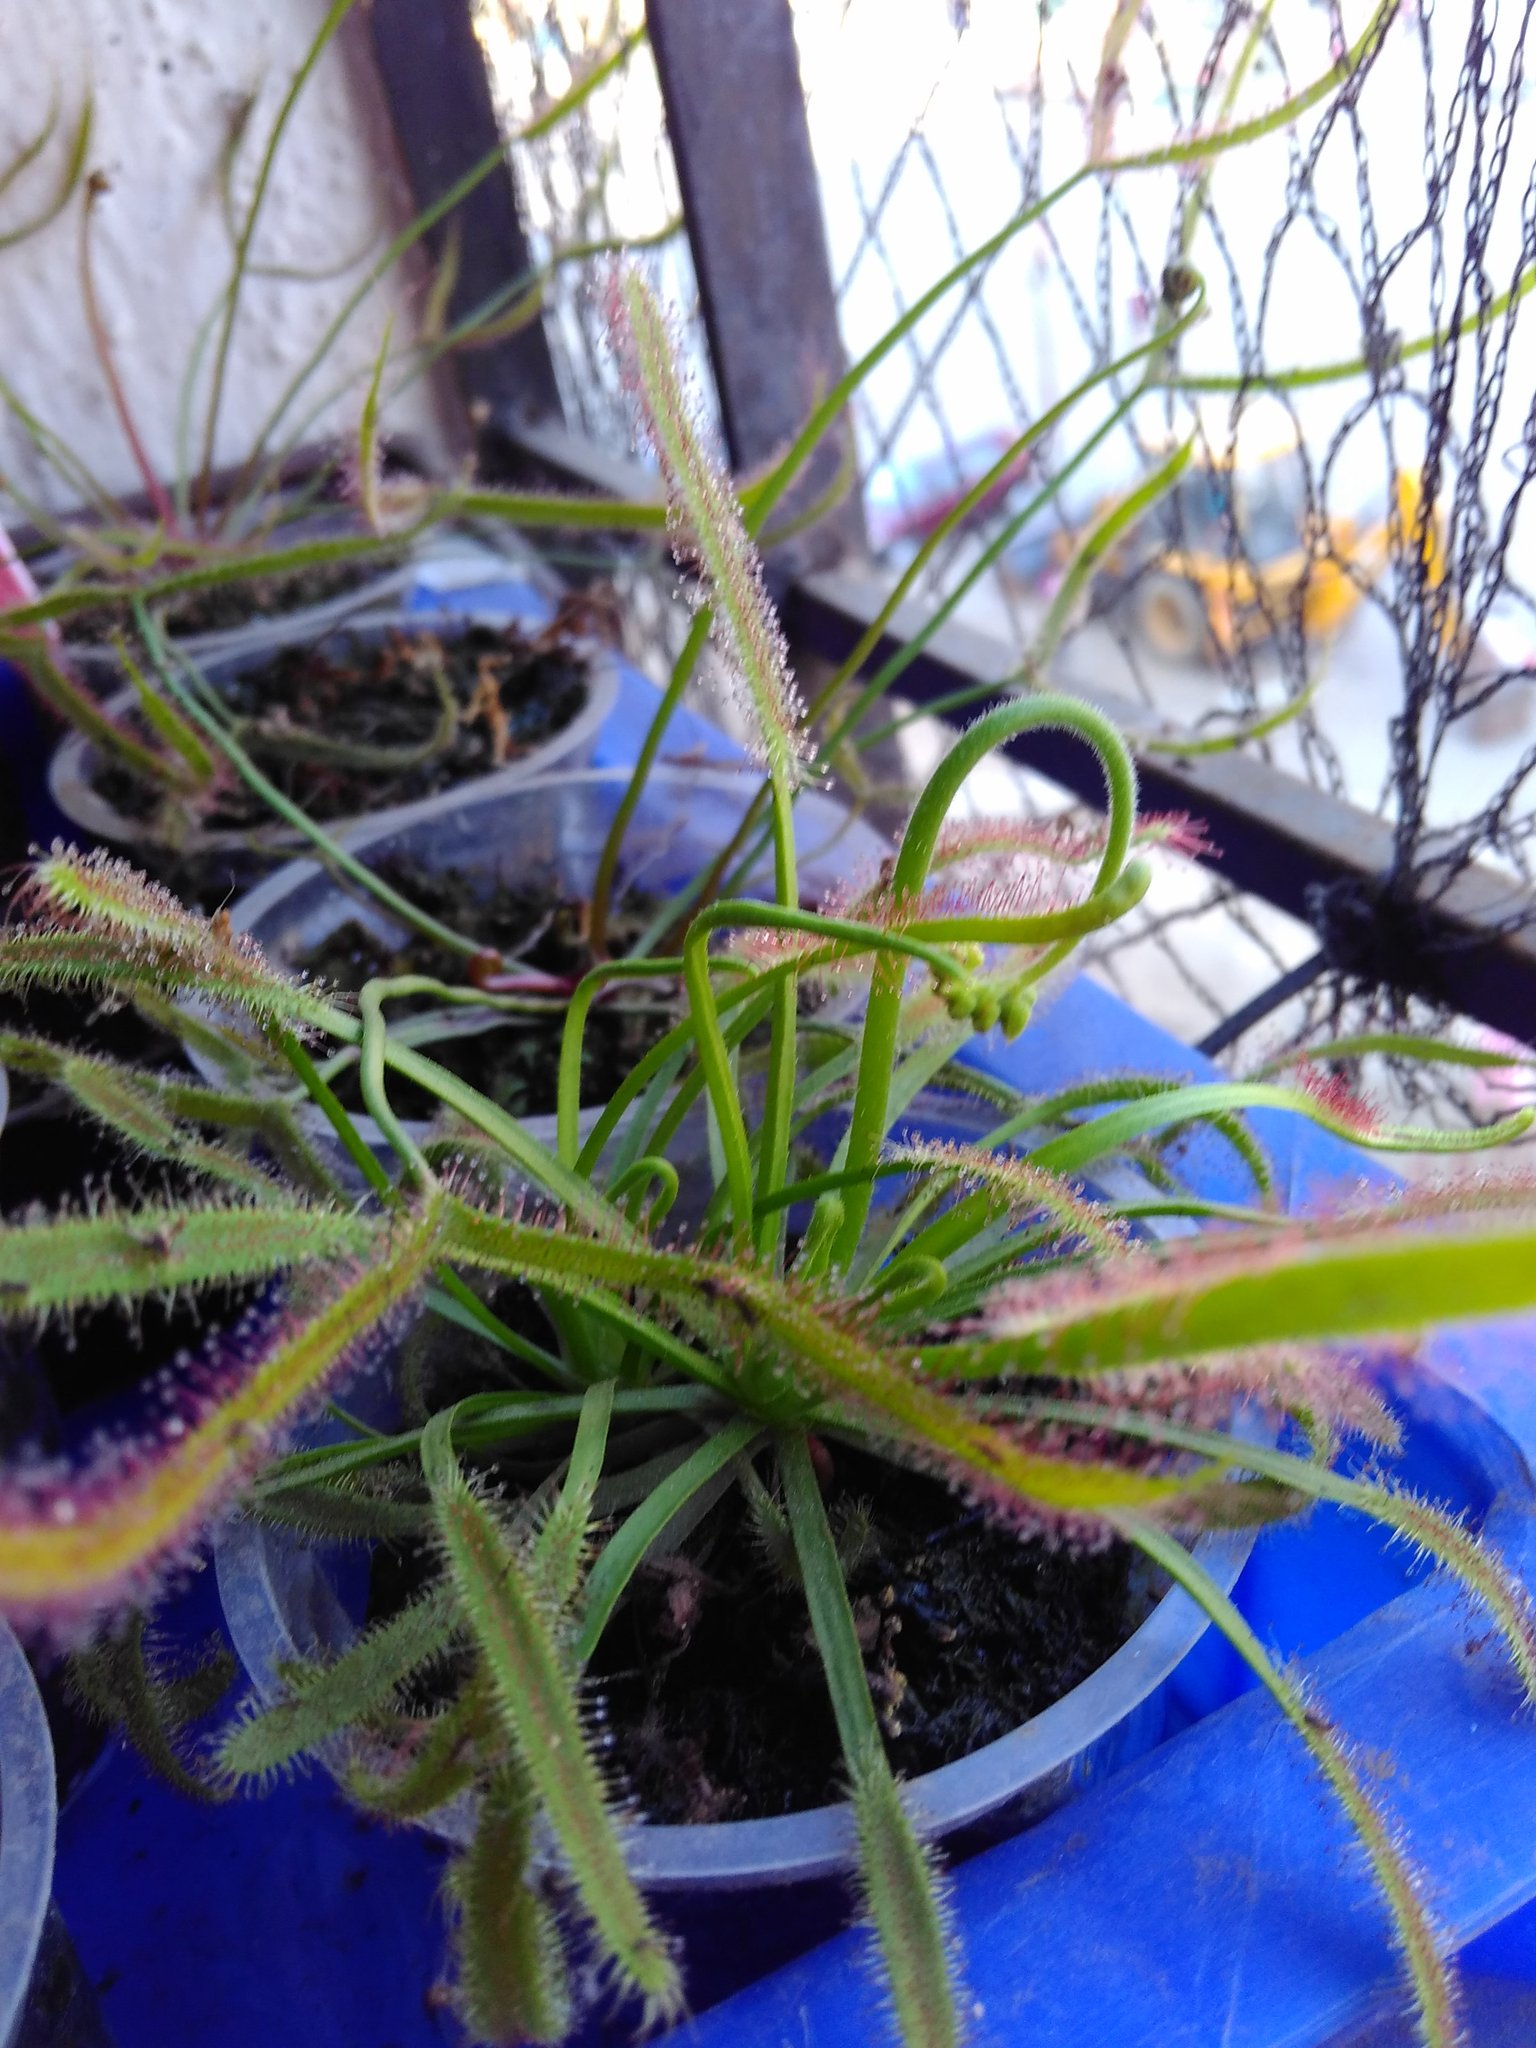
drosera burmanii

Drosera burmanii

Some drosera burmanii photos:

Drosera burmanii may be tiny, but they have mighty dew!

Drosera burmanii can get red when not fed for a while

You can grow drosera burmanii nice and tidy in pots.

Or the drosera burmanii grow wherever they want, like when seeds fall into some other empty pot…
Or the drosera burmanii grow wherever they want, like when seeds fall into some other empty pot...

Drosera burmanii don’t care if the pot isn’t empty either…
Drosera burmanii don't care if the pot isn't empty either...

They grow where they wish. Conquering the world one pot at a time.

Drosera burmanii is among the easiest drosera

Drosera burmanii flower stalk starting to form

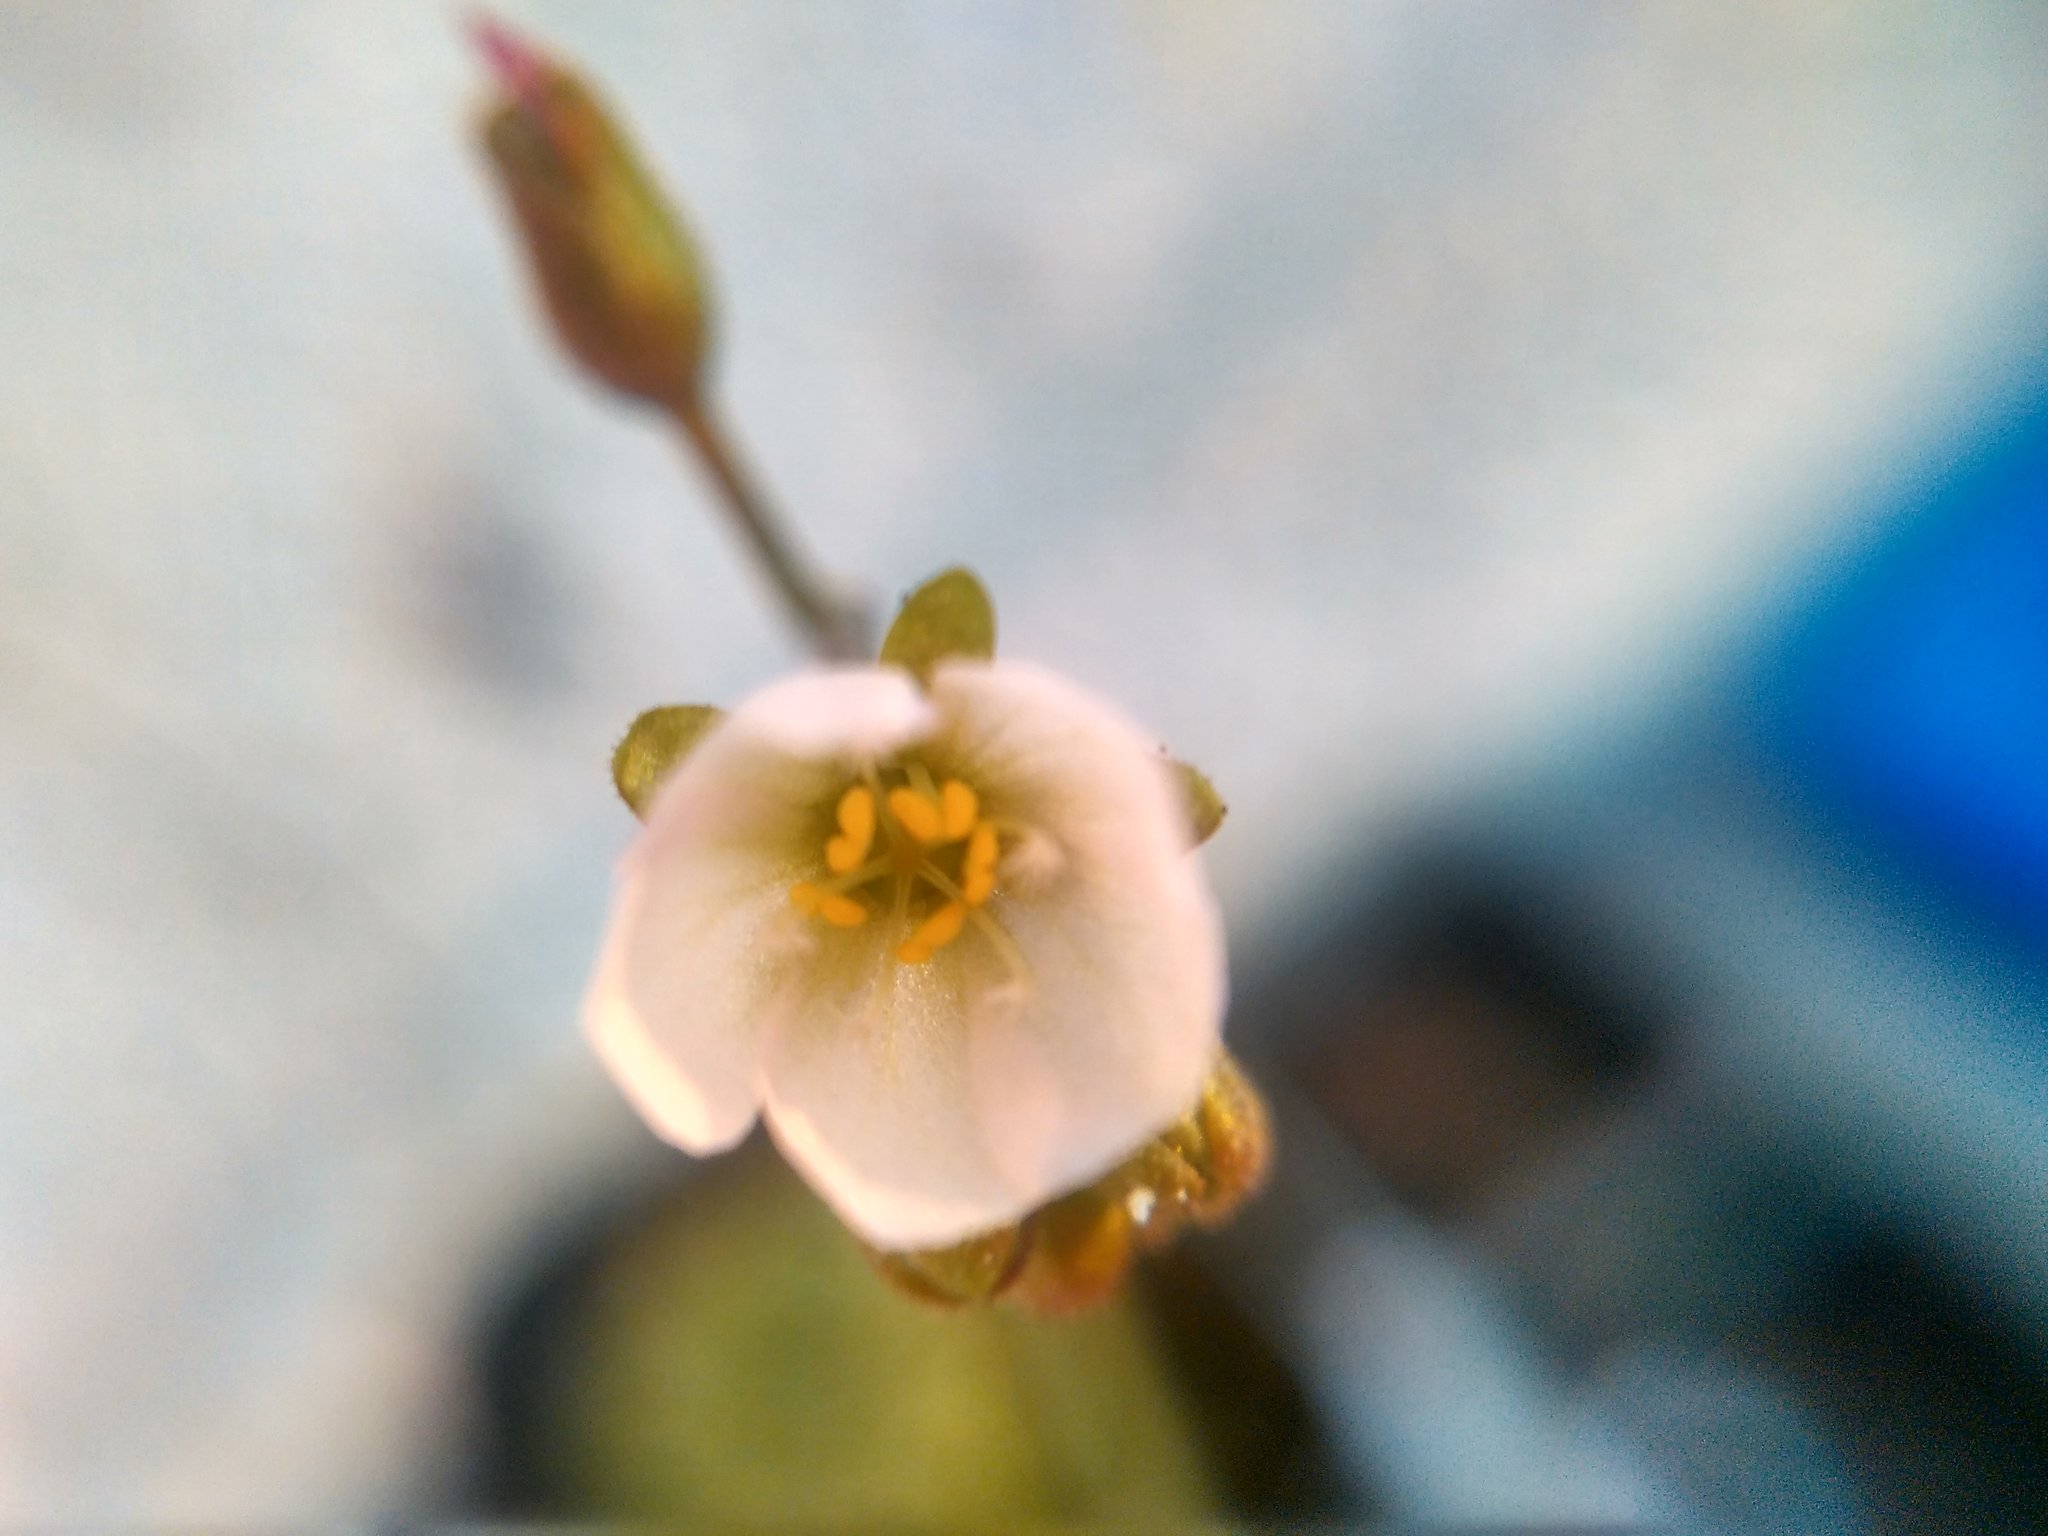
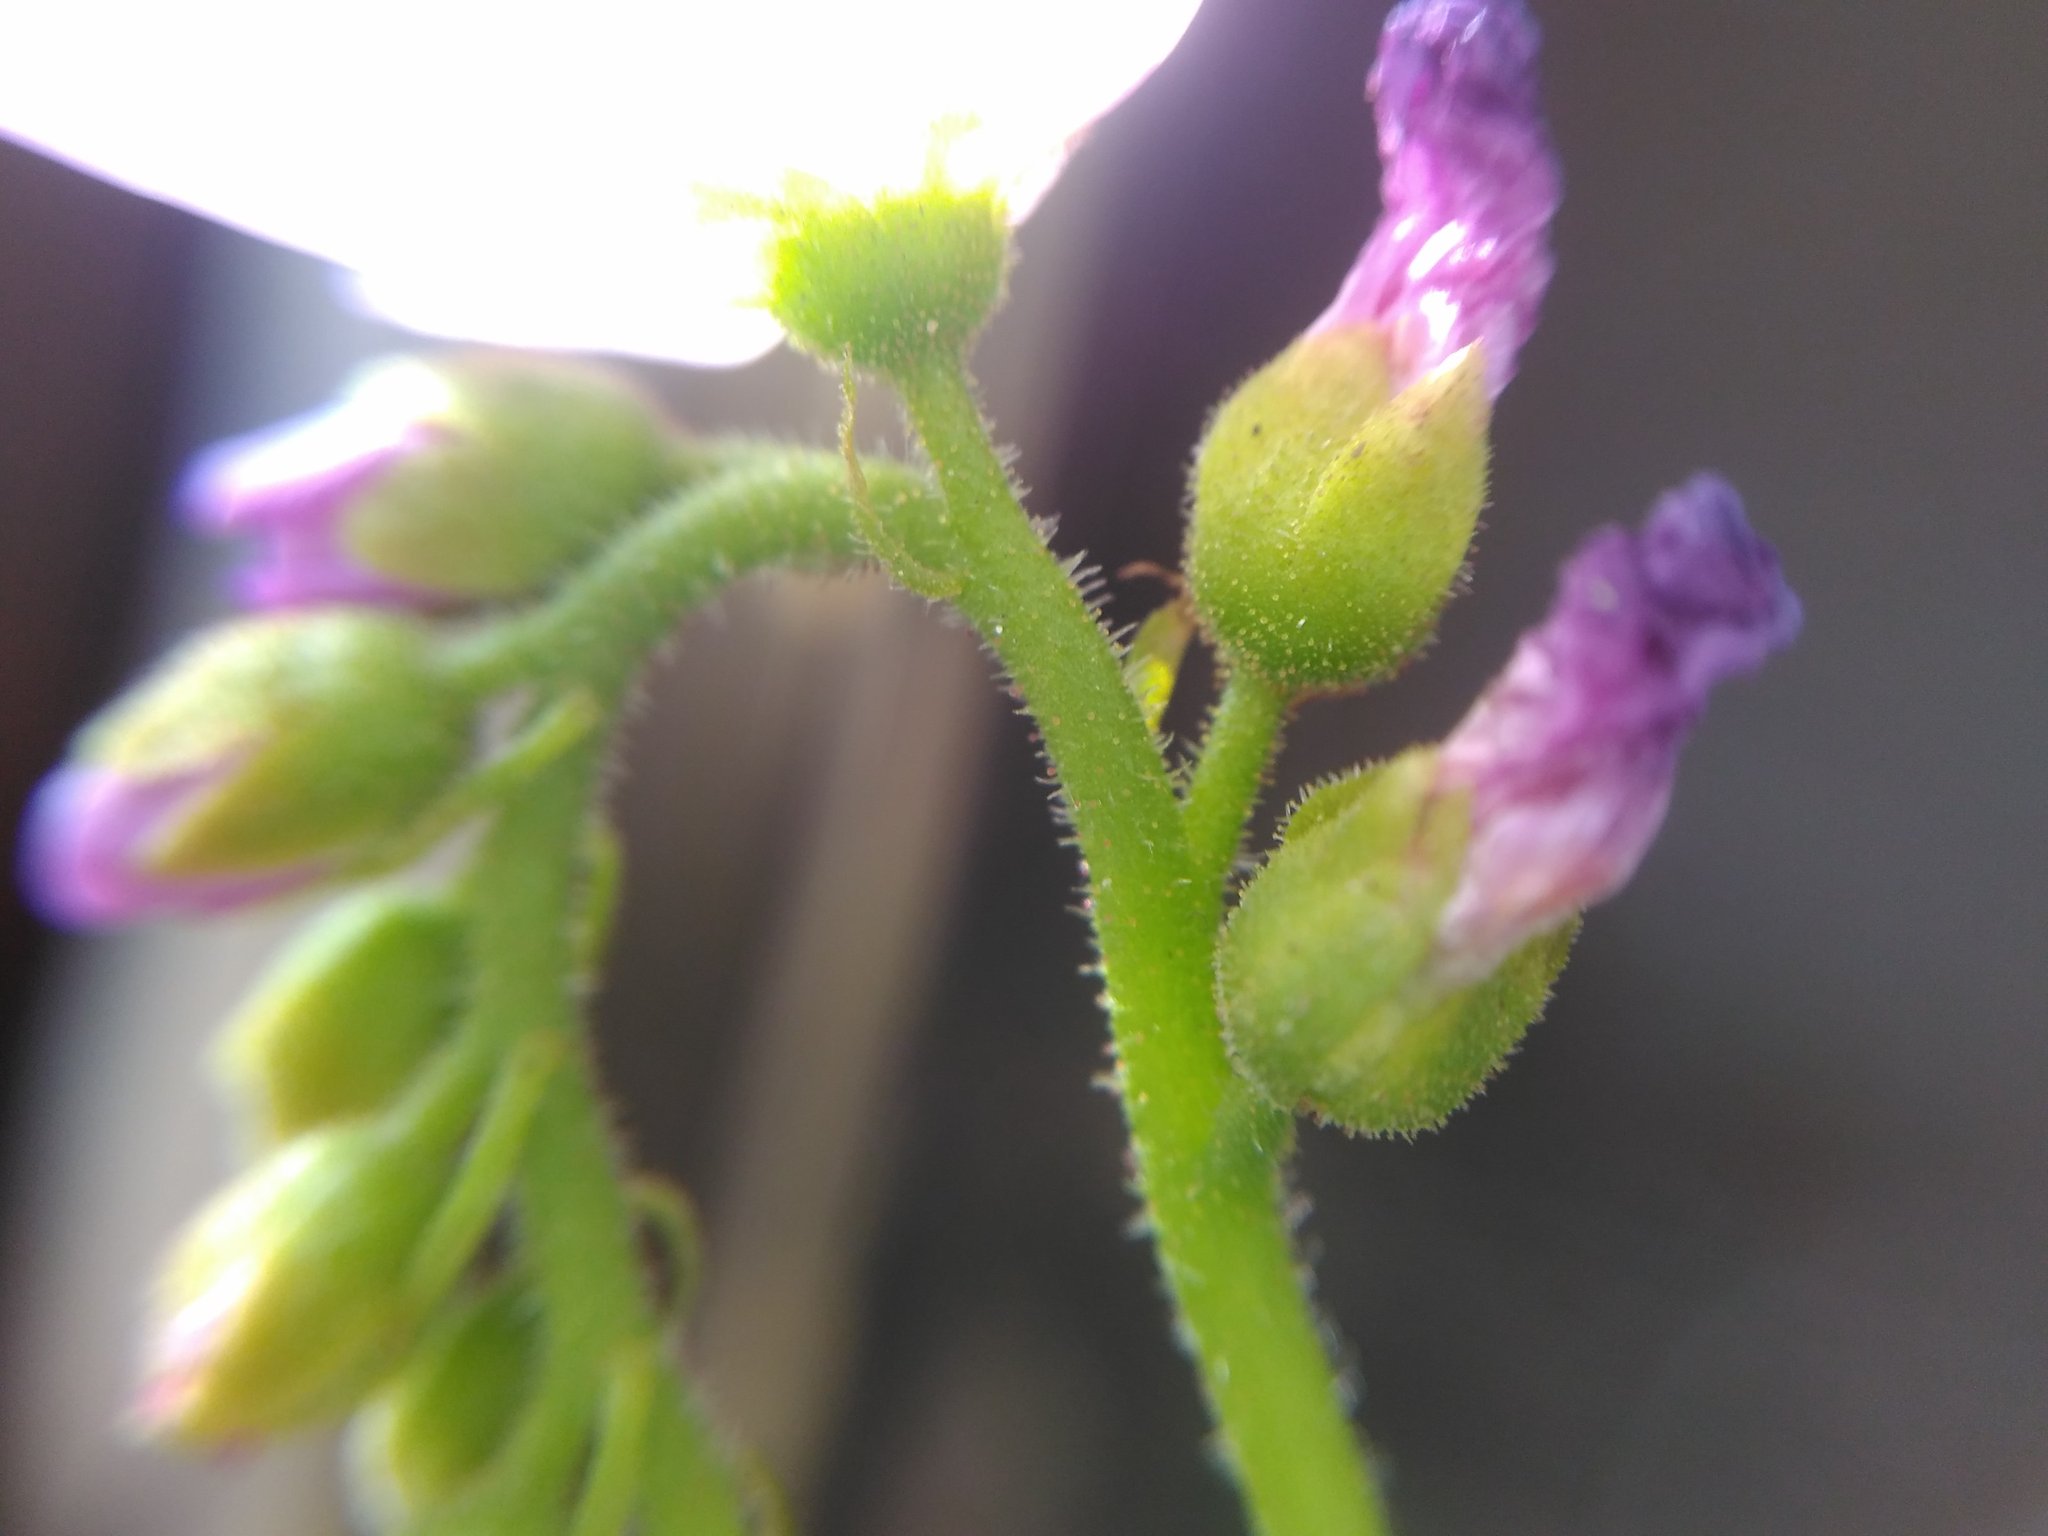
Drosera burmanii flower

Drosera burmanii seed pods. Each of these has hundreds of seeds.

Nepenthes thorelii x hamata cutting

How I do nepenthes cuttings

I am going to try and add photos to give a visual idea later, but frankly, I don’t usually take pics while working with plants, so it may be a bit of a struggle to find the right ones. So it may have to wait till the next time I do cuttings.

Right at the start – I have not had good success with rooting hormones. Others may have had, and they have their methods, of course, but mine no longer uses rooting hormones.

For cuttings of species that root readily. Mirabilis, ventrata, and such… there isn’t a lot to say. I cut up the vine and put it in soil under intermittent misting and am done. Maybe peel or split a bit of the bottom of the stem to expose the cambium.

The following is a more… elaborate process that I use with plants that don’t root as easily or more expensive plants, where I can’t afford failed cuttings.

  • Identifying the plant. I don’t make cuttings from plants with just one growing point, unless the vine is really, really long (hypothetical, I have not had this). For example:
    Nepenthes benstonei with multiple basals and a vine
    Usually, I’ll take cuttings from the vine, or separate out a basal if a plant is growing strongly and has one or more basals.
  • Deciding how much plant material to take out. I generally leave at least one growing point with at least 4-6 leaves. Basals or vine depends on what I want. If there are a lot of basals, I may decide to take one or two out and let the vine and one or more basals continue. Or I may take out the vine and leave one or more basal to continue. Generally, my choice will avoid disturbing the roots, so whether it is the basal or the vine, I will cut above the root of the soil if possible, or dig in slightly to the stem of the basal, but I never unpot the plant – root shock as well as the trauma of parts being cut off can kill the mother plant. Ideally I leave enough of the plant behind, with undisturbed roots for it to continue to grow strongly.
  • Preparing the material. Once, cut, I put the material for cuttings into a large bowl of clean water and rinse them well. I leave it in the water while I prepare other things if I need to. I don’t take them out and leave them drying. I use this opportunity to wash off any dust, pests, etc, leaving behind clean stems and leaves.
  • Trimming the material and preparing the cuttings. I take another bowl of clean water and add some trichoderma or systemic fungicide (optional) and seaweed fertilizer (half strength or so. Not too much). I will drop prepared cuttings into this bowl. To make cuttings, I cut the vines into segments with 2-3 nodes, depending on how readily the plant roots. Very rarely will I do single node cuttings. I generally make the cut so that there is some stem below the bottom node if possible to avoid removing leaves. I cut leaves down to about a third of their size, maybe even less for very large leaves. I don’t touch the growing tip segment, leaving any newly unfurled leaves as they are. For basals, there isn’t much to do. Remove dead/damaged leaves and drop into seaweed fertilizer.
  • Seaweed spa. I let the cuttings soak in the liquid fertilizer for a while while I make the pots for the cuttings.
  • Potting mix. I generally have a well draining mix for this. Without roots, the cuttings can’t really take up water, and soggy mix will only invite rot. Lots of perlite or gravel or whatever. I’m not very picky about the soil. Anything will do as long as it holds some moisture, isn’t nutrient heavy and doesn’t attract contamination. I’ve used construction gravel too. Expensive mixes are not necessary.
  • Growing the cuttings. I push the cuttings into the mix and place the whole thing under a misting system, so that the humidity is high. If you are using rooting hormone, you’d be applying it just before pusing the base of the cutting into the media. Alternatively, you can put them in a plastic bag, etc – but I have had issues with fungus when ventilation is poor. It may be better to poke holes into the plastic bag for ventilation and leave some water in the bottom to evaporage and create some extra humidity.I put them where they will get good light, but not direct sunlight – particularly if they are in bags. In the open air under the misting system, some sun is okay as long as it isn’t prolonged exposure that cooks them.
  • Leaving cuttings undisturbed. UNDISTURBED. Once I’ve put the cuttings in their place, I don’t touch them at all unless I have to remove any obviously dead or contaminated ones. No moving, no picking up to check, nothing. Plants are not animals. They don’t like to be moved. Cuttings are already stressed without roots. Don’t harass them till you either see some growth or they are visibly dead.
  • If your cuttings have done well, you will see new leaves forming from one or more nodes well before the half cut original leaves of the cuttings dry out. You should see swelling at nodes within a week or two and it usually takes another month or two to see leaves.
    Nepenthes thorelii x hamata cuttingIn three months or so, you should be seeing the first pitchers.
    Nepenthes thorelii x hamata cutting with pitchers
  • Given good humidity, basals and the apical cuttings of vines that already have growing points, should just continue to grow, sometimes without even losing the pitchers they originally had if you do things right.

That is it, I think. Will add anything else I can think of here, or ask away. Share your method for making cuttings too.

(Edited to add some details)

Sowing nepenthes seeds

Many people have asked me this over the years, so I thought I would share it here.

I don’t have a specific method or medium I prefer, but I find that the most common recommended way, with sterilized medium and covered pots does not work for me in my climate, where the temperatures are usually hot. Any covered pot gets fungus here very easily.

Instead, what I do is:

Rinse the medium out thoroughly with as much low TDS water as my budget and patience allows. Medium is usually either very good quality NZ sphagnum with a top layer of finely chopped sphagnum or very well rinsed cocopeat. I don’t heat sterilize it in any way. Depending on weather conditions and if my collection has any plants with fungal problems, I may add some trichoderma to the final rinse.

If I have used trichoderma, I fill the seedling pots and let them sit for a day or two before sowing seeds – lets the trichoderma get a bit of a headstart (or at least in my imagination). Alternatively I may use a fungicide. Neither is necessary if your growing conditions are healthy and you aren’t seeing any fungal issues around.

I sprinkle the seeds on top of the growing medium and give them a good misting down, so that they stick well to the medium. If I have time, I may go over the pot with a magnifying glass to look out for any seeds stuck up in the air without contact with the medium and just press them down. (nothing esoteric, plain logic)

I usually place the pots where they get misted on from the misting system. Alternatively, I may spray them down if they start to look dry-ish. This can be irritatingly often in hot/dry weather, so misting system is better. I also have small bottles with nozzles for when they aren’t under the misting system and I lack the patience to keep spraying. Whatever you use, do it carefully enough that you aren’t washing the seeds into the growing medium – they need to sit on top.

I don’t stand seedling pots in water. I find this encourages algae.

I don’t cover the seeds to maintain humidity, which is usually adequate due to the misting system (I don’t cover them even if the misting system is switched off). Personally, I have not found high humidity to be a big deal for germination, as long as the medium is moist enough.

Sometimes nepenthes seeds do get fungus and it is not on the medium – it is on the seed itself. I am not sure what this is, but I suspect it grows on seeds that are already dead and does not appear to spread to other seeds. If paranoid, maybe spray diluted hydrogen peroxide on the seeds that seem to have the fungus – I have done this, and I have not done this and I can’t honestly say the results were much different beyond the fungus not bothering me visibly when I did.

If you cover seeds and get fungal problems, in my view, not covering them is better. If you MUST cover them for whatever reason (I’ve had problems with byblis liniflora seeds crowding out neps, which could have been prevented by covering), I would suggest leaving the cover at least slightly open for ventilation.

Doing this or similar usually leads to germination any time between two weeks and a month. Some seeds take longer. Maybe 2-3 months. It is very rare for me to have seeds germinate after that. If seeds have not germinated in three months, I usually wait for a season change to see if that does the trick. If it doesn’t, I throw them out.

It is quite common for nepenthes seeds to be unviable and if your seeds appear to be pest/contamination free, but still not germinating…. sometimes it is not your fault. Generally, if you see the seeds clearly, it is worth a shot to keep giving them good conditions and waiting.

Newly germinated seeds are usually tiny and crowded in the pot. I avoid transplanting them for as long as I can. At least a year if possible. If they are very crowded, this may not be possible, in which case, I think it is better to transplant them as soon as possible – before the first two true leaves and while they barely have any roots to prevent root damage.

Overall, for seedlings, I think they grow just fine crowded up unless it is too crowded and there isn’t space to grow or some seedlings start getting stunted because of bigger ones covering them. Apart from that, simply being close to each other does not hurt them. In fact, I think it helps them maintain a microclimate better.

The big fertilizer question: I fertilize seedlings. I use orchid fertilizer. Too much is bad news. The seedlings are tiny. They don’t need a lot. Very little (1/4 of recommended strength) and as often as once or twice a week is better than more concentrated. If in doubt, don’t.

Also one BIG DRAWBACK of fertilizing seedlings: Fertilizer will encourage algae. This will reduce germination in seeds that have not yet germinated. Unless you transplant seedlings into separate pots for growing after they germinate, fertilizing may decrease your overall germination if algae cover up the ungerminated seeds.

This is a rather spontaneous post, so if there is something I have missed, do feel free to ask. Or better still, share how you germinate nepenthes seeds.